I have ADD. I am not capable of being “ slightly interested” in a thing. So ya’ll are gonna have to put up with me coming here with one silly idea after another.
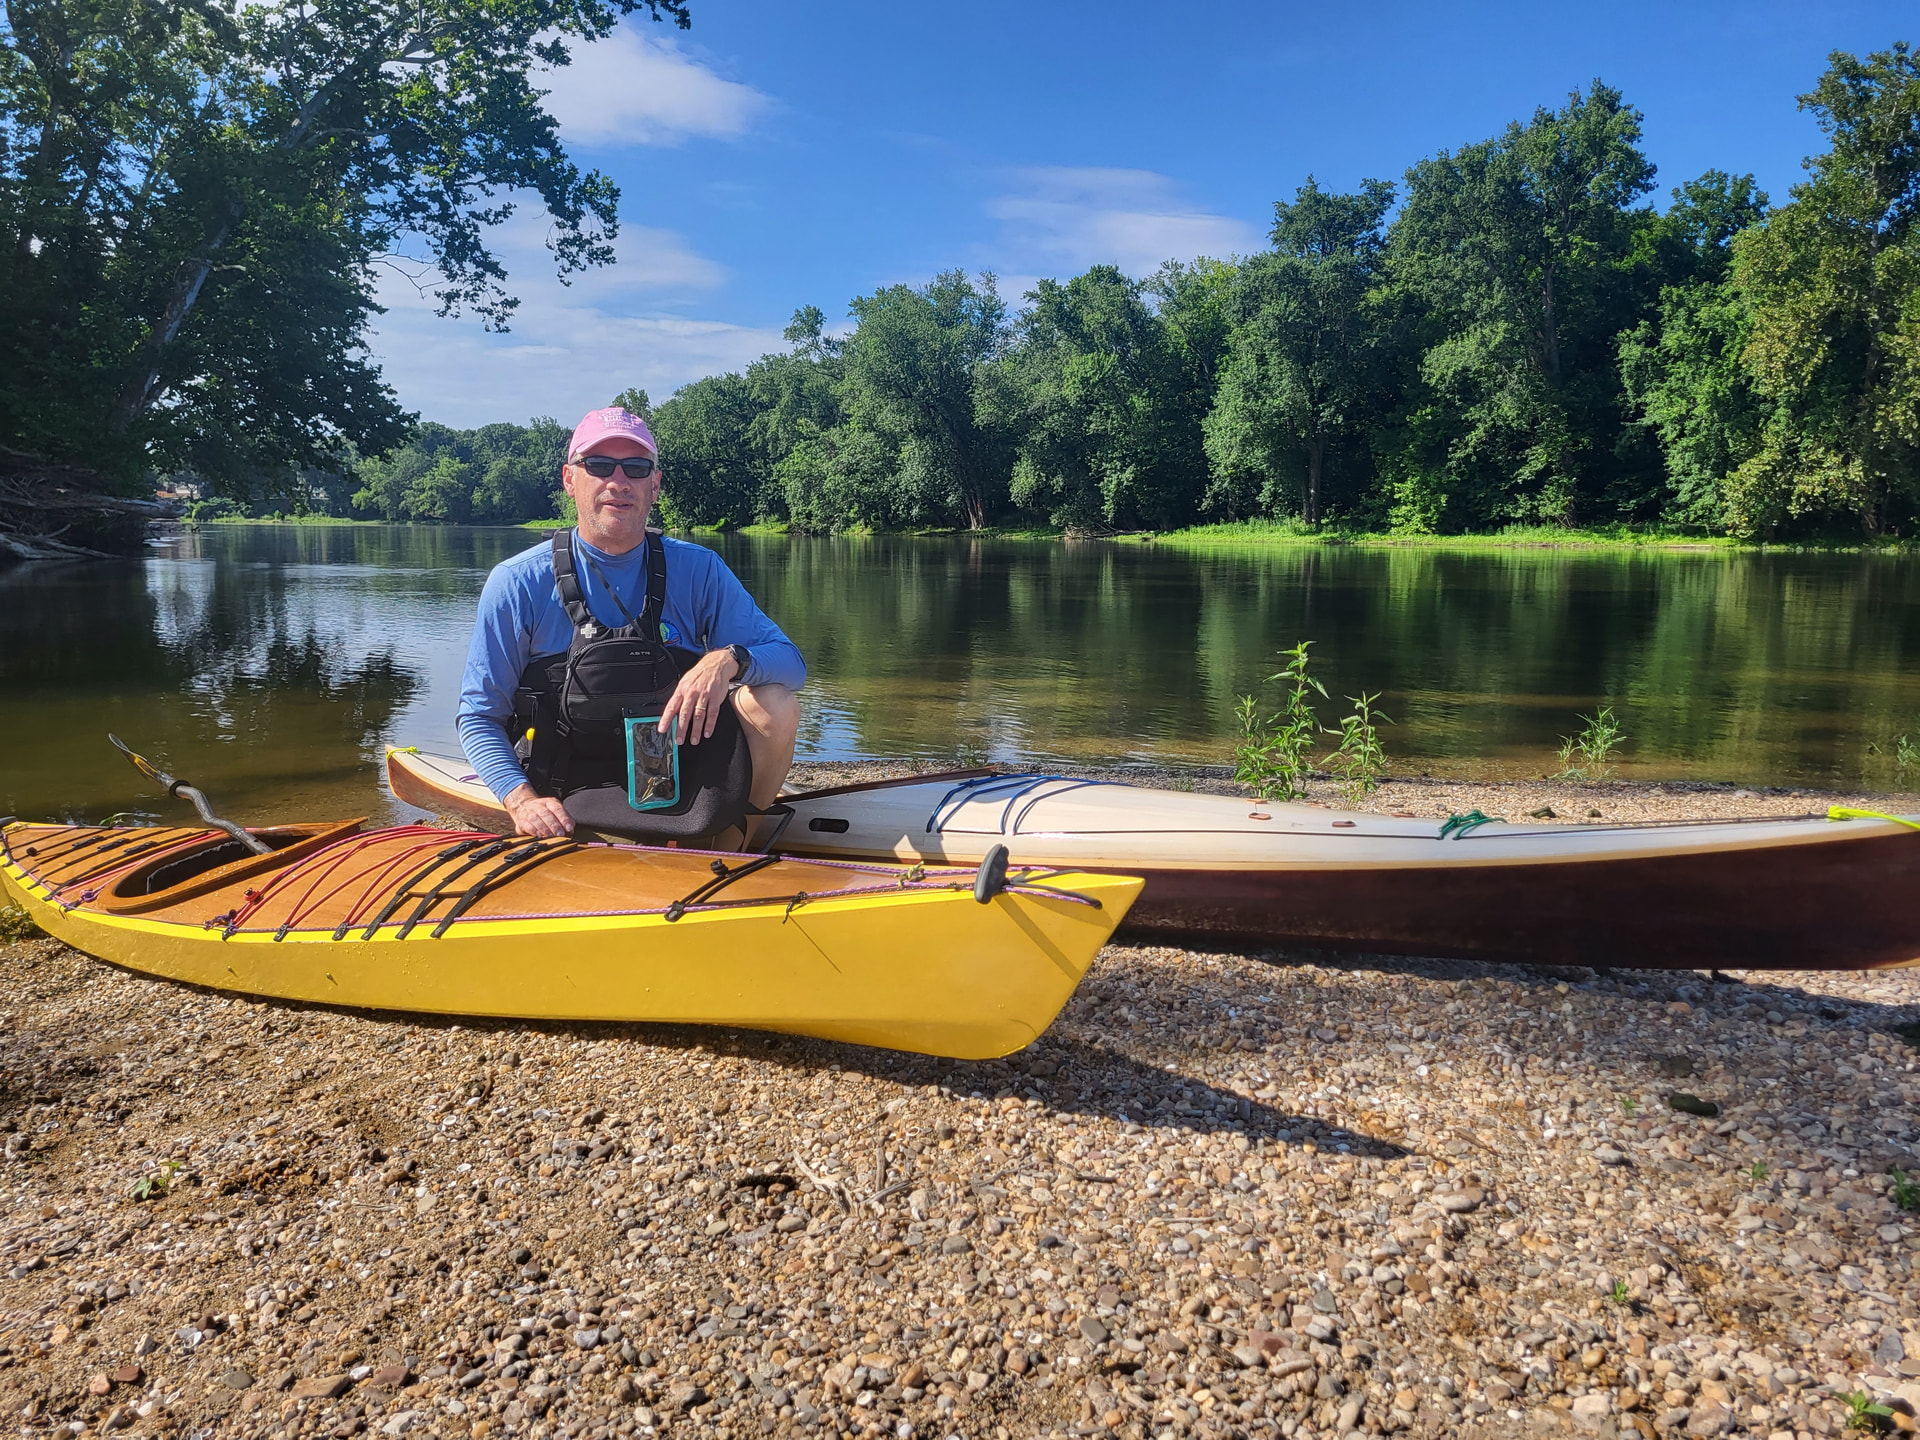
This week i am buying a very nice Cape Charles which i hope to use immediately.
But in my search for the perfect boat I came across TWO CLC 17s that were badly neglected. Rot in the deck, some on the hull. Chunks of coaming missing.
I think if i could get both boats for a good price, there might be hope. And it might be a fun project with an acceptable risk of failure.
So, I’m looking for stories or videos of examples of this sort of rehab.
How hard is it to surgically remove epoxied parts from one another?
How do i assess the viability of the remaining wood ?
Is this likely to be a complete waste of time?
In answer to your questions:
- Here’s a CLC article on that very subject.
- A good razor saw makes it really easy to disassemble kayaks and to remove rotted parts.
- Look, feel and listen. Look for stains and color changes, push on the wood and see if it feels like new wood or an old apple. Tap on in and see if it sounds like solid wood or rot.
- You decide what your time’s worth, but 2 boats for cheap, saved from the scrap pile? Sounds worth it to me.
A couple of more points - you’re going to be providing significant labor and materials. Don’t pay much, if anything, for boats with rot. Point out that you’re doing the guy a favor by hauling them away. And be ready to paint the whole boat, if necessary, unless you want to make a point about having a rustic workboat finish.
Good luck,
Laszlo
Great info. And now i know what a razor saw is.
One seller wanted $350 and the other $100. I’d offer $100 and $50 contingent on both of them accepting the deal.
Hi herfordnc
i have a bit of experience in the topic and would agree with everything Laszlo says. based on my hands on experience i would highlight the following:
- cosmetics/aesthetics - when doing a fixer upper you need to anticipate and get creative about how the boat is going to look post repair. depending on what you are looking to do, this is not necessarily a big deal, but if you are looking for that classic wooden boat look it can get really challenging to match/blend repairs of bare wood. paint is an option and an easy one….but keep your version of success comensurate with what you are starting with. if it has to look like perfect all wooden boat where all the wood is visible and nicely matched - i would pass.
- skills and efforts to rebuild - if you have never repaired a boat before, it can be a lot of labor/work and can be pretty challenging. learning repairs can be fun….but i have often been told the mark of the most experienced builders is their ability to repair without it being noticable….so it is a bit of an advanced art. forum members happy to help….but be prepared for a signficant investment of time for solid work. finally, on boats with rot, you only see what you can see, but rot will always be more extensive when you start tearing into things. maybe not a lot more extensive….but certainly more than you observe prior to making further inspections and working to excise it.
- costs of repairs - what do they say - cars are cars and parts are parts….to do extensive repairs requires access to the epoxy, fillers, potentially okoume plywood, fibreglass, paint, rigging, and consumables (sandpapers, gloves, mixing cups, dust protectors) and tools that you use to build a boat (sanders, drills, planes clamps, etc).. when you buy a kit there is often a excess of all of this material that you store away for when you need to potentially repair your boat….(and if you build you would have already also made your tool investment) .if you don’t already have these, you will need to acquire them and its pretty easy to need a couple hundred bucks of ‘repair materials’ if you have to buy from scratch. so just be realistic if saving money is your strategy.
- what you pay - i have built three ‘rescue boats’ - abandoned projects that were partially completed. i am in laszlo’s camp with respect ‘don’t pay too much’. similar to laszlo i would state your offer as - i will help you get your garage cleared out and this boat off of your hands…..but there is a lot of work and time and money that i am taking on to see if i can address all the issues and bring the boat back to life …and be ready to walk. be polite….and you can always emphasize that you are not being discourteous…..and leave your number so they can think about it..
of the three rescue boats i completed, only one cost me too much and that was the one that i actually paid something for. by the time i dealt with all the okoume that had to be replaced…..and other costs i did not antipate….i had really spent way over what i thought i was going to be in for. even the others that i got for free still cost me more than i anticipated given that i had to go out and buy materials i did not have on hand….
anyway, i am not trying to discourage you. these were all great projects i am describing….i am just sharing my experience and how it diverged from my expectations….i did, fwiw, learn a lot in the process.
another great repair video of an extensive repair is here…. Refiberglassing my Petrel | Guillemot Kayaks though it involves a strip built boat, reglassing is often something that is part of an extensive repair.
Great stuff.
Funny thing, i already walked from both of these boats. I showed up thinking i would be taking them home but the sellers were delusional and I wasn’t looking for a project.
We’re going into winter, they have not moved and once i have a boat I can actually use (the Cape Charles I plan to pick up this week) then I think these could be worth salvaging.
But I want a real good idea what repair looks like.
How is a hole patched? How much weight is added (weight is a critical driver of my interest in wooden kayaks).
That video is exactly what i’m looking for. I did not know heat would do that to fiberglass.
thanks
on the two boats i did not pay anything for, i was called by the owner several weeks after i had walked and they asked me to come back and help them get rid of it.
how somebody came to be the owner of a repair boat and how long it has been sitting often impact the emotional readiness to ‘call it a day’. so let the process works its way through….and if it’s meant to be, then it will work out.
what a really good repair looks like is that you never knew it happened. sometimes that’s easy….sometimes thats hard. the ultimate repair has the following characteristics:
- it adds no weight and no compromize in strength compared to the original
- it is ‘fare’ - there is no detectable edge or bulge or wave or divot relative to the surface it was perfomed on
- its color/pattern matches the non-repair adjacent area as expected
here are some pics….unfortunately most post repair….
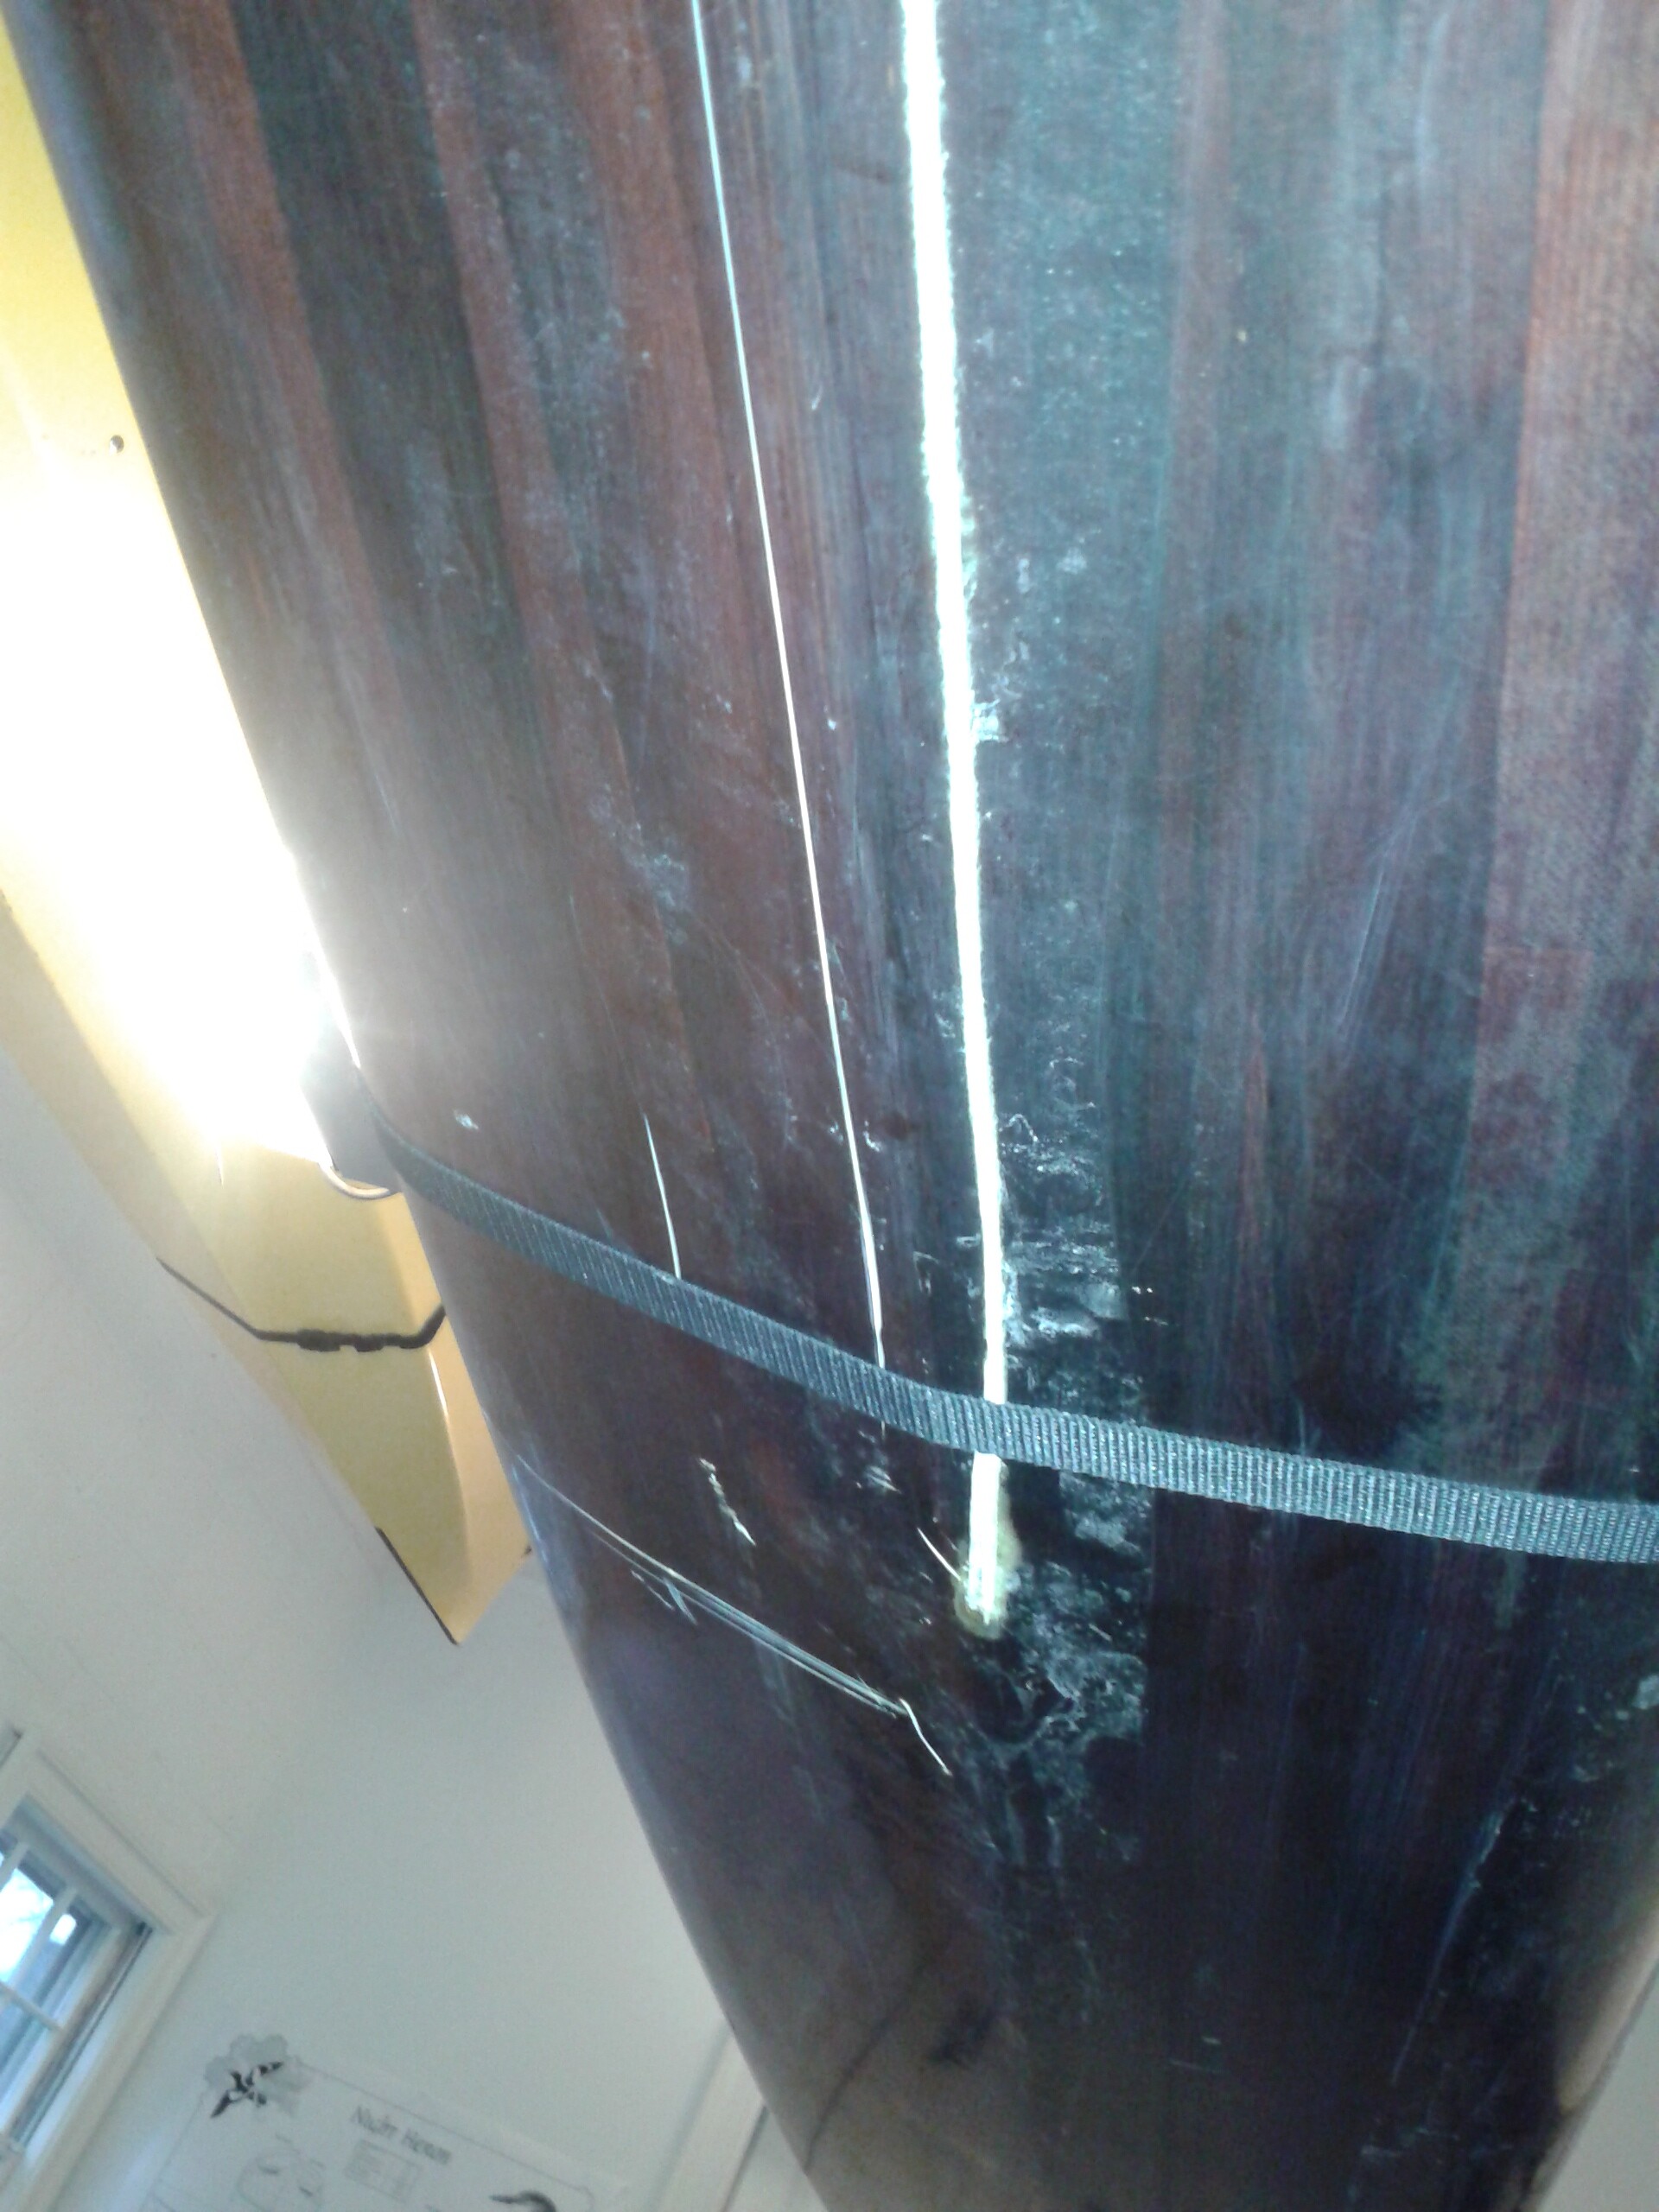
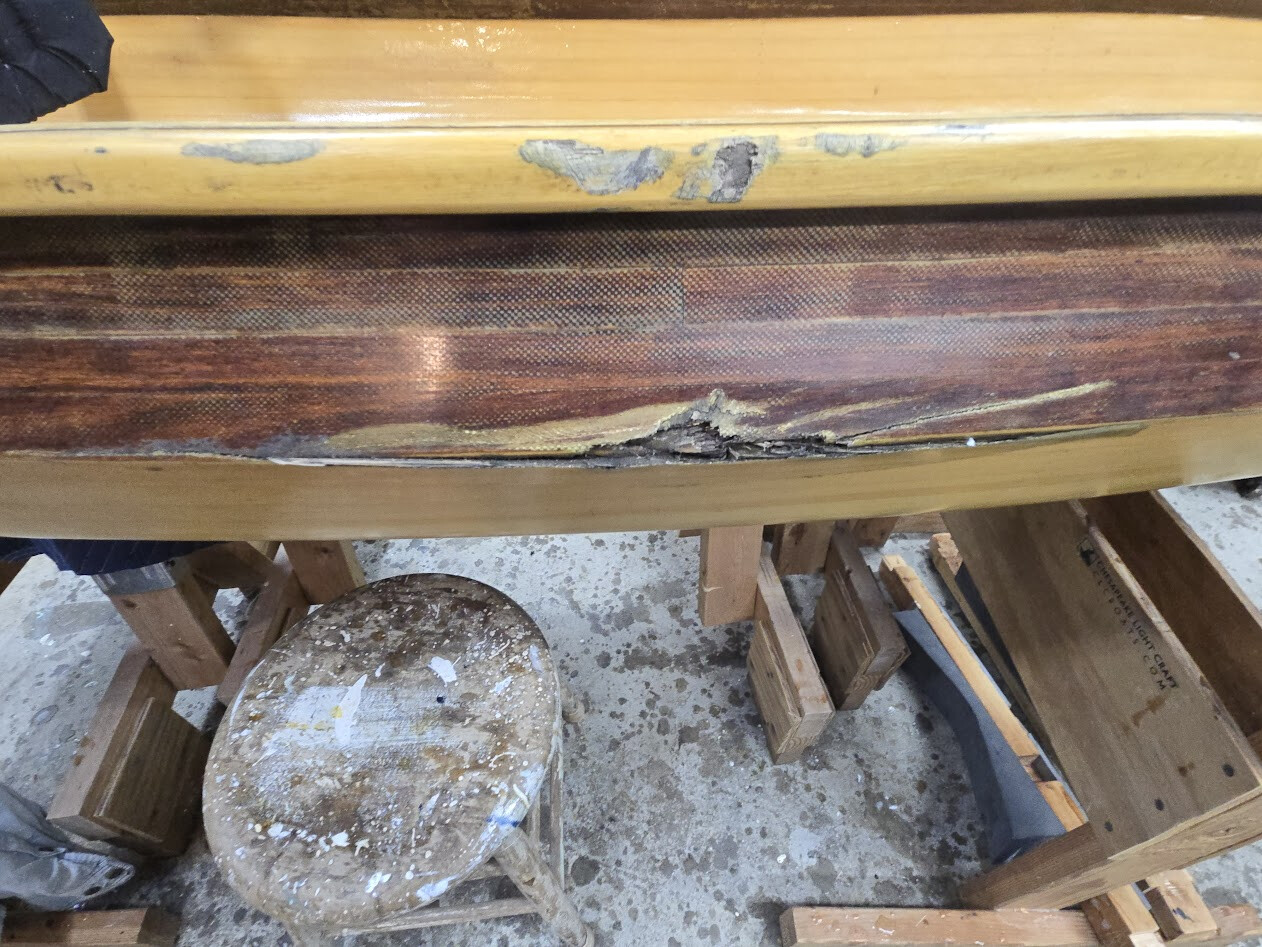
this boat took a hit on the bottom with a piece of rebar that ripped through four feet of glass into the wood. temporary fibrelgass repair to allow for continued use during the season then during the off season all glass removed, resanded, restained, reglassed with technique similar to the video i showed you of nick schade reglassing a petrel… no discernable repair observable.
ths boat in yellow in the pic below had the right side of its hull just aft of the bow punched in a garage accident involving a falling ladder. repair technique similar to what laszlo showed you above. cracked hull pieces were cut out to clean wood and a slighltly less than a 8 inch by 8 inch patch made with spare okoume was grafted in and then epoxy bondo was used to make the repair fare. this was necessary becuase the patch did not have the same curve as the original hull…so it showed up a flat area on a curved hull…and bondo was used to build it up…then sanded back to match the hull curve. hull was then repainted. you would only know there was a repair if you looked inside the hatch…..the inside is not painted so you would see the different color of the new okoume and bondo material against the oiriginal internal hull color. the interal side of the repair is also not fare and is a recognizable flat area against the curve of the original wood. but from the outside, no discernable repair.
this shearwater had the first four inches of its bow broken off when friend paddled the bow between two docks (kind of like putting the bow in a vice) and current turned the boat breaking it off where it was held on with shards of fibreglass….was fortunate was there when it happened (from a repair perspective) as we secured the dangling piece preventing further damage and or loss of material. reattached with a lot of pressure and was able to line up most of the the ragged edge of the fracture with only hairline gaps. a bit of sanding and reglassed. can only tell if you walked up from two feet or closer and looked for the crack…..
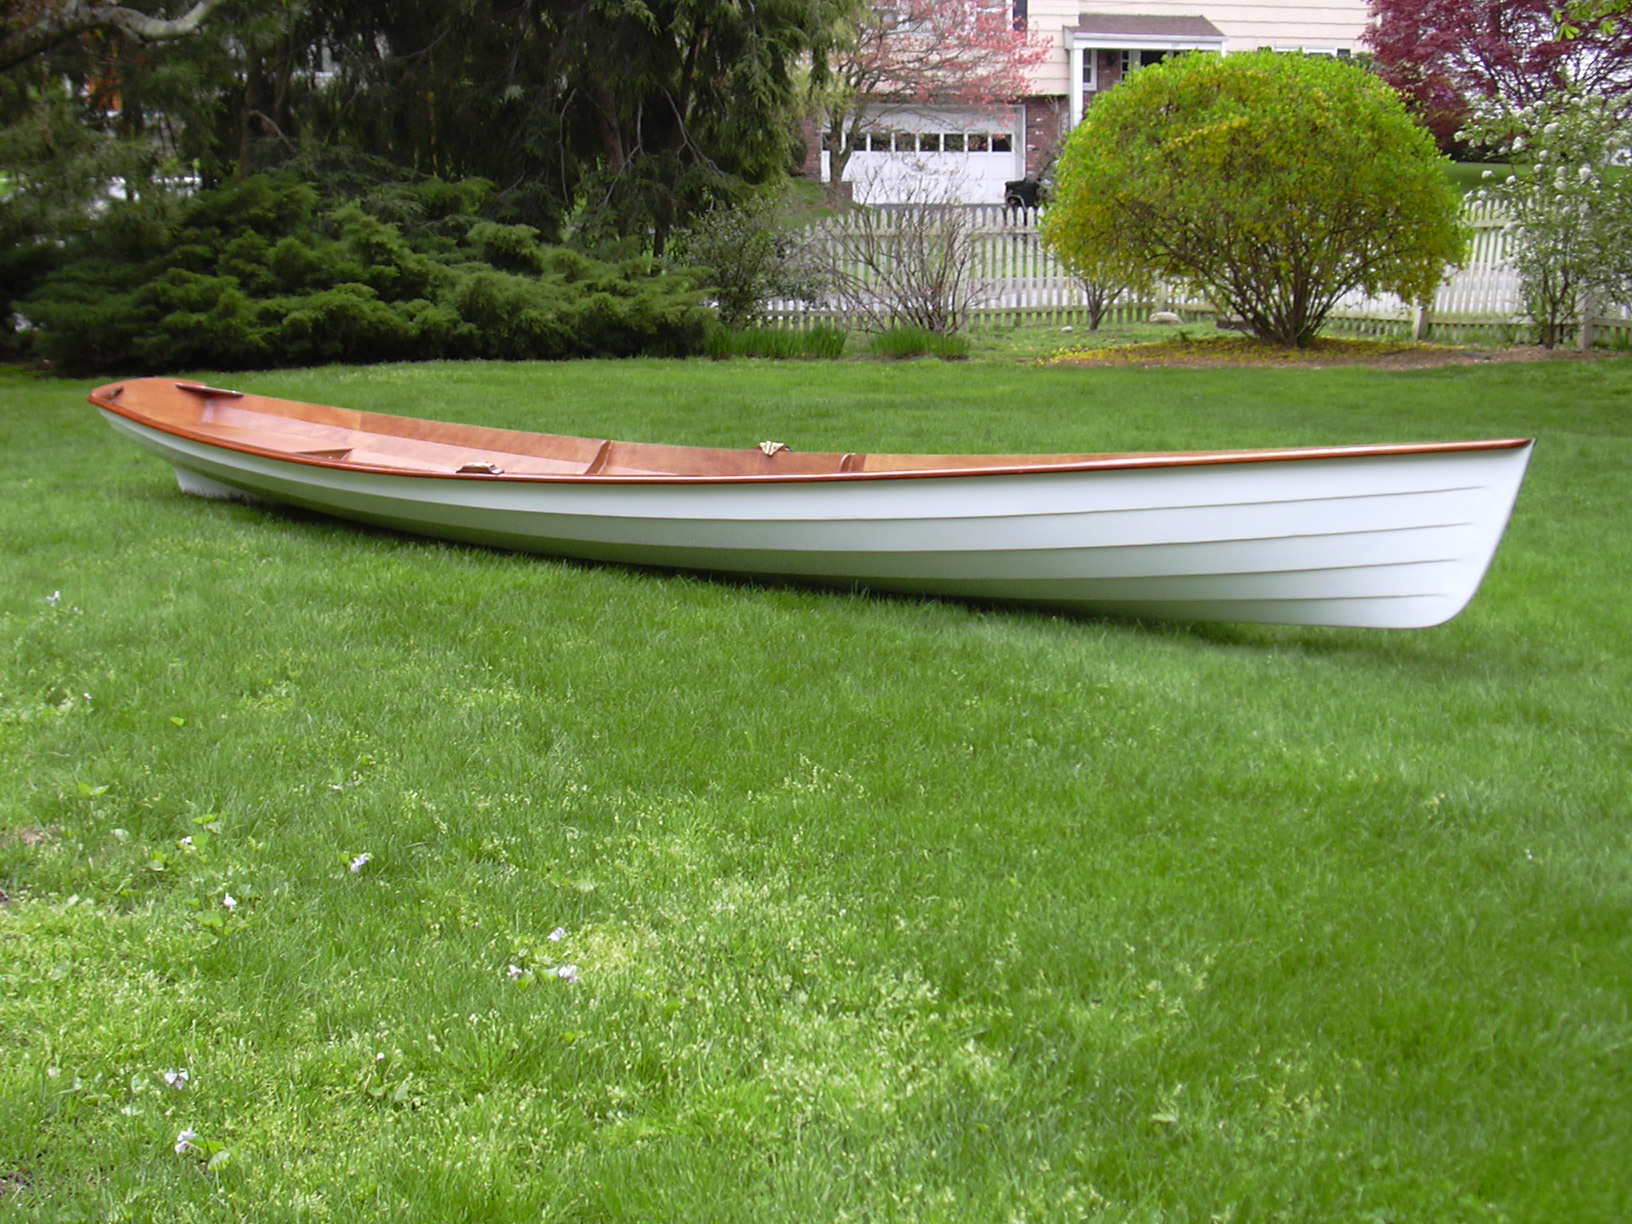
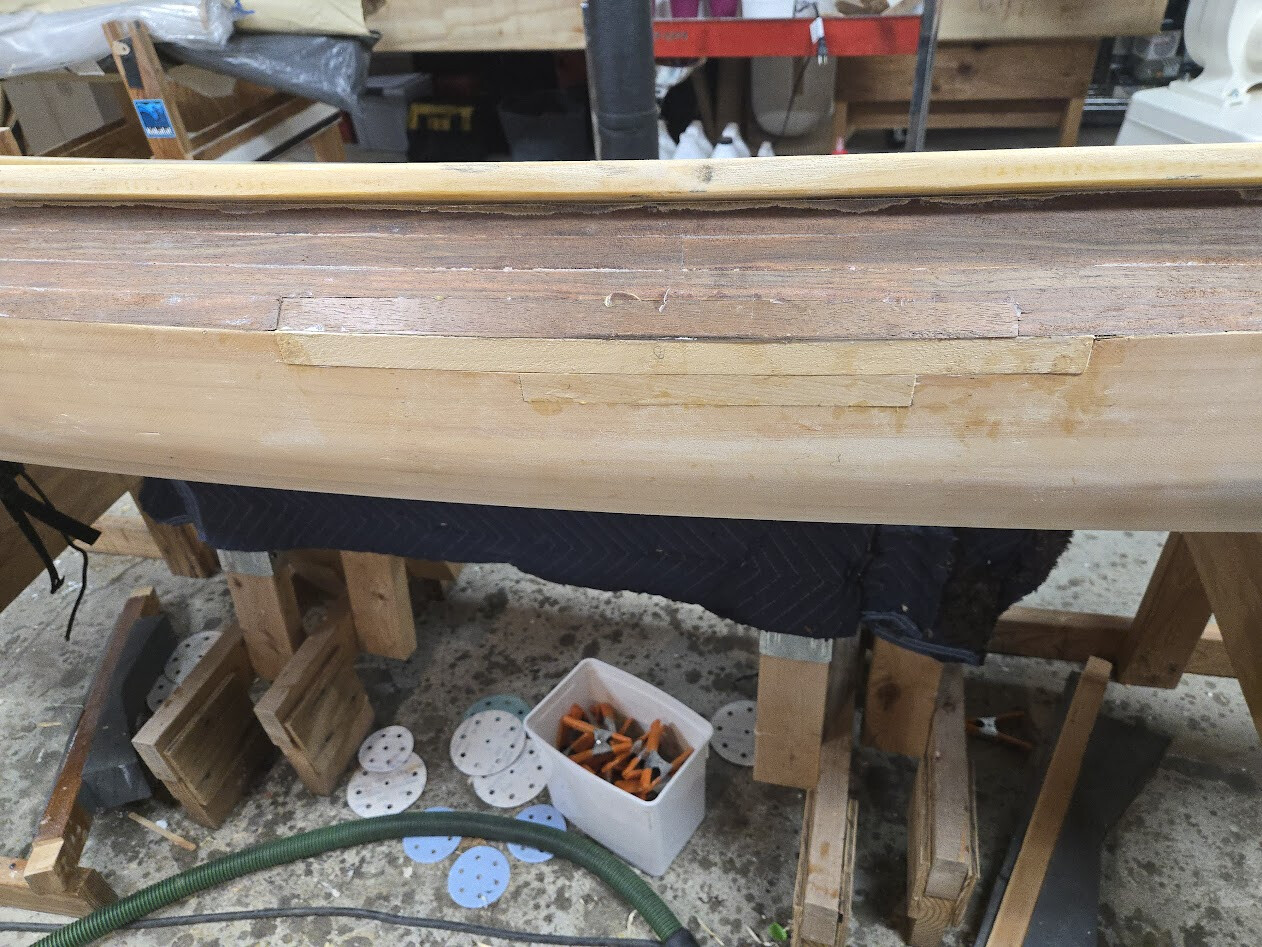
this picture below….was a rescue of a wherry project - “wood only” abandoned in a garage. it was a great advertizement but basically when i got to the guys house he pointed to a pile of boards in the corner of his garage where he had thrown everything after he abandoned the project
i inventoried all the bits. four strakes were broken and basically had to identify parts and re-order from CLC…..which i clearly did not esitmate the cost to have them cut and ship me just a small part of the kit….very expensive. was wood only and did not anticipate the cost of glass and epoxy. it would have been cheaper in the end to have left the guy with the pile of wood and bought a kit on sale in october….(yes, this is the the one i paid for). can tell there was repair work becuase if you looked inside there was color variaton between the old pieces and the new pieces due to sun fade of the old piece vs a brand new piece of okoume. outside was painted so no obserable difference
the guillemot sight has other repair videos and there are several on youtube if you search for “wooden kayak repair”
I know I’m late on this thread but…
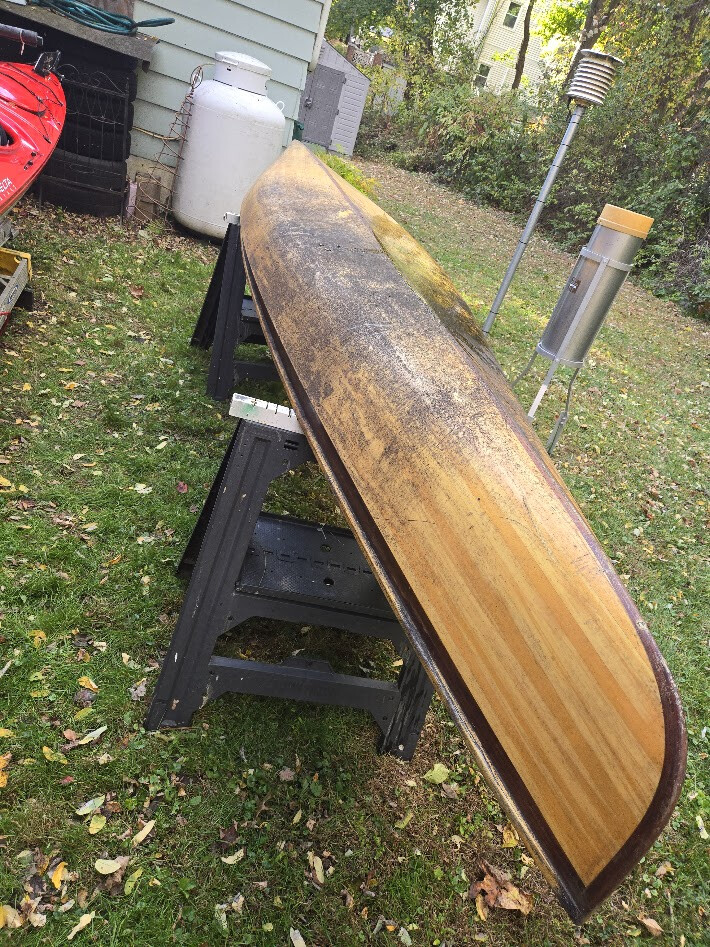
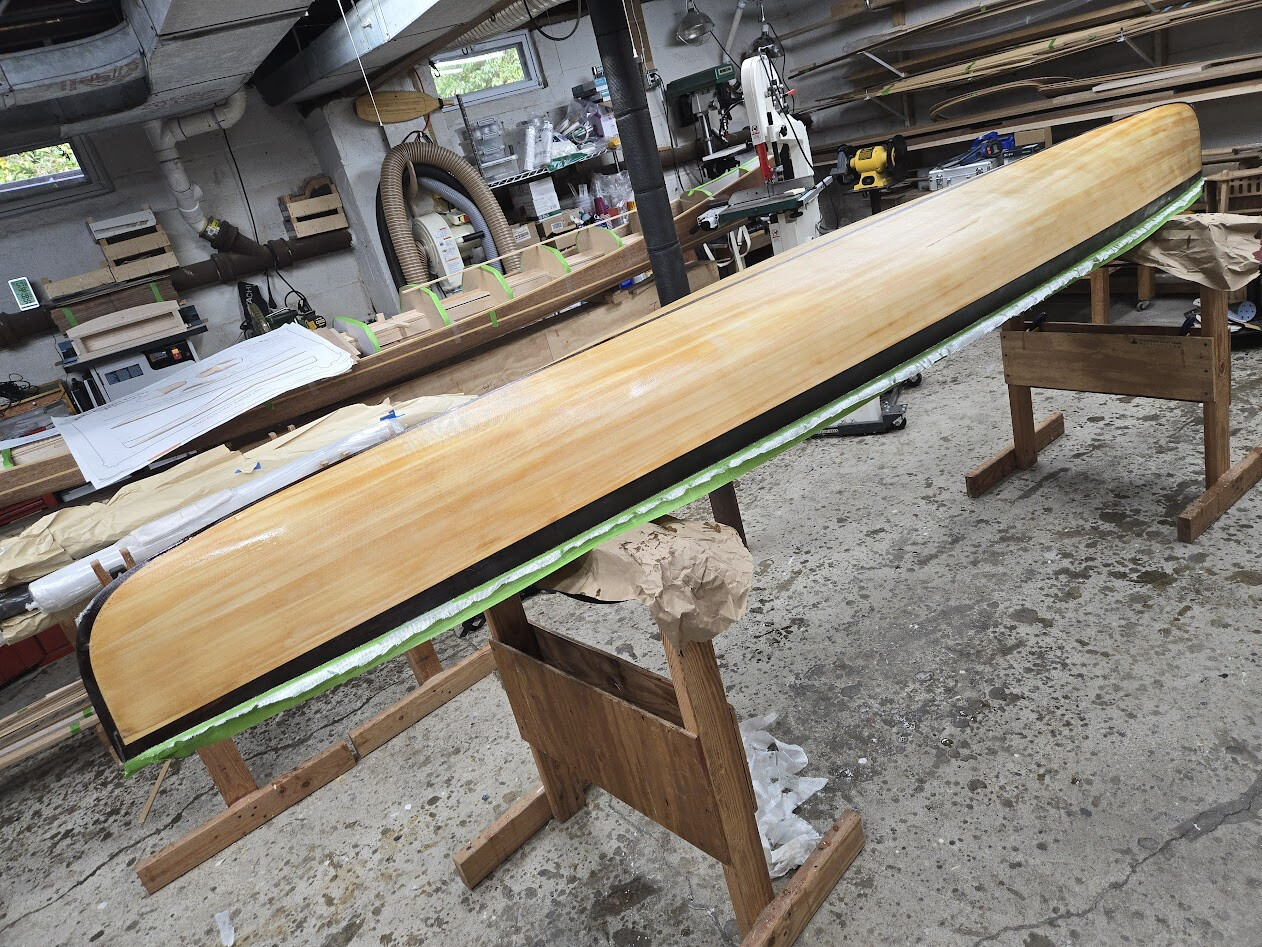
I sold my Nymph canoe a few years back and it came back for some “TLC”. Here are some pictures…
I stripped the glass off and re-glassed with 6 oz. It’ll be fine.
Dan