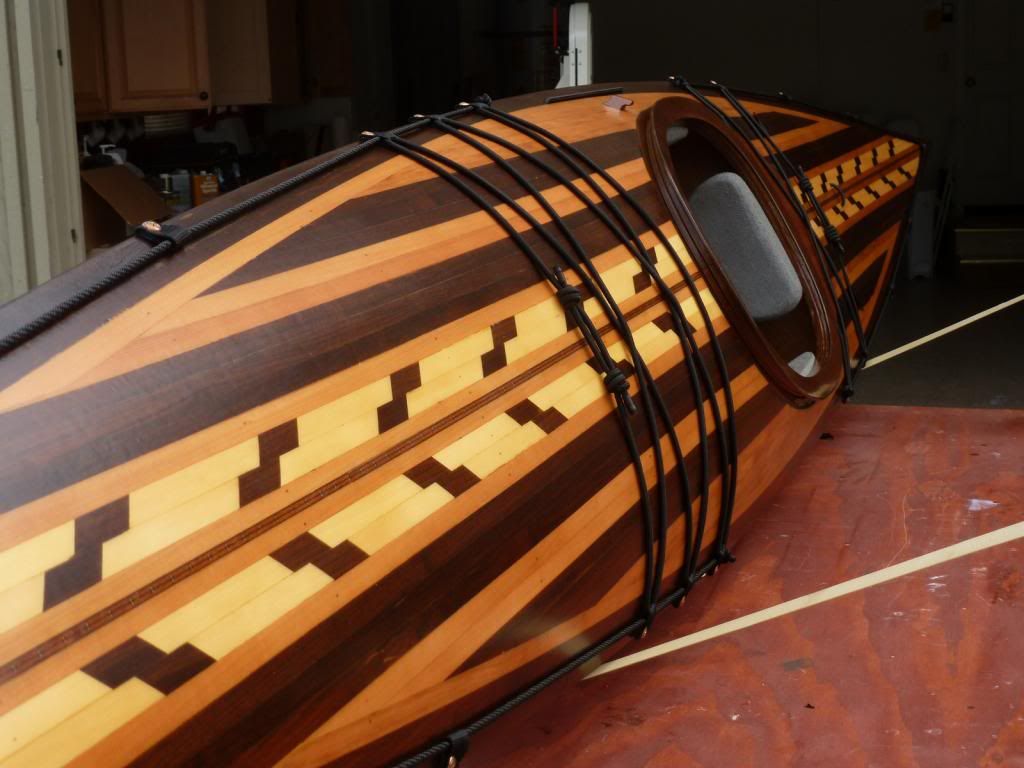
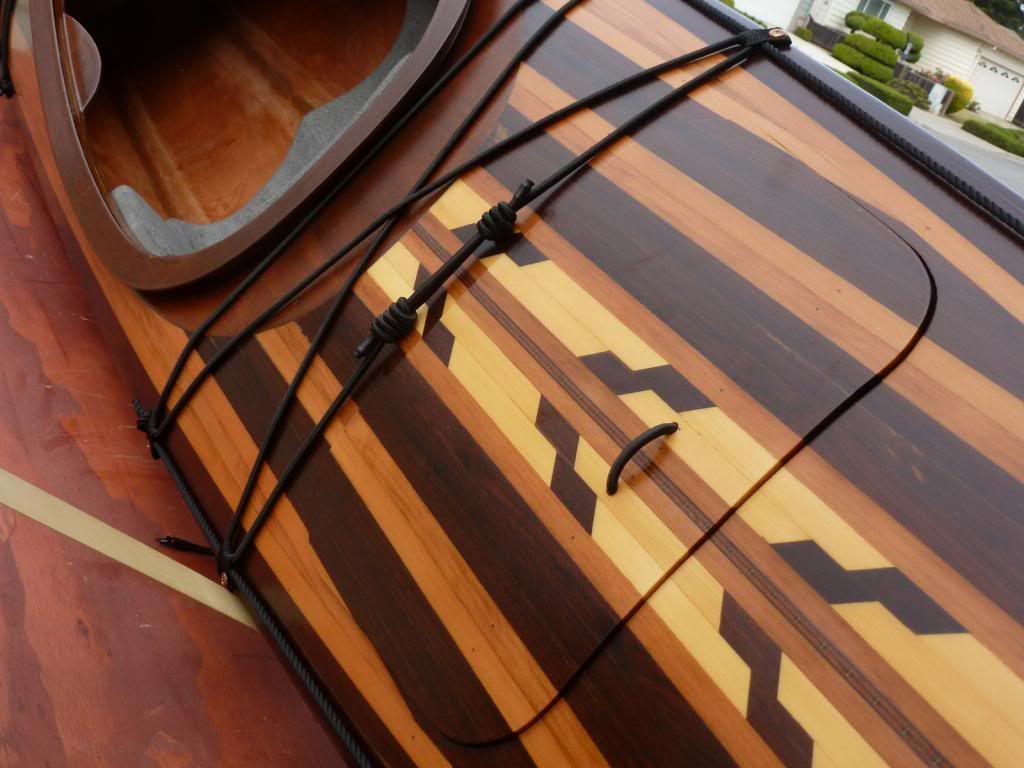
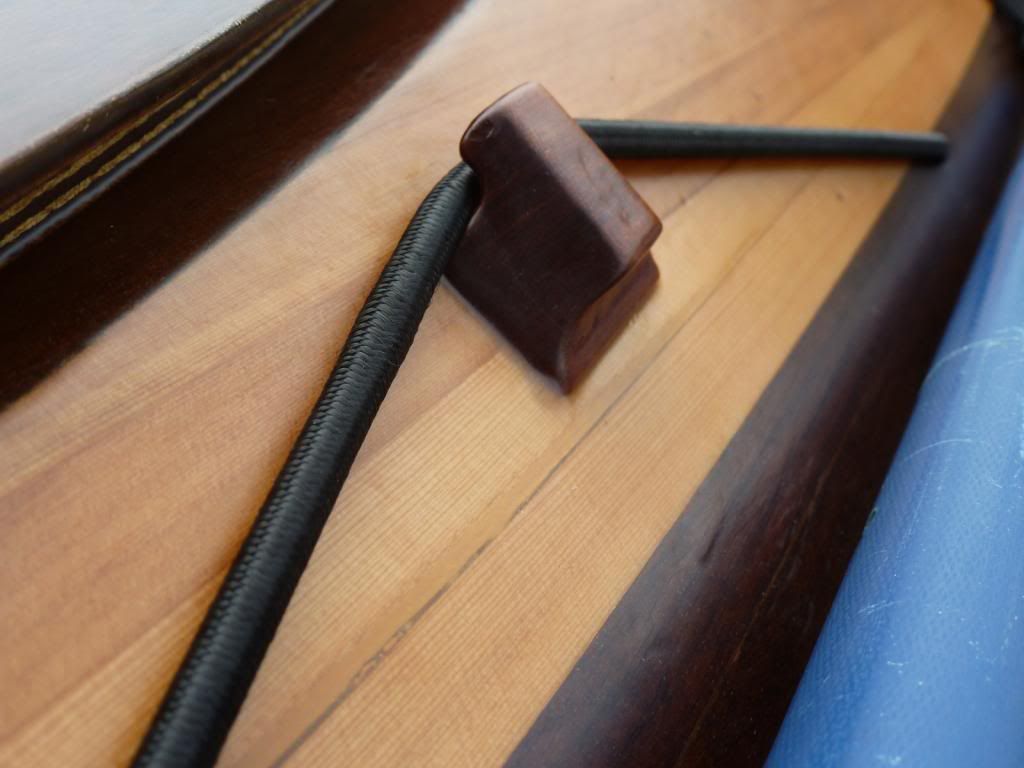
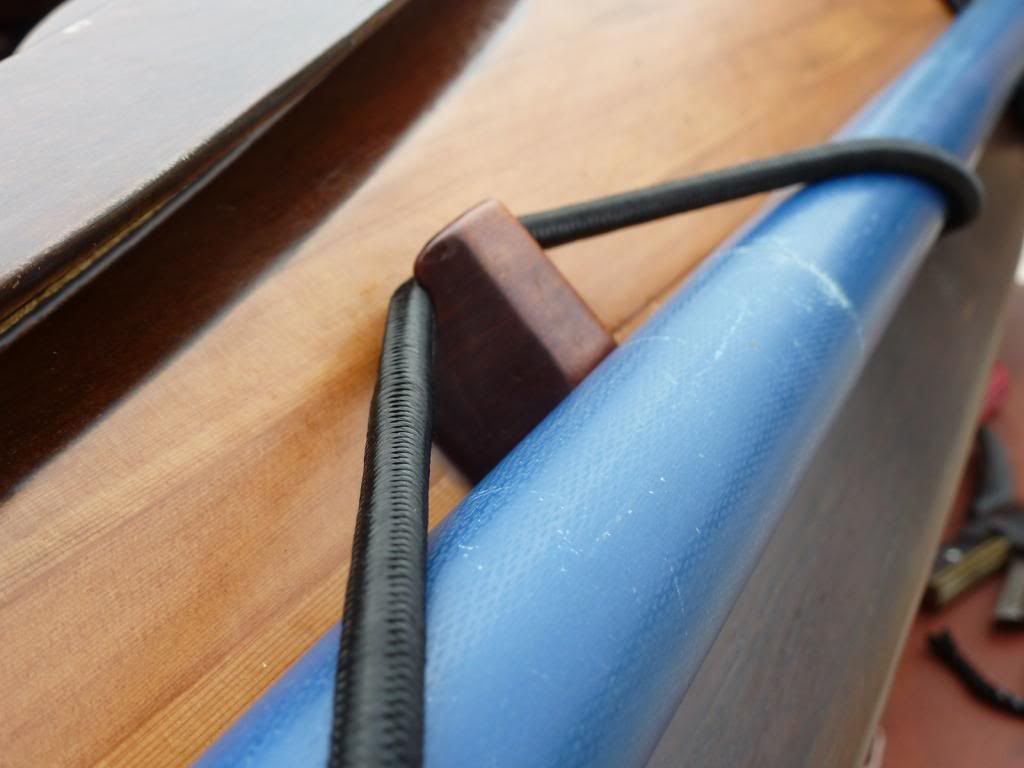
Now complete for launch, which should happen soon. Just a rear hatch is done, I'll add the front one next winter. This took 6 months, with a pretty long break in the action for home move. Here are some photos of the rigging and paddle rest. I used nylon rope rather than bungee for the perimeter line, since a stretchy bungee defeats the purpose of a safety line.
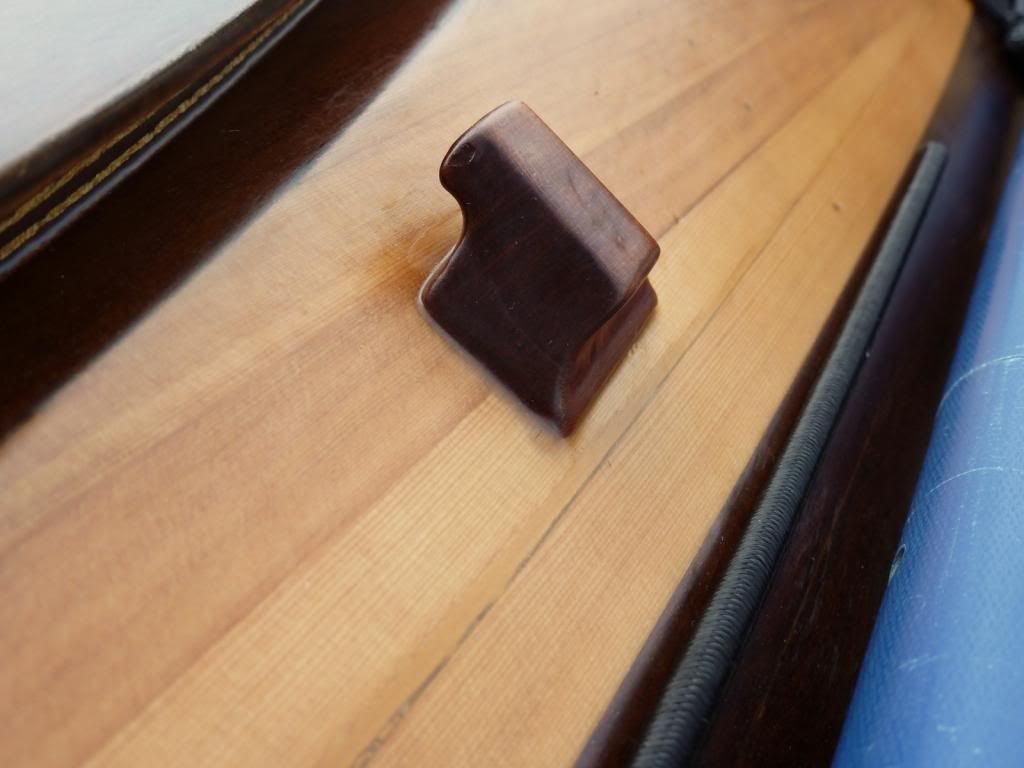
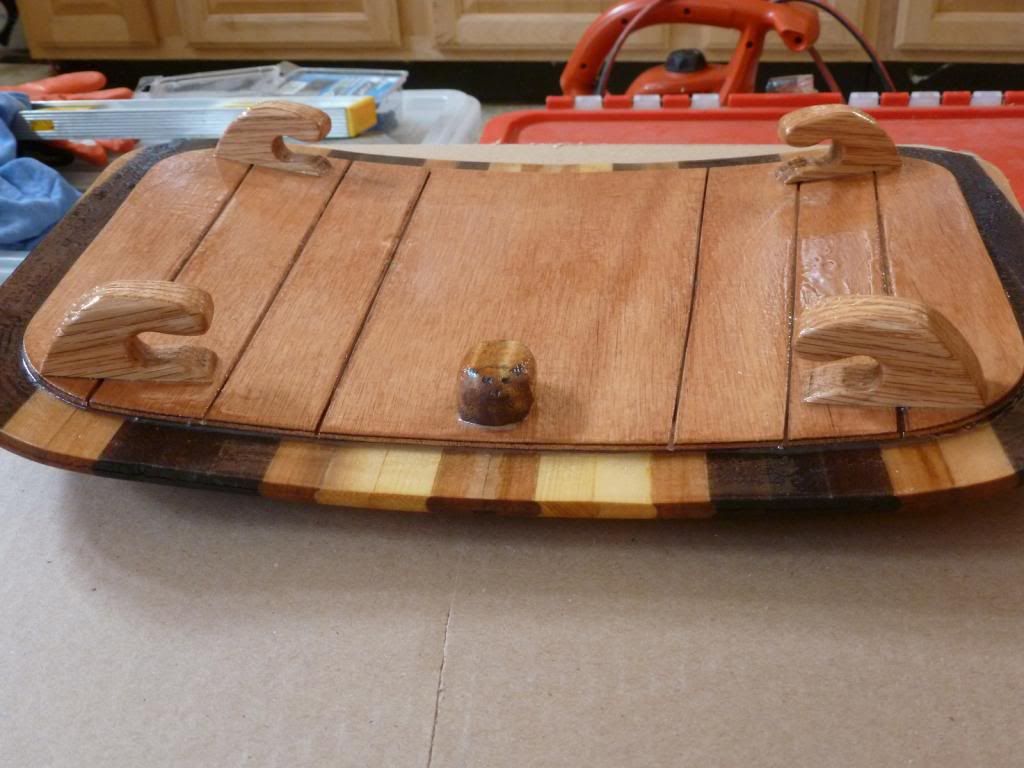
Thanks much. I used the internal bungees for the hatch, which seems very tight. I used Laszlo's widgets to serve as bungee tighteners, and that simple trick works great. The little center wooden dog is for a bungee that keeps the hatch from wandering off.
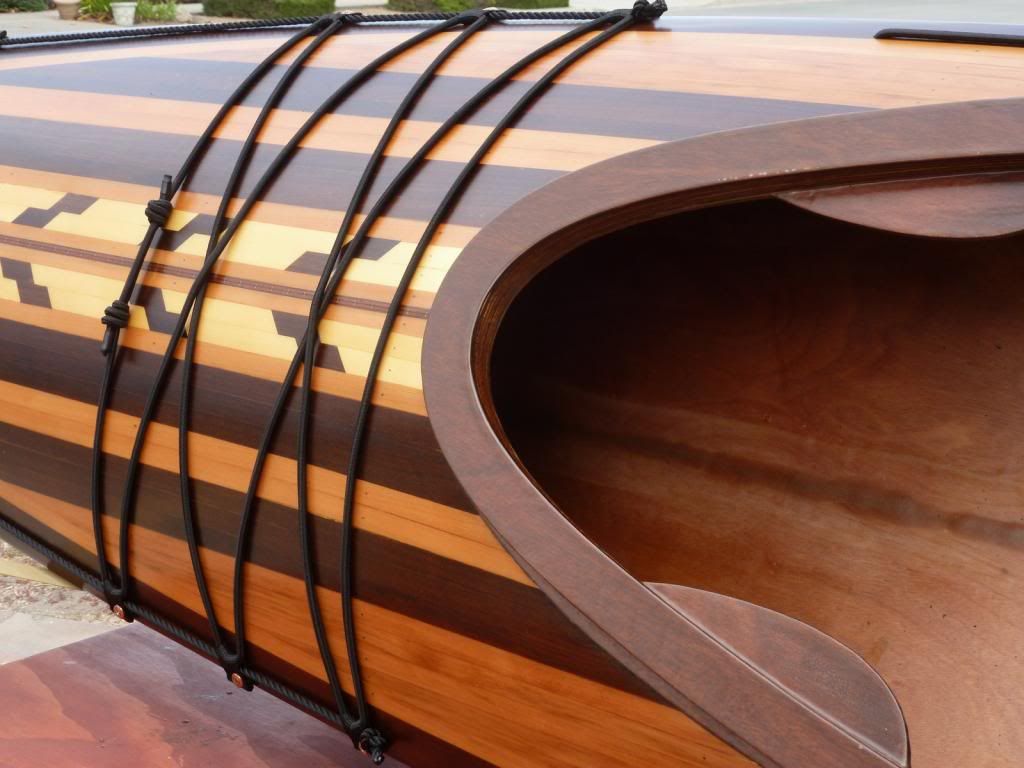
Gorgeous--very nice, inspiring job. I've been thinking about adding very similar paddle keepers to my WD double. My plan had been to put the cord a little higher (actually on the sheer panel) with a small SS hook on the bottom of the coaming inside the cockpit. The paddles would then rest against the coaming trim. How did you treat the holes for the cord?
Thanks Klaver. If you look close you can see lots of imperfections. I'm not anything special when it comes to wood working, and I'm pretty bad at epoxy and varnish work. The cool thing is that from beyond about 3 feet, you can't see the problem spots. I think its important to enjoy your build and not worry too much about the little stuff. These deigns and methods are very forgiving.
DG- if you put the hook inside the coming, you'd have to undo the sprayskirt to use it (I suppose thats irrelevant if you don't plan on a sprayskirt). I drilled the holes at 1/4", then epoxied 'em with a q-tip, and then a little touch up varnish. Looks like it will be a tight seal. i had to struggle some to get the 1/4' through the holes.
Perfect. The design is very nice. Besides that, there are 2 things that really stand out. 1. The Matt finish on the outside, great look. 2. The detail for hatch and paddle holder. Nice work. Now you'll have to make another.
The seat is from Redfish in Port Townsend,WA (put The Wooden Boat Festival on your to do list- a real gem). The seats aren't cheap, but it really finishs off the boat nicely. Very snug and comfortable. Its all one unit. You make a template and some measurements, and a week or two later you get it in the mail- perfect fit.
http://www.redfishkayak.com/seats.htm
Cedart- yes I too like a non-glossy finish. The bright reflection of gloss in the sun is blinding to me. On this boat I used a can of Captain flagship (gloss), and then decided to experiment with coats of Minwax Helmsman Spar urethane semi-gloss from Home Depot . Its only $15 a quart, and was the easiest brand of varnish to apply that I have tried.
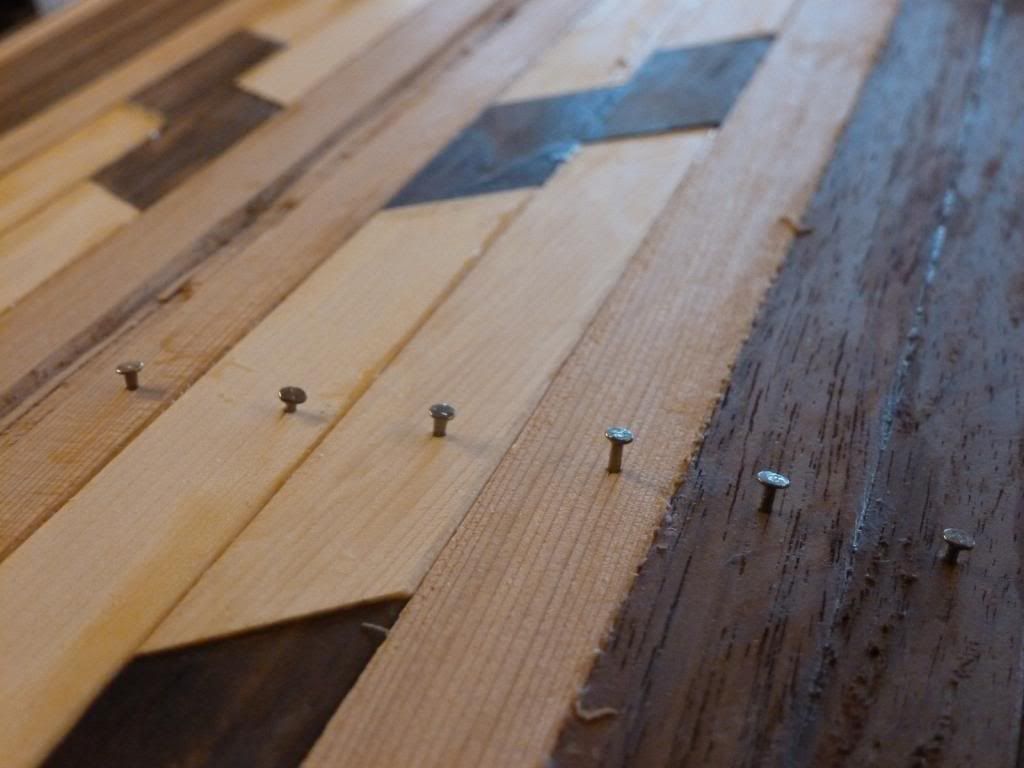
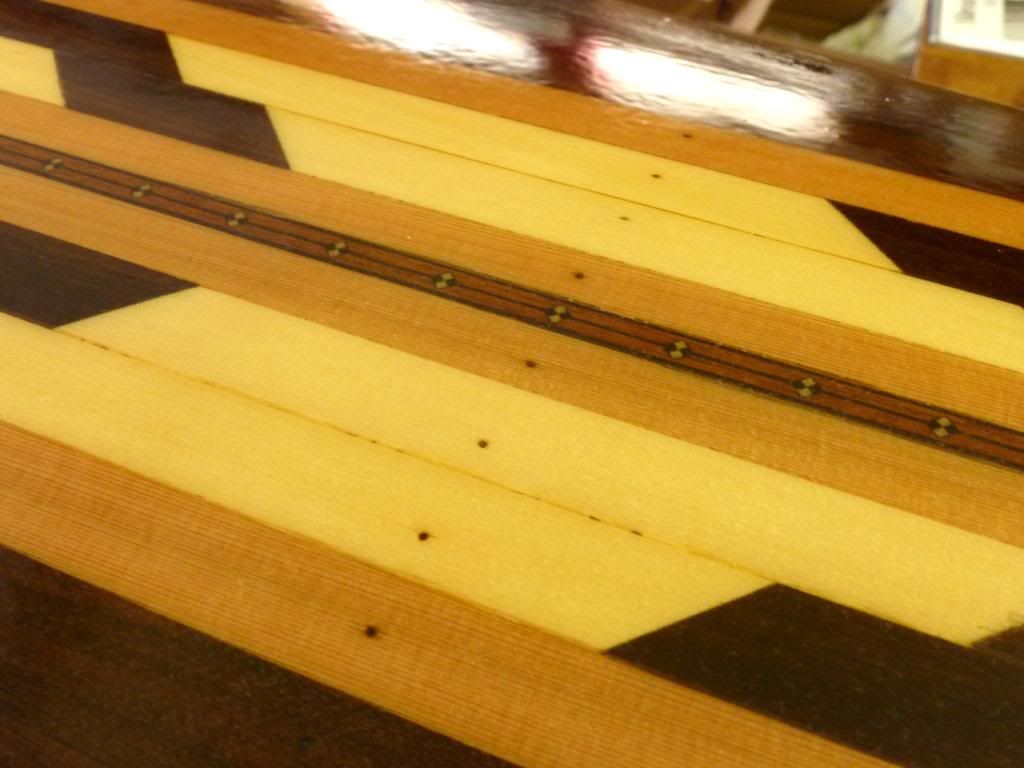
What a fabulous looking boat! I just began my Shearwater Sport Hybrid. I was wondering if you pinned or nailed your deck strips during the build. There appears to be a tiny hole in the middle of each strip where the deck formers would ahve been. I ask because it looks like a much nicer effect than staples and if anything, adds some more character to the boat. Outstanding job!
Very nice deck design. I also like the idea of using a nylon cord like Paracord for the safety lines. Some streach on a saftey line is needed but not the amount of the bungee cord.
I used small brad nails to hold down the deck strips. Very easy, no splitting, and they pull out very easily. I experimented with staples and found it difficult.
Some people go to great lenghts to avoid holes, but I actually prefer the look. I like things to look rustic, rather than sleek.