Is anyone currently documenting their CLC Peapod build?
Thanks for your reply RoamingGnome, is there a web-based blog of your build?
   Not yet. We’ve been talking photos and time lapse but haven’t made things public. Anything you’d like to see?
Brilliant!

Laszlo
Thanks for posting the build pics RoamingGnome. She's looking great!
   Here’s some. I’ll add to it when I get back to it
https://photos.app.goo.gl/wwVQ8EHWdKLHh9EZ6
Hope the link works!
@RoamingGnome, I want to see it all. I love this design.
   Yep! In a bit of a holding pattern since I’m a teacher and this year’s “back to school” had been INSANE. I’m up to (and part way through) interior glassing.
Here's an alternate method to fill the Lap joints:
The manual calls for peanut butter blend and wipe the joint as if it were a fillet. I mixed the epoxy and left it soupy, more like jam. Fill the joint carefully and let gravity work for you since the boat is upside down now. it made a nice puddle in the joint and no wiping. It does require a steady hand. Also, cut the bag corner smaller to better control the delivery. Worked for me!
Cheers
Dean
Did anyone else find the Mizzen mast step to be completely in the way of placing the middle skeg screw? Seems like an oversight in the plan: 12" aft of the 5th rib puts the screw location right inthe rear of the mast step, in a quite inaccessible spot!
P
Pippy,
Yes! While the boat was upside down I measured and drilled a pilot hole for the skeg from the bottom. Only to find out it was directly under the limber hole. Filled it with epoxy and moved the hole forward. Fun!
Dean
I've got a camera on a tripod in my shop and I'm taking photos along the way. No video yet. Keeping a journal too.
I'd like to communicate with other Peapod builders!
dhallberg@nc.rr.com 919-696-3651.Raleigh, NC
Does anyone have the approximate dimensions of the visible part of the centerboard trunk above the floorboards and of the wear board on the top strake? I have a kit ordered but it's going to be 2 months and I want to have some art work ready to go for those areas when the kit arrives.
Love the peapod shot. Will th ebig one be green too?
Joel
I have been posting about my UK Peapod build on Facebook. It's more of a personal diary for the amusement of friends at the sailing club than technical build record. But if you are interested search out the Bad Taid Eto page (btw the name is Welsh)
I am about to install the skeg but find that there is huge long gap between the bottom of the hull and the long part of the piece. The gap is 1/2" at its widest. Has anyone encountered this? Any ideas on how to deal with it?
Thank you.
Jose, The manual mentions removing quite a bit of material from the stern ( and the bow). Take a look at what is preventing the skeg from sitting flush. Suggestion: Move the skeg aft until it is flush with the bottom and not touching the stern. Then move it forward until it just touches the stern. That may give you an idea what and where the material needs to be removed from the stern. sneak up on it an sand small areas...you cant put the wood back! Dean
Dean, thank you for your suggestion. I don't know how I could possibly remove materail from the stern now that the hull has been fiberglass and has two coats of epoxy on it, without this becoming a major project. The manual does say to remove material before fiberglassing, the skeg-fitting being much later in the process.
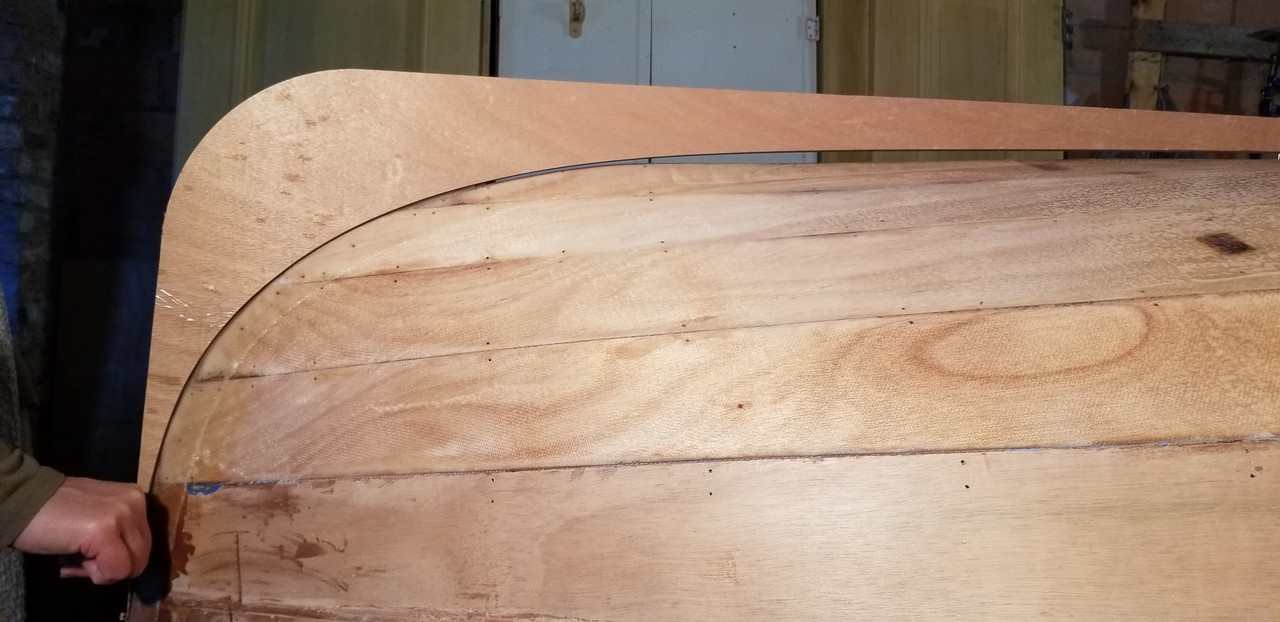
Here are some photos:
https://postimg.cc/gallery/4cxvt3y
I can' tell if shaping the skeg itself will help.
Have you reached this part in your build?
Never underestimate the ability of the wood flour goo to hold things together. It's holding on the transome of my Peeler and try as I might the 15hp outboard is still there.
That gap looks doable. Sculpt the goo carefully and any clean up can be made easier with a heat gun.