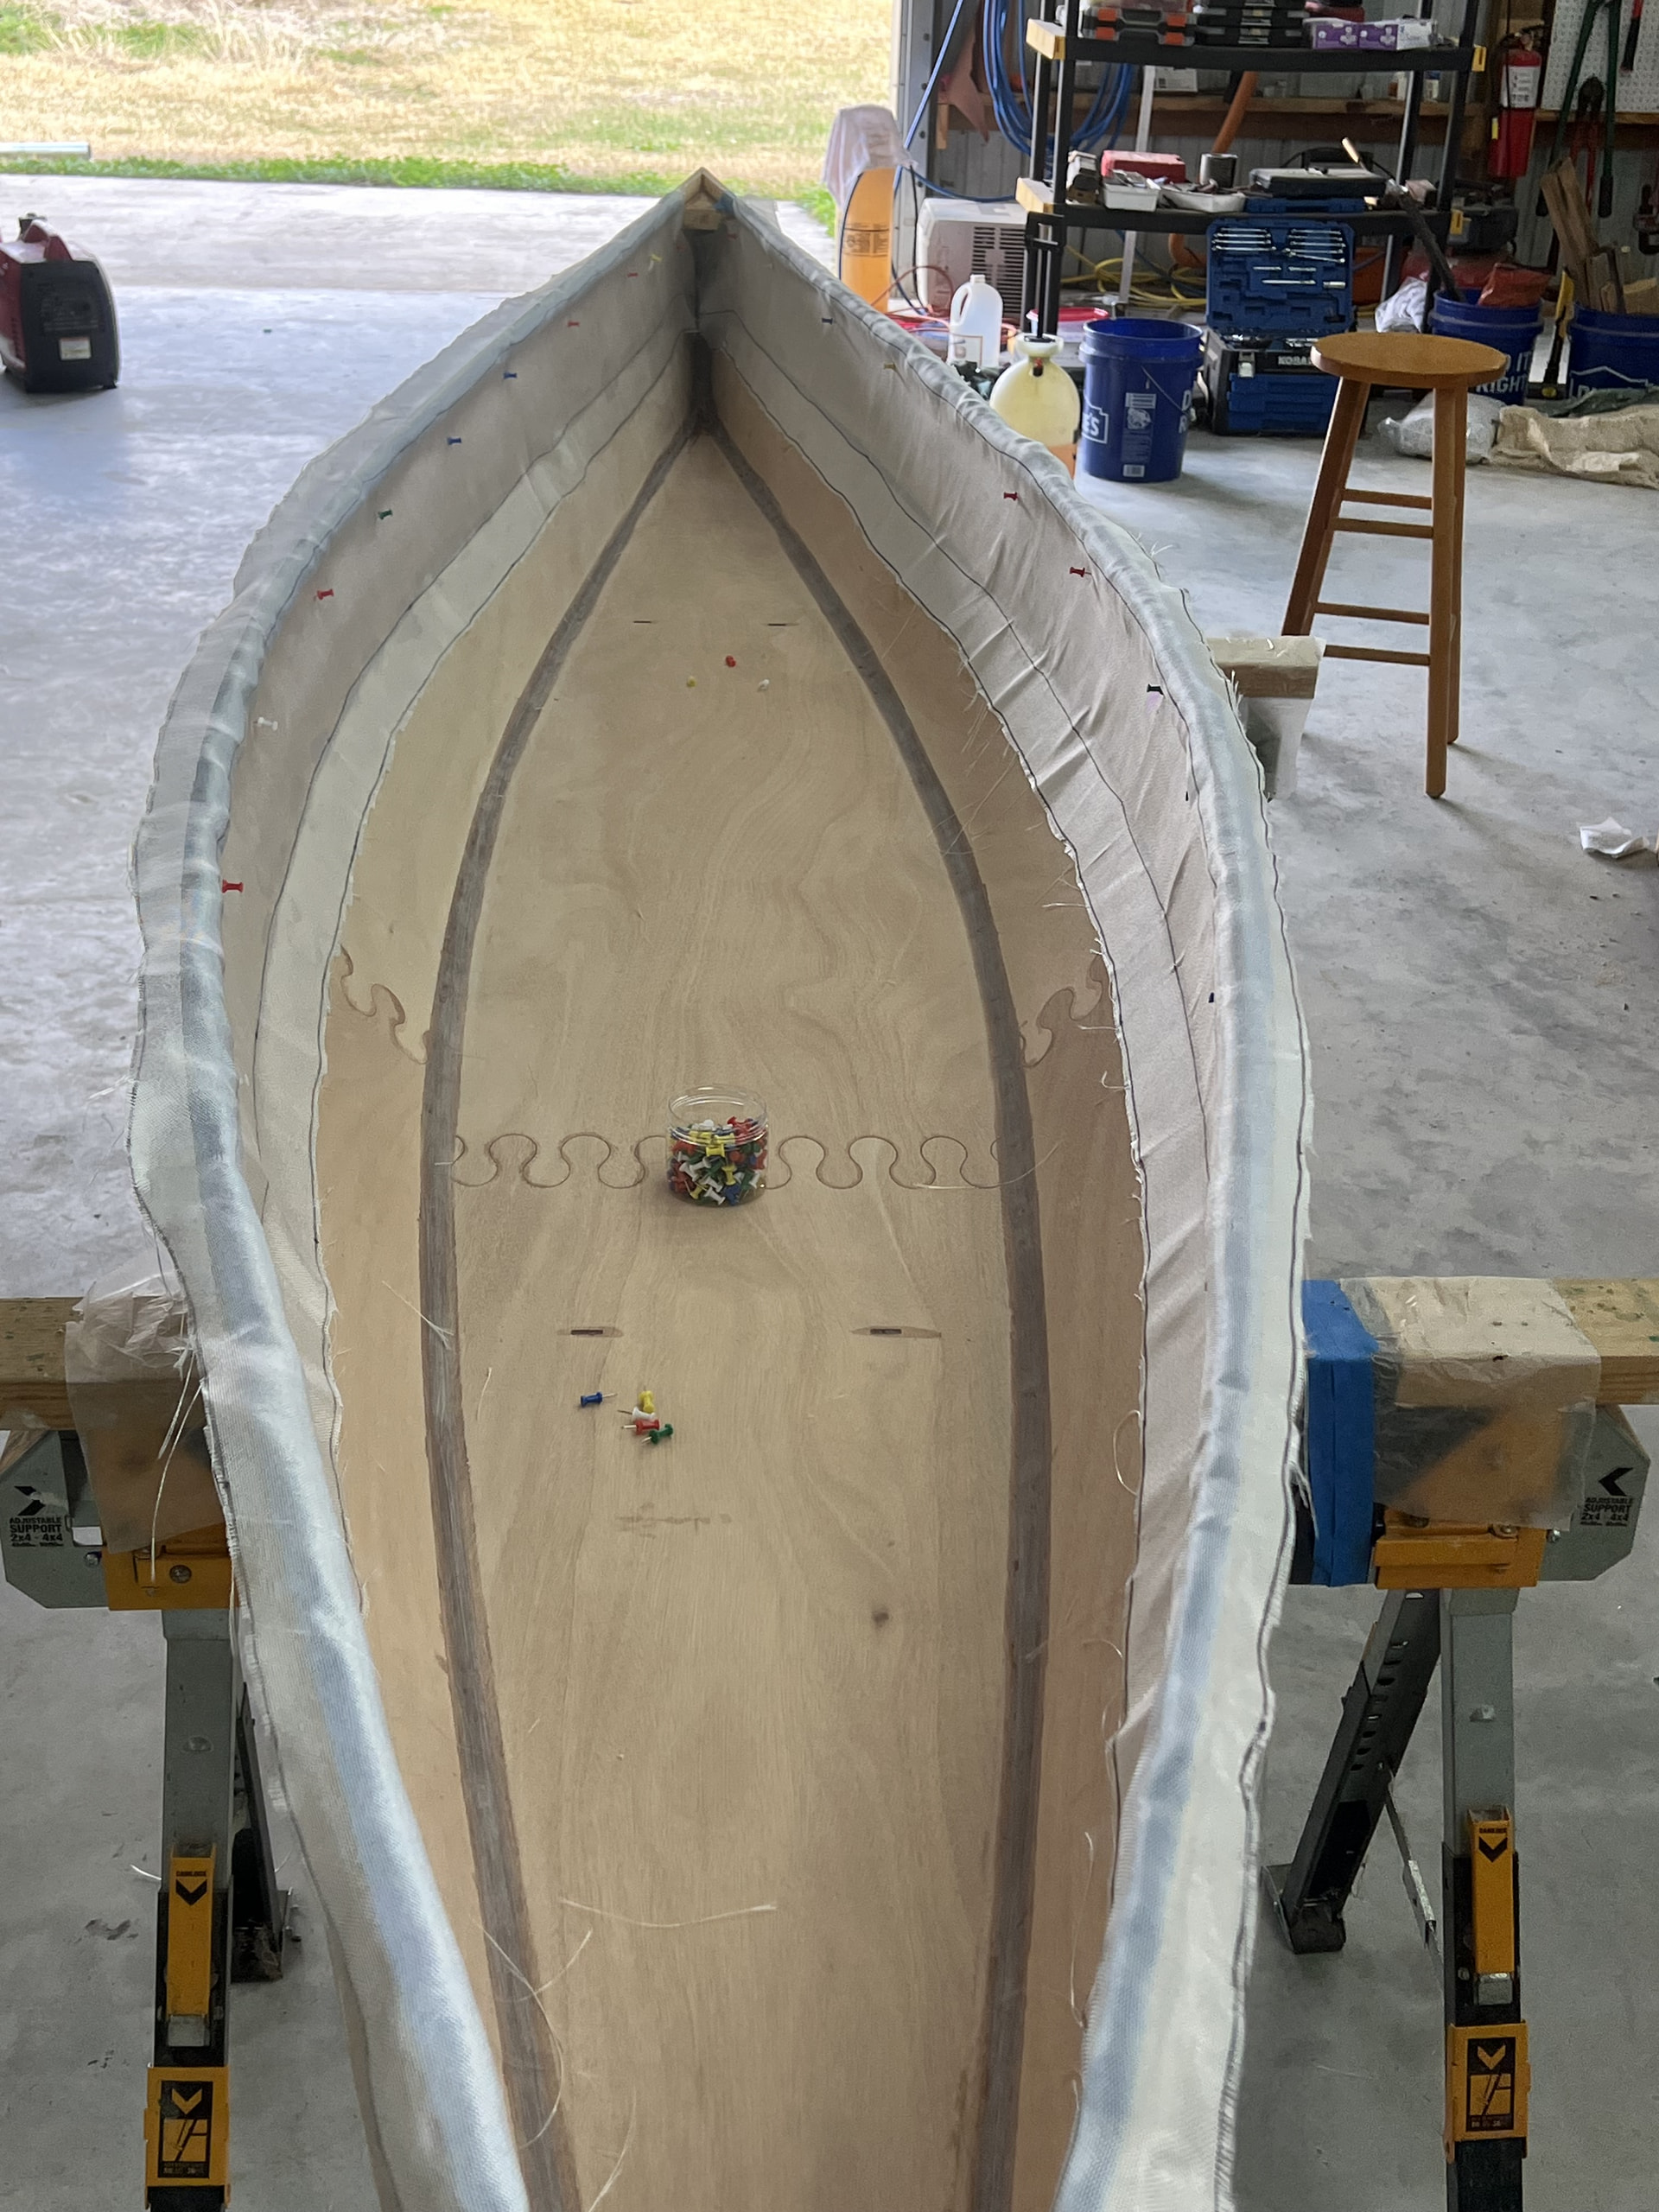
The outside of my Petrel Play stripper fared up nicely, and the work I put in looks great under a layer of glass. Now comes the inside, and that’s a bit of a pain.
I plan on putting effort to get it smooth anywhere my body or gear may touch, but how smooth does it need to be out at the hull ends which will never be seen nor touched, and are a real pain to fare?
I assume it comes down to weight and structural strength. A smooth surface will take less epoxy to wet the glass, and the glass will be tight to the wood, providing better strength. Uneven strips will take more epoxy to wet the glass, and I assume will be weaker. But the question is if it makes much of a difference for the work involved. Thoughts?
You want the entire inside to be smooth before glass for the reasons that you list. Another to add to your list is that any voids not filled will be a source for outgassing. The good news is that most of the boat interior will not be seen so you don’t have to worry about cosmetics.
Start by marking the section of the hull in the cockpit area which will be visible once the deck is on. You want this area to look good so you need to sand/plane as smooth as possible then fill any voids with thickened epoxy that approximates the color of the surrounding wood. Epoxy thickened with wood flour is pretty dark but you can add Cell-o-Fill and or microballoons to lighten it up.
For the underside of the deck and hull areas outside or the cockpit, use rough sandpaper or a plane to knock off the high places then fill with epoxy thickened with microballoons only. Once it cures, sand it smooth. It does not have to be cosmetic or perfectly smooth, just smooth enough that you don’t have any voids under the glass. This sounds like a lot of work but will go quite quickly because epoxy with microballoons sands very easily. That mixture is also ver light so you will save considerable weight (and expense) compared to letting the voids fill with unthickened epoxy.
My favorite tool for smoothing the concave areas on the inside of the boat is a convex sole block plane. This is the Lie-Nielsen 100-1/2 used on the underside of the Aluetesque deck.
Alternatively, you can use convex sanding blocks with rough sandpaper. The box contains a handy kit of blocks from Amazon which is quite inexpensive. Note that this is not my cat, but the neighbor’s. For some reason she adopted my garage when I was building this boat.
once you use this, you will never want to go back. you do need to learn how to sharpen them…but one sharpening (or the initial purchase) usually gets you through one boat.
the various shapes, especially the french curve, will will address almost every curve. then finish up with sandpaper.
i also use microballoons to fill in any gaps on the inside…as mark said, easy to sand. you want it bondo consistency and trowled into any cracks/gaps with a putty knife. that’s how i do it. and as mark said, maybe a bit more care in the cockpit area if you are concerned about that area cosemtically becuase microballoons, typically, does not match the wood.
below are some pictures that are similar to mark’s…but i used the scrapers to do most of the hard work.
my only other advice, is this is the kind of work where i usually break it down into daily goals and i focus on quality. it is a bit tedious and depending on where you are starting from, can be a lot of work to get it smooth, even with the right tools.
on a larger boat i may break smoothing the inside into a bunch of sessions with a goal of no more than one session per day. i may break it down into 3 sections for deck and 4 sections for the hull. this way you just manage your expections and you get a sense over a smaller section, the emotional and physical committment of what it takes to get a section smooth…and not fall into the trap of disappointment or unrealistic productivity expectations.
so basically, i allocate smoothing the inside, a week to two weeks inclusive of the bondo work. concave is just harder than convex
Got it - a smooth, transition-free substrate for the glass is critical for bonding and strength. When doing it for looks, bringing the wood down to a uniform surface highlights the beauty of the wood. When looks aren’t important, it’s easier to build the surface up with an easily worked material. Of course, the more you knock off the high spots the less you need to build up.
Finishing the outside taught me the limits of matching color and texture. Luckily (it wasn’t skill) there are no big gaps; it’s mostly just height transitions between some adjacent strips. Knowing I can build up that edge instead of having to reduce the whole adjacent area (in the non-visible areas) makes it easier. The visible areas are mostly flat and easily accessible.
It’s a matter of what your priorities are. More detail equals more time/work. Some of the best advice I’ve ever received was from Lazslo when he recommended “painting” a layer of resin on the fillets with a chip brush when the epoxy/wood flour was still soft, they came out smooth as glass with minimal sanding.
This Mill Creek 13 didn’t require glassing the interior but I wanted the extra strength so I added a layer of 4oz S-Glass. I used the partially finished side panels and bottom as patterns overlapping each other by 2”. That added the strength needed so I didn’t use the fiberglass tape. It only added 3.18 lbs. to the build.
The ends barely see load, so it’s less about strength and more about not trapping air under the glass. A gap there just soaks up extra epoxy and can leave a soft spot down the road. One trick before glassing, run a shop light along the hull at a low angle. It shows every bump and low spot far better than normal light.