i thought i would update you all on the build as i came to an interesting juncture on this boat's construction ...and got to try some things out that i had not done before.
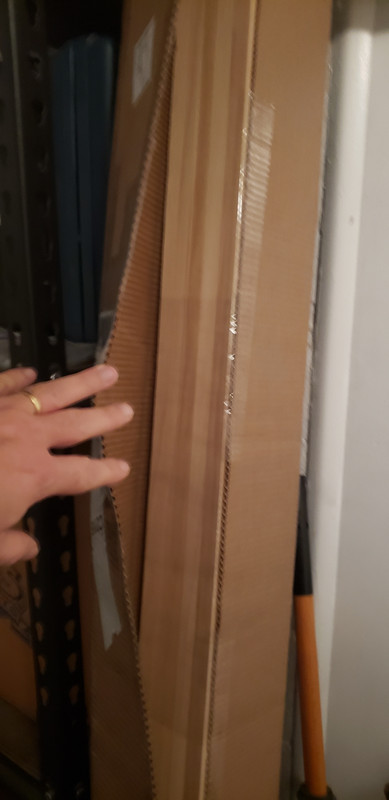
my most recent task was the external stems....and historically, with longer, pointier boats, the stem bends were gradual enough that i could bend wood with, at best, a little bit of muscle, and at worst, a little bit of heat from a heat gun and some muscle. but after breaking a couple pieces with these two techniques, i finally surrendered to the realization that this was going to take steam. and so i dutifully set upon the internet to find a steam box that i could quickly assemble.
after several hours of research i declared myself unsatisfied with the proposed solutions and started about rummaging throuh my favorite place (and my wifes least favorite) the kitchen, for a solution.
i was greeted with a 'what are you cooking?' (her birthday's tomorrow.....) and promptly and proudly (becuase i spent no money) displayed that i had conscripted our turkey roasting pan and steamer platform into boat building duty and was happily 'steaming' the cedar strips for my stems.
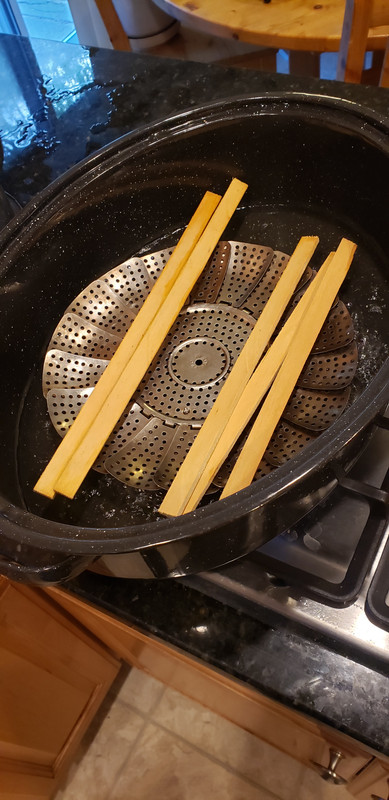
this did not prompt any particular reaction from my wife, but as she realized this had nothing to do with her birthday, she quickly lost interest and returned to her hobby playing with the family cats....refusing my entreaties to engage her in a conversation about everything i had just learned about bending wood and how it was so similar to cooking brisket.
anyway, enough about the family....
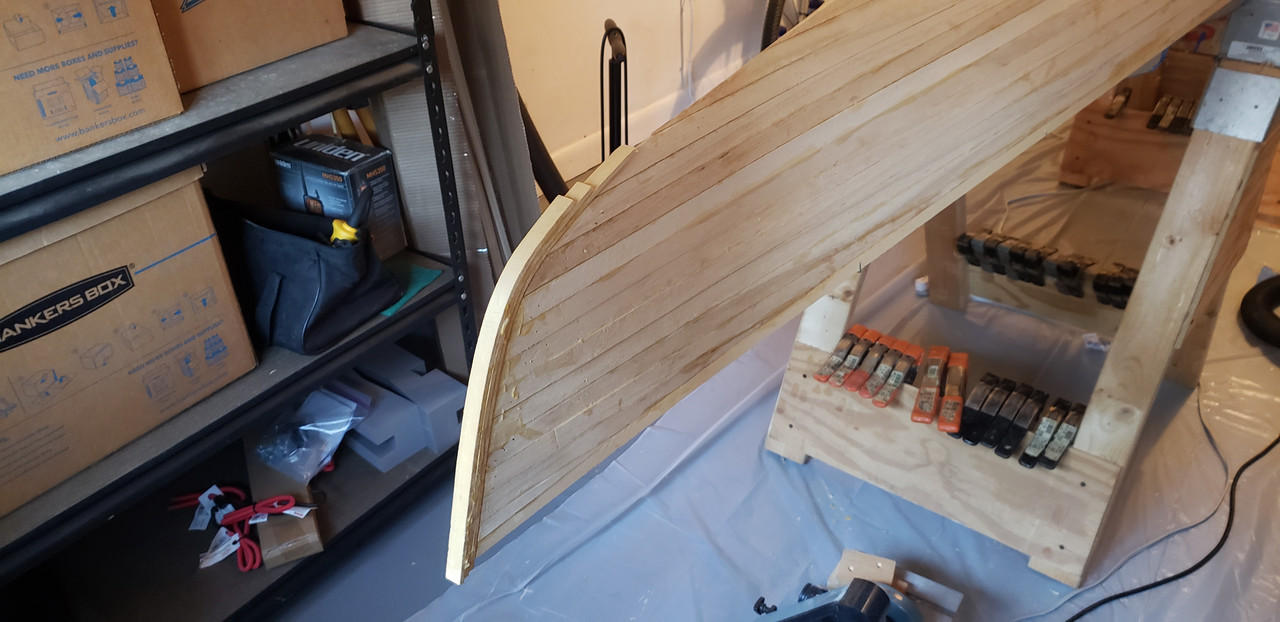
the next picture shows how relaxed the wood became after about an hour of steaming (hence the brisket analogy) so i temporarily held the pieces on the stem forms while i busilly attached their kin to the boat:

and here is the final step with them now attached to the boat:
 anyway....the goal tonight is to start to fare these stems in....and work on overally sanding of the hull.
in summary, a turkey pot is a great way to steam small wood strips without making an investment in a specialized steam box.
h
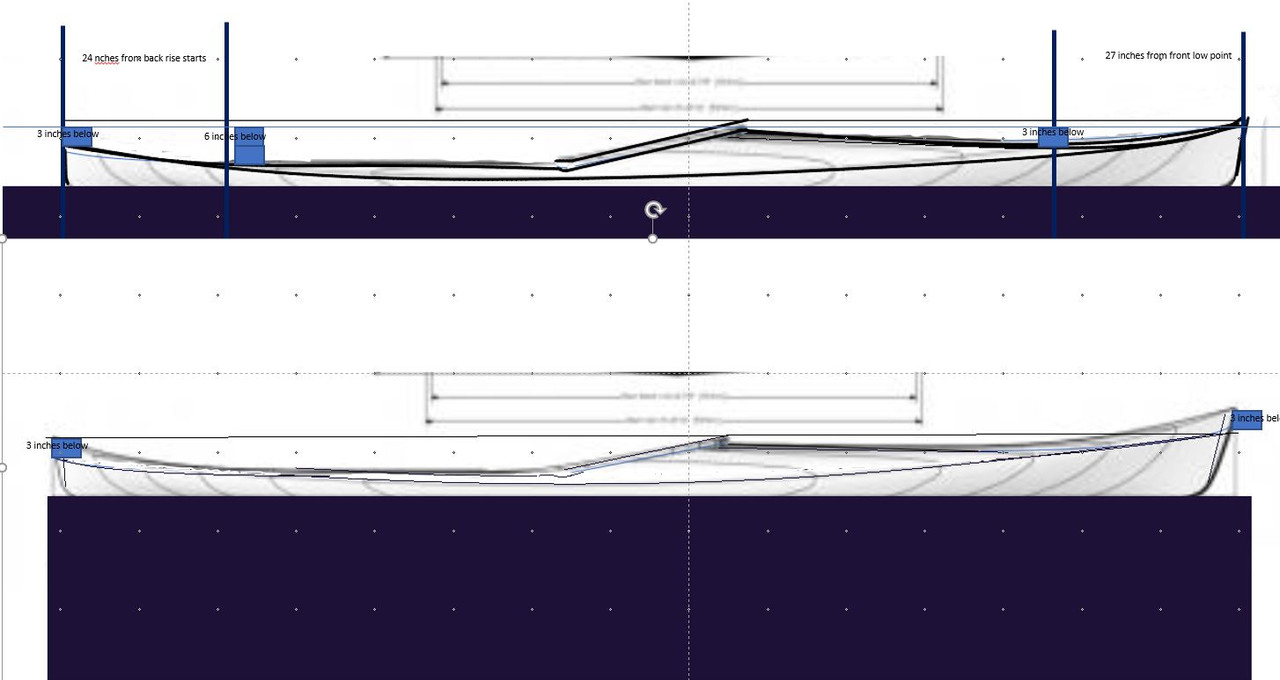
 you can see in this picture the downsloping deck now along the pink line and the recut bow form. forms 1 - 5 all needed to be adjusted for the new slope of the deck.
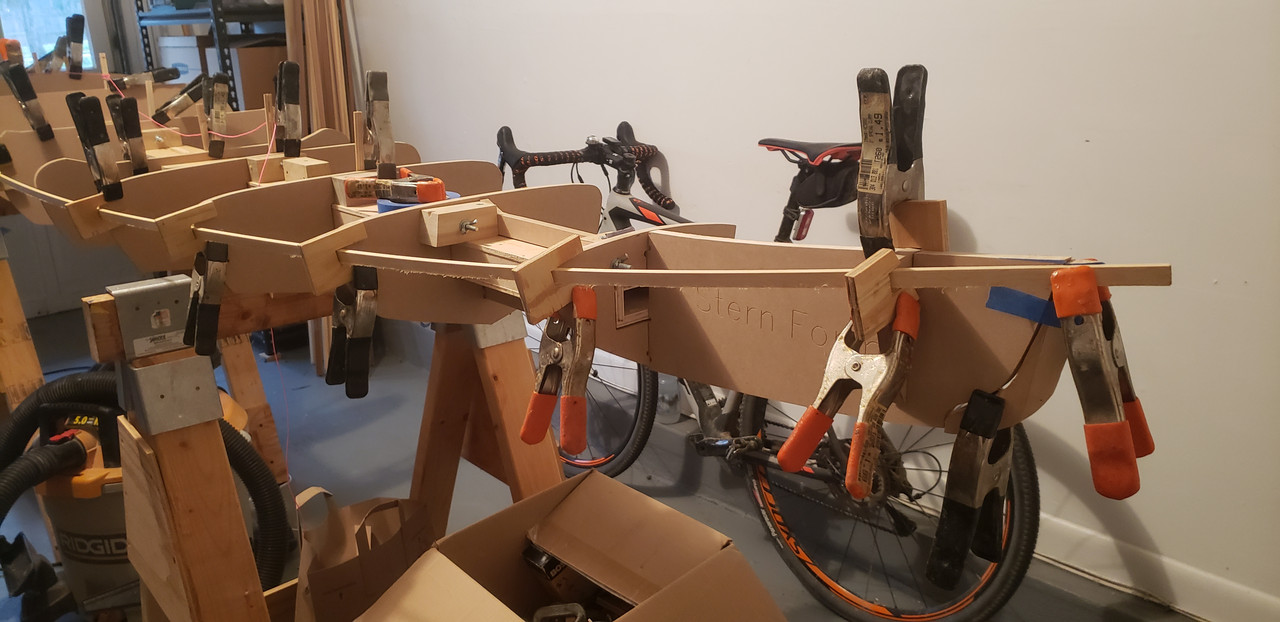 anyway, going to call it a day. but i think it looks on track.
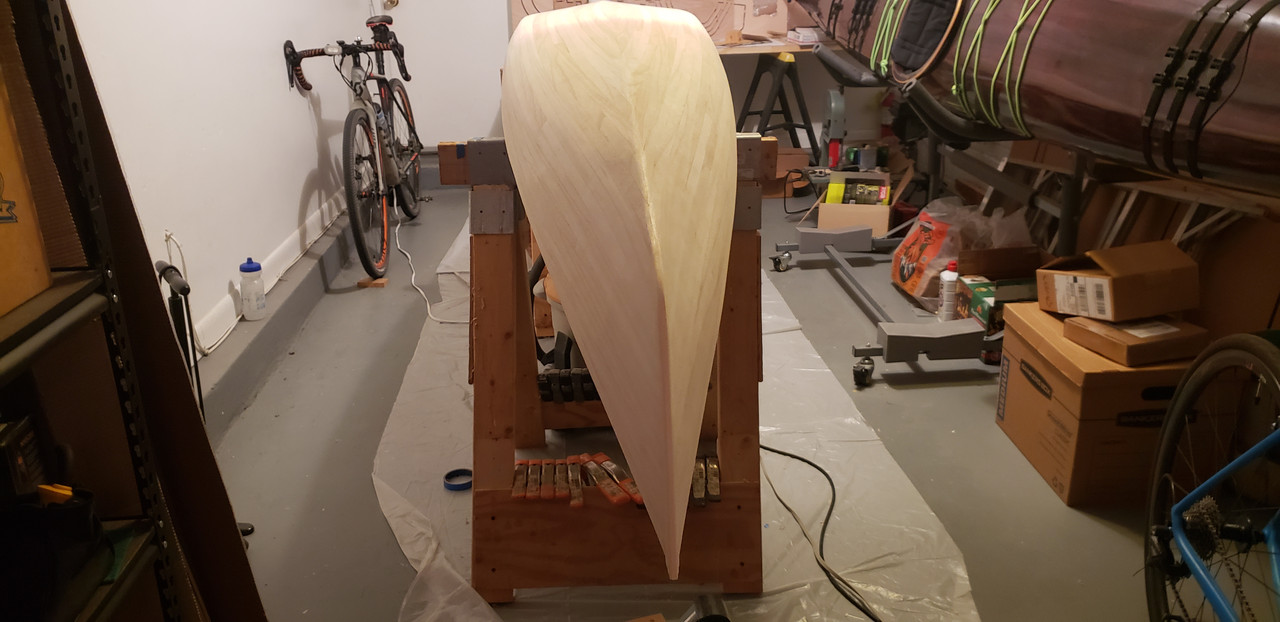
 a lot of hours just getting the first strip all perfect and centered and symetrical. but looks good.
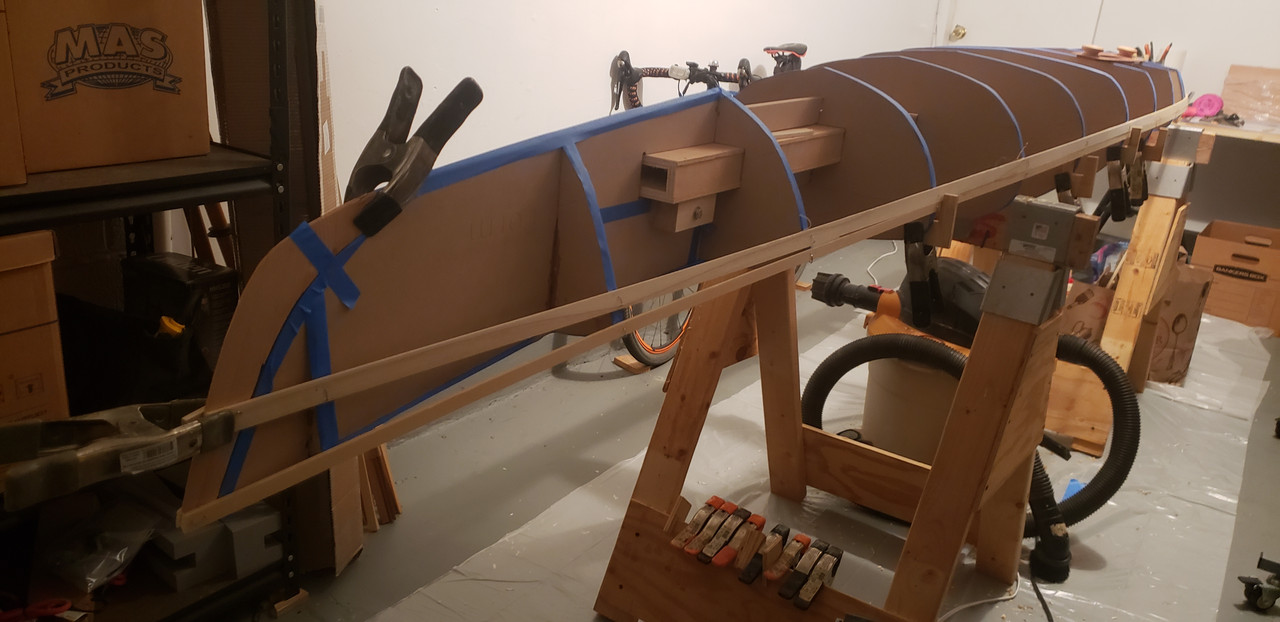
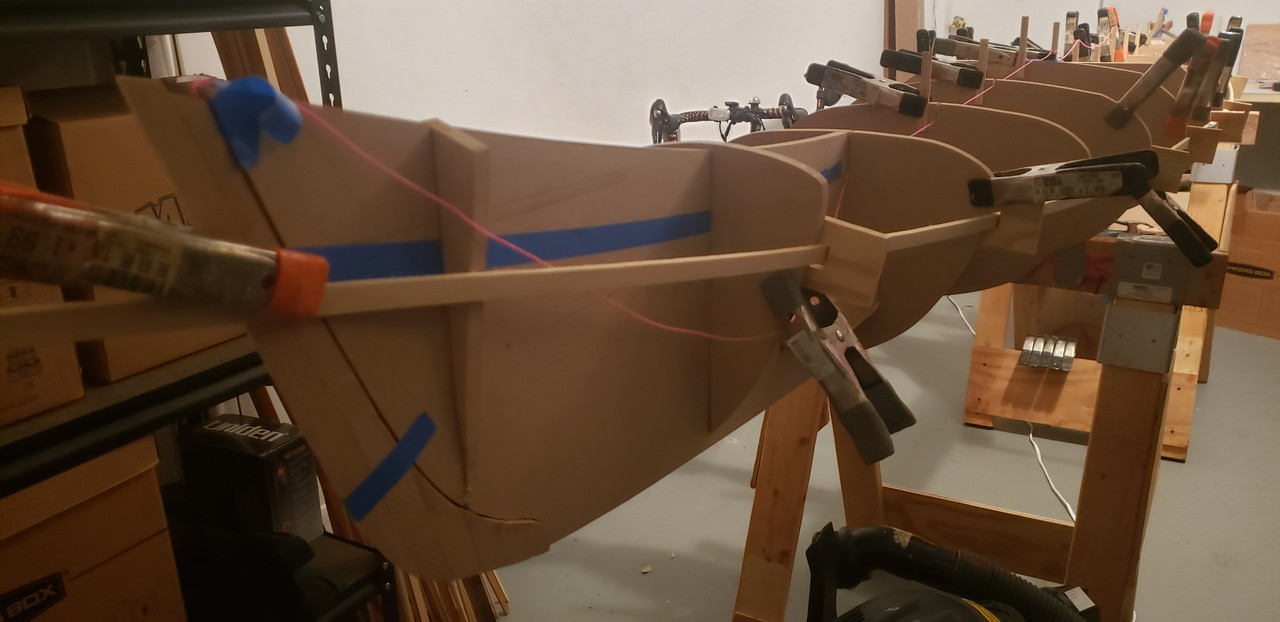
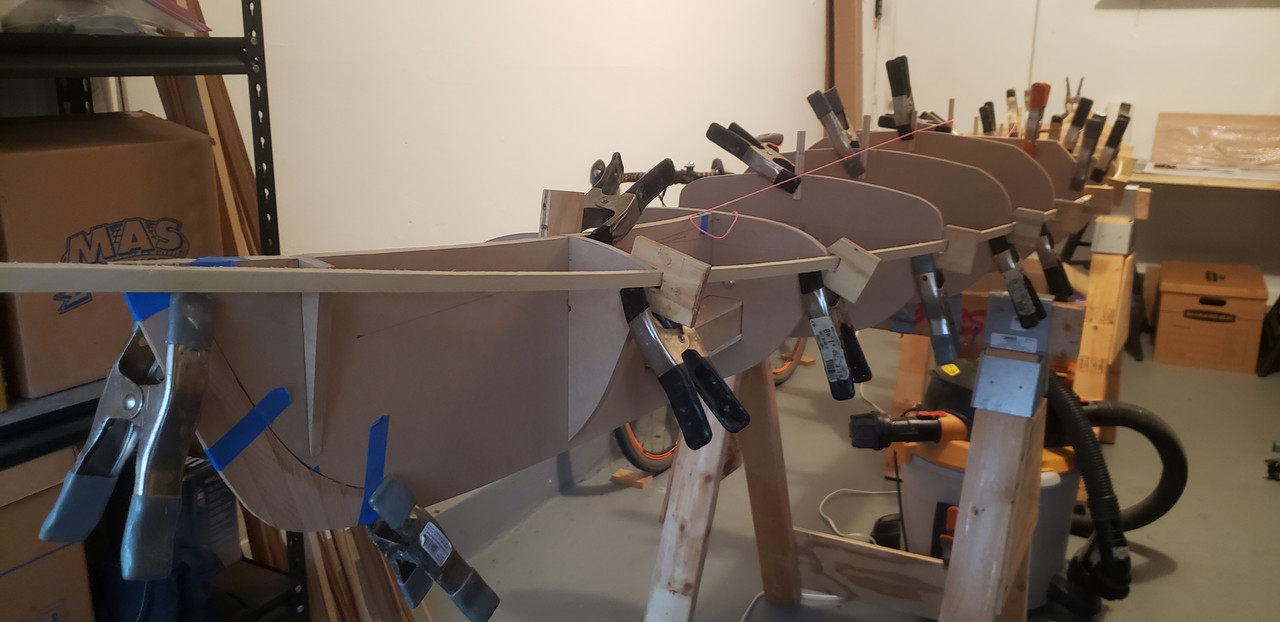
 the petrel play hull strips pretty fast except to the point you get to in this picture where from about the rear of the cockpit area half way to the back of the boat you have a hard chine that needs a little bit of attention and some careful cutting to get around this corner. that said, i will make the turn tomorrow and the the bottom then will be relatively quick.
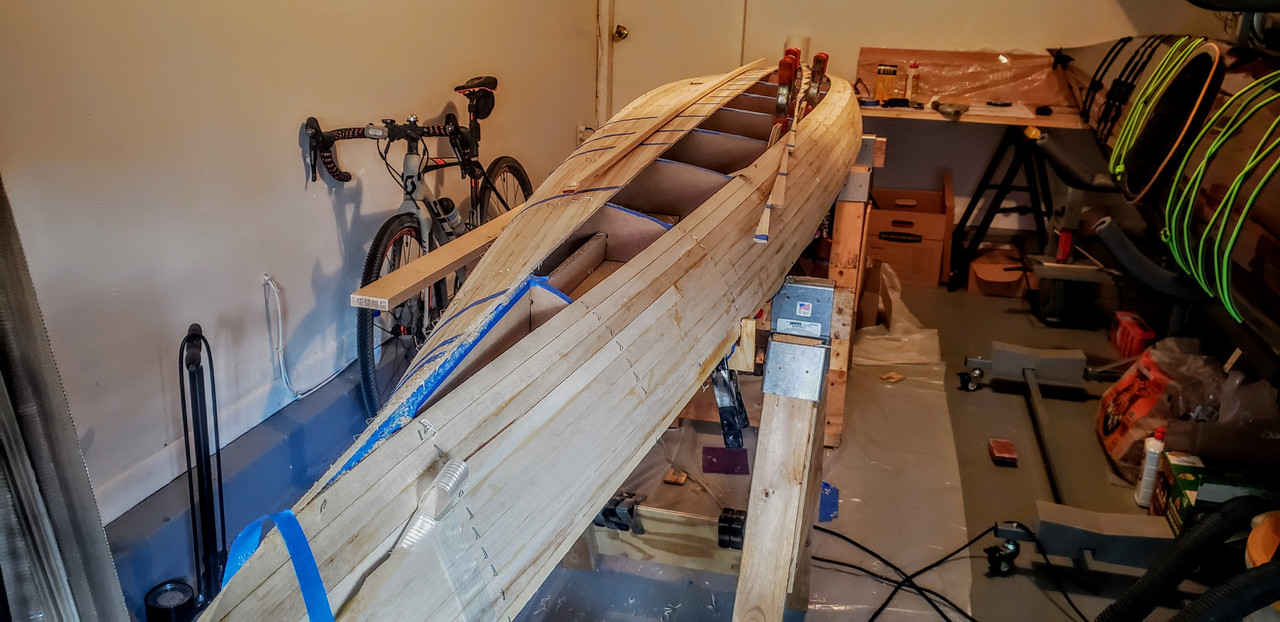 just moving along on the hull.....one half of the bottom to go then we can start the deck.
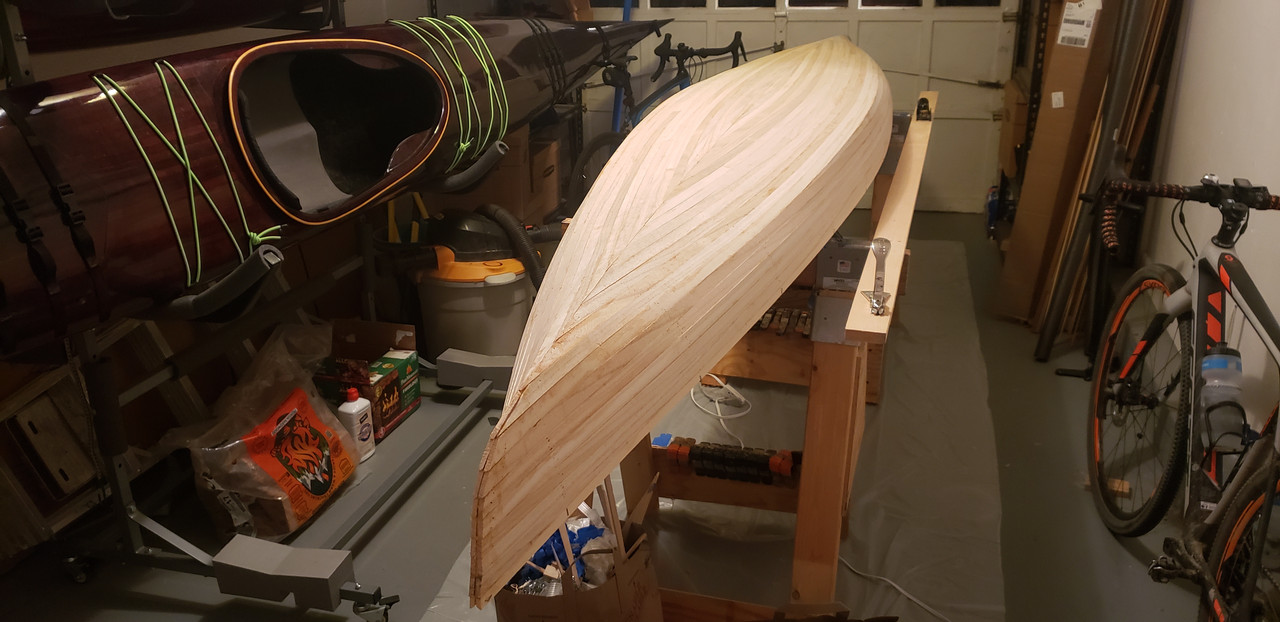
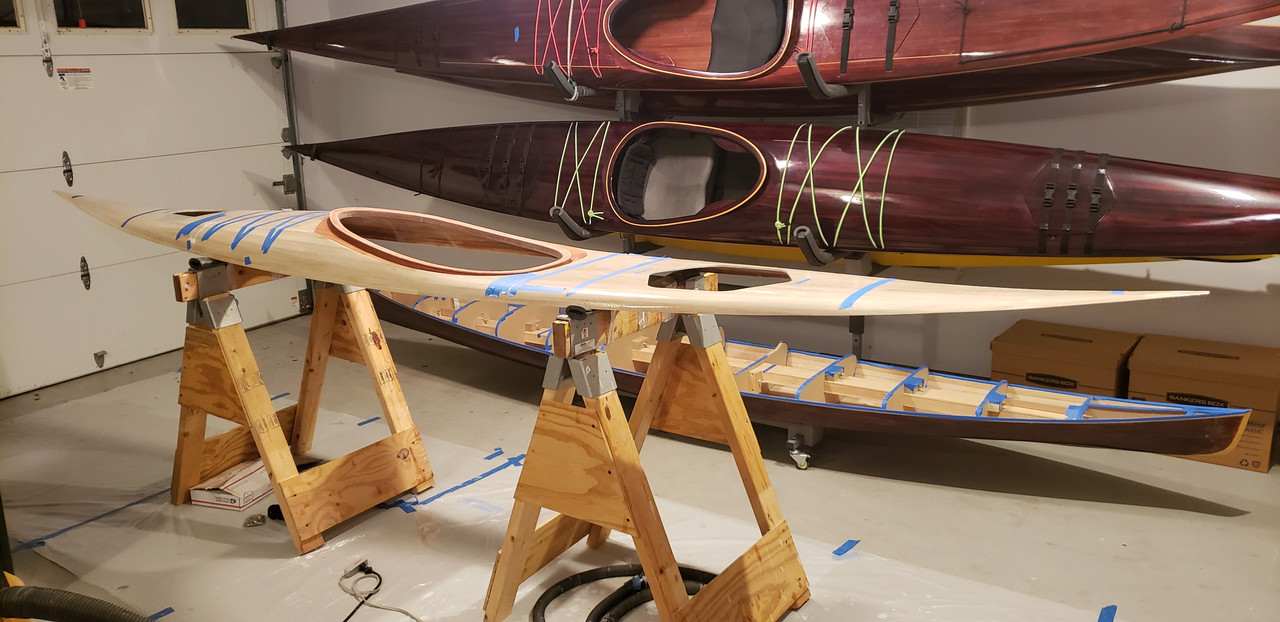
 compared to cedar, you can see that the paulownia is not particularly visually interesting. it has a very much balsawood kind of grain and color. i also had to take some extra time sanding it with very new/clean sandpaper as i am only using 3/16 strips, so they bend if you push them....you need your sandpaper sharp and just need to be carefu.
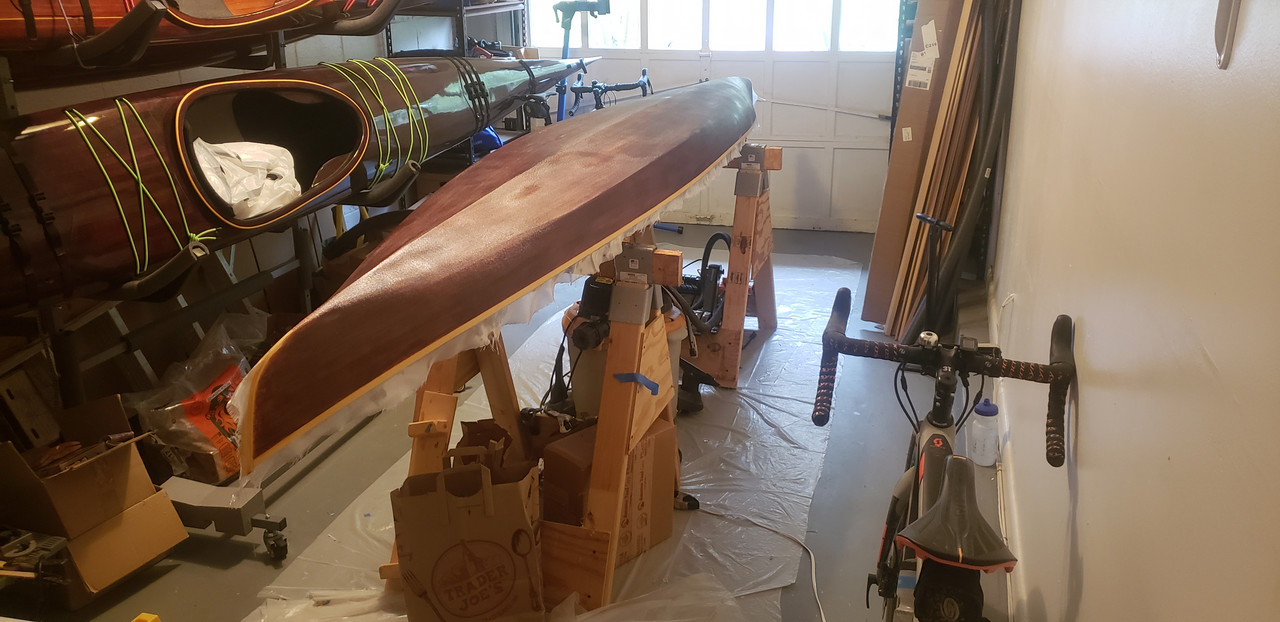 for lazlo, if you are reading this, you can see my white sheer line and stem lines which is basically just carefully masked off stain. worked very well on this.
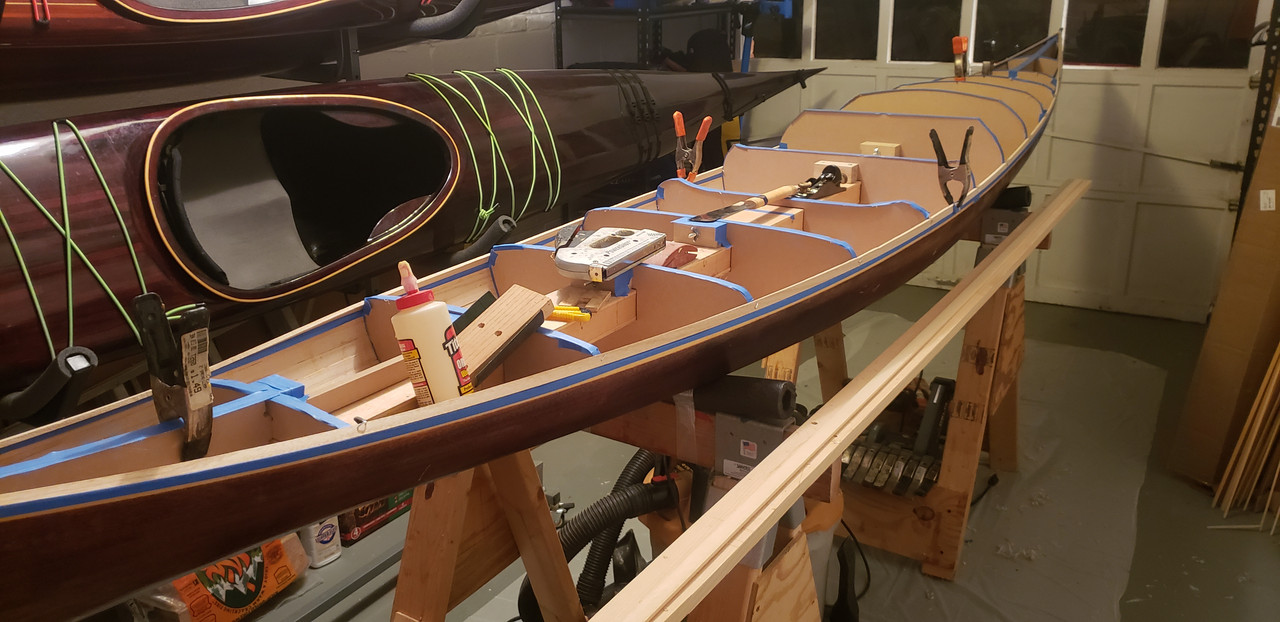

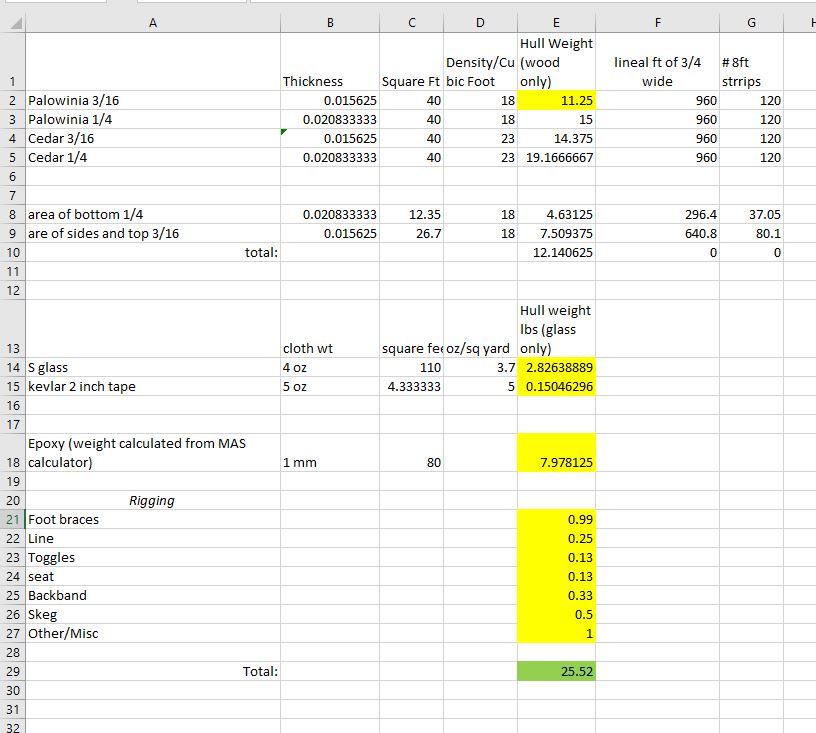
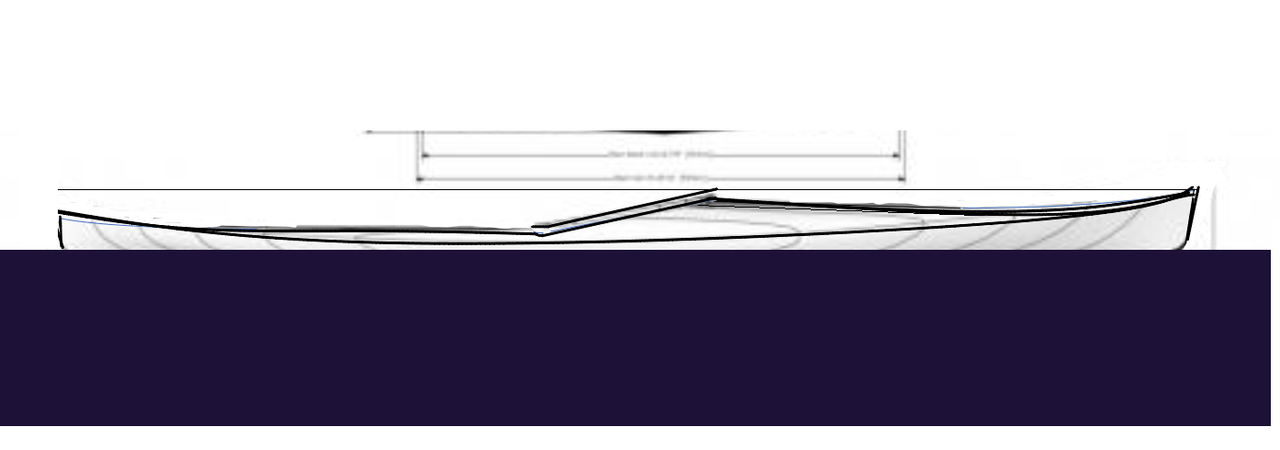 the hull is based on the petrel play with a custom deck that i will be fabricating. i have been doing a lot of work studying the petrel play and i think its hull is the right hull for the job. i am going to take a little volume out of the ends above the waterline as i am not really expecting to use it in the surf the way the original petrel play was designed. the orignial petrel play is 14" loa....so this will be about 13"6 with the same waterline but with the ends a little less tall we are going to lose about 6 inches of overhang and loa.