The most nerve wracking part...cutting hole in the deck
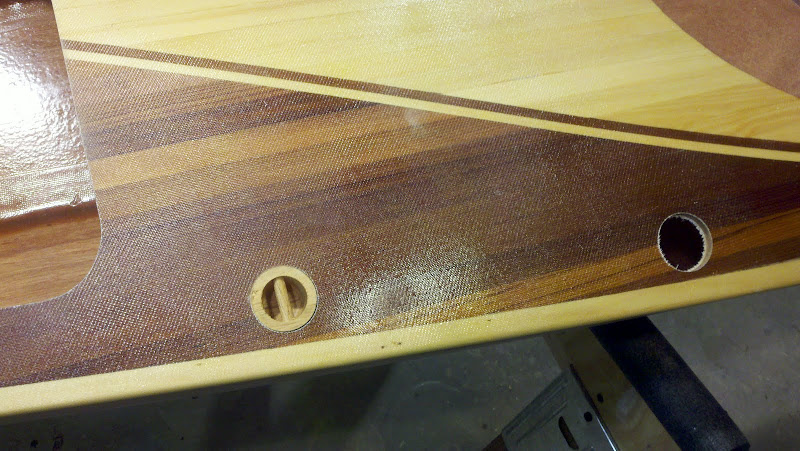
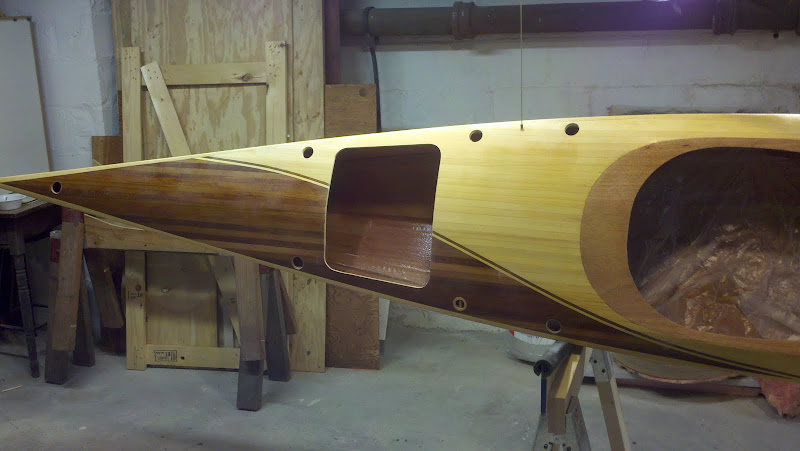 I'm using Eric Schade's flush deck fittings
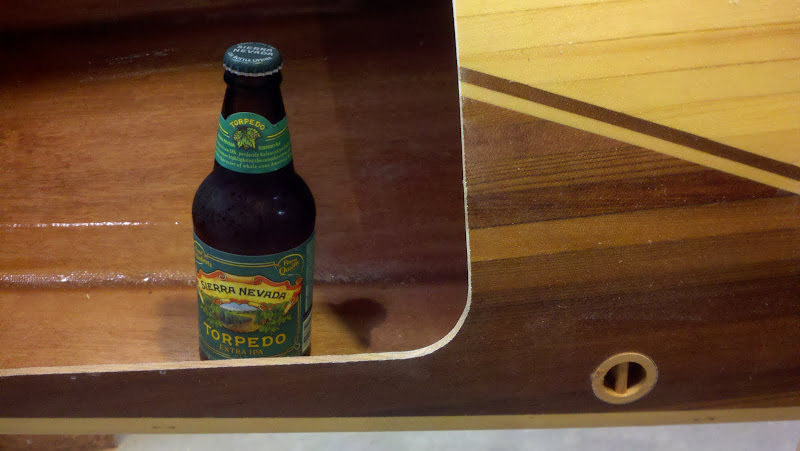
 Now it's time for a Torpedo
The most nerve wracking part...cutting hole in the deck
I'm using Eric Schade's flush deck fittings
Now it's time for a Torpedo
Dan - That looks beautiful. You're putting a ton of TLC into that boat. I'll be very interested to hear how strong the wooden flush deck fittings are. Do you think you could use them for perimeter lines, etc, which might be subject to towing?
-Zach
Zach,
I'm wondering that myself. I am planning on using them for perimeter lines....see the 1st picture. The 4 closest to the cockpit will be bungies and the others will have 1/4 line. The little dowel in the fitting seems a little thin for major pulling/lifting. I'm also going to install a lifting toggle drilled thru the end pour and that should be plenty strong
btw, I started cutting the hatches with a bonzai saw and found it to be a bit jerky and uneven so I went back to the jigsaw with the 20 tooth per inch blade. That worked fine and was faster
Dan
Dan,
Forgive me for repeating myself but: WOW, what a great looking kayak.
I just continues to get better as you go.
Lou
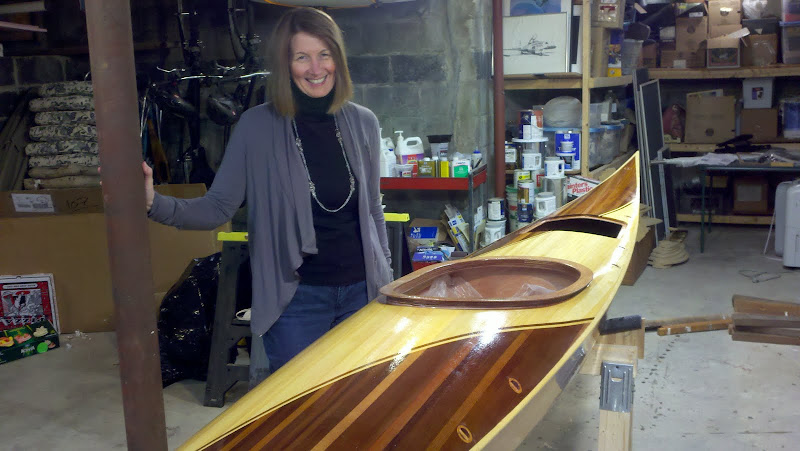
Second coat of epoxy and the proud owner
Beautiful work Dan!!!
By the smile on your wife's face I doubt that you are going to get a chance to paddle it...
Thanks Dana and Lou.
I dunno, I just might have to make sure it floats first ;-)
Lesson learned with the ice water...I added it to the bucket after the first end started to get warm. On the other end I dunked it into the water before I poured in the epoxy. This slowed the hardened way too much and I ended up scooping out the water and putting a trouble light in the hatch to keep it warm. I brought it in at midnight last night when it had finally hardened.
Dan
Great looking boat Dan!
Are the thin strips that curve across the hull and separate the dark and light areas of the deck part of the kit or is that something you have to make yourself? They look different than the usual bead and cove strips available from CLC.
Thanks,
Mark
Mark,
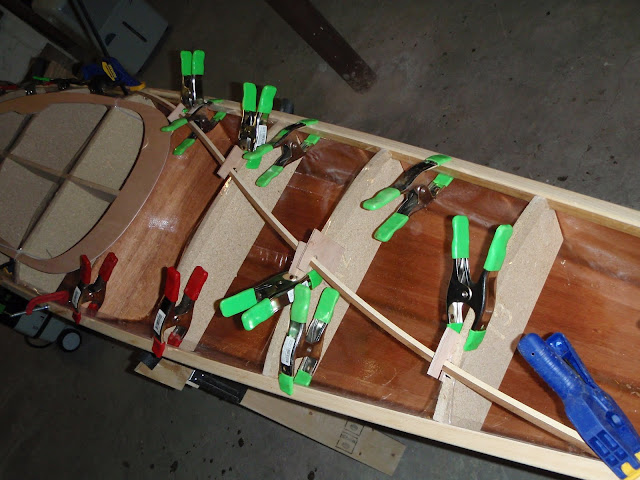
I took some dark and light b&c strips and ripped them to 1/4" by 1/4" strips. I then glued smooth sides together (knowing that the rough side, being top and bottom would be getting sanded), then clamped them to the forms. This was a bit of a pain as they wanted to twist.
Dan,
This is GORGEOUS! It really makes me want to start on my 2nd boat! Unfortunately, I promised my wife we'd buy a house before I build another kayak (which would mean my C16 would become hers). That being said, the house won't be for at least a few years to begin with...
Well done!
~Chris
Geez guys,
All these compliments are making me blush (and nervous). I hope you can overlook all the flaws at Okoumefest 2011. Hopefully it'll be used and scratched by then.
Dan
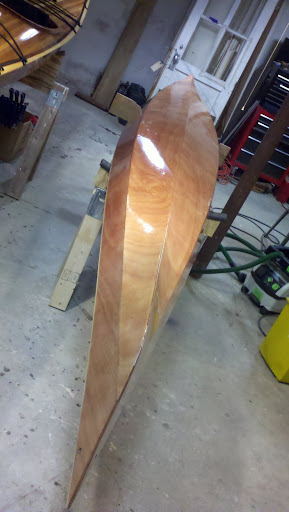
First coat of varnish on hull...
Dan, the boat is beautiful. I’m about 1/2 done with stripping the deck of my first boat (WD12 Hybrid) and I am now officially addicted to boat building. On my next boat, I would like to do something a little “fancier” with the stripping. Therefore, I have a question for you, or anyone who might be able to provide some advice. How do you get such tight joints between the curved accent strips and the adjoining strips that butt up against it? I’m guessing you first fit the end of the strip that fits in the bow, then cut the end that butts against the curved accent strip slightly longer then needed. I’m guessing you then sand it until it fits snuggly against the accent curve. Is that correct? Are the edges of the curved accent strip beaded and coved? Thanks for everyone’s help. Kurt
Kurt,
Your guesses are correct. I started with the outer strips, cove side in, then fit the curved strips. These are 1/4 by 1/4, no bead or cove. I cut a taper, sanded a bead, glued them together, fit them into the outer strips while the glue was still wet and held them down to the forms with U clips. This proved to be a bit tricky as they wanted to twist.
I then ripped the cove off of 2 strips and made a king plank down the center of the deck. All other strips I started with the taper and then fit the end against the curved strip or cockpit apron. Putting those curved divider strips in meant there was almost twice as many strips to fit as my boat which has a simpler pattern. When I came to the thin whisky planks I shaved off the inner lip of the cove to make fitting easier.
Other have suggested putting the field strips down first, then cutting a curved groove for the accent strips. I was not confident in my ability the cut a smooth curve, so I went this way.
Here's a couple of links
http://picasaweb.google.com/danielthaler/Shearwater17Hybrid#
http://picasaweb.google.com/danielthaler/Shearwater16Hybrid#
Dan
Dan, Thanks for taking the time and responding to my quesiton. I understand how it is is done now. I really appreciated the links. The photo’s answered a few questions and gave me some ideas. Thanks
Almost done...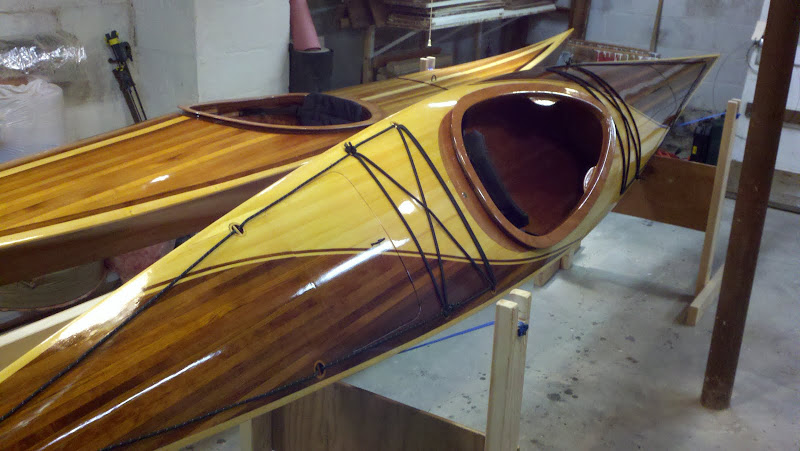
A few more details...thinner seals for the hatches, one more coat of varnish on the hull, velcro for the seat (this boat, being slightly wider than the sw17h, doesn't allow the happy bottom seat to wedge under the shear clamps like on mine), thigh braces, warmer weather....
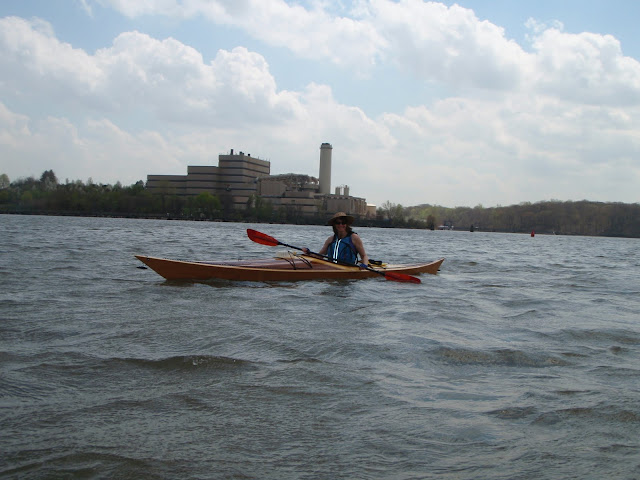
Ok. Ready for the maiden voyage...

More pictures to follow
That is crazy-beautiful. Congrats.
Thanks John! And it floats too..