Personally, I think contrasting plugs would be a bit much. Plugged screws are needed to attach the outer wales to the breasthook at the bow, since there is not a convienent way to clamp the wales. I used matching plugs from the excess material. Keep in mind that the outwale will be banged up a bit at the dock (yes it will happen). One modification I've seen is epoxying a rope around the outer wale to serve as more protection. (I did that with my bow and skeg.)
Years ago I owned a 32' wooden yawl built in 1960 and the teak rub-rail was plugged with the same wood and looked good. I personally think contrasting plugs may be a bit too much. You can also route out a cove and epoxy rope into the groove or alternately use half oval brass. Below is a mock-up of how the rope is to be attached. Of course you first need to route out a cove for the rope to ride in.
I have been following your blog with keen interst as I am, as pervioulsy mentioned buildking a NED as well. I read that your adventure with the fiberglass was a bit challenging and like you I am looking at starting that phase with a bit of trepidation. I was wondering why one could not cut the fiberglas mat as soon as panels #1 were wired as opposed to waiting till all the panels were wire to the assemblies? Seems to me it would be a lot easier to measure and cut and furthermore to get a really clean edge where the glass ends on panel #1. And would that not eliminate the need to tape and trim where panel 1 meets panel 2? Am I missing something?
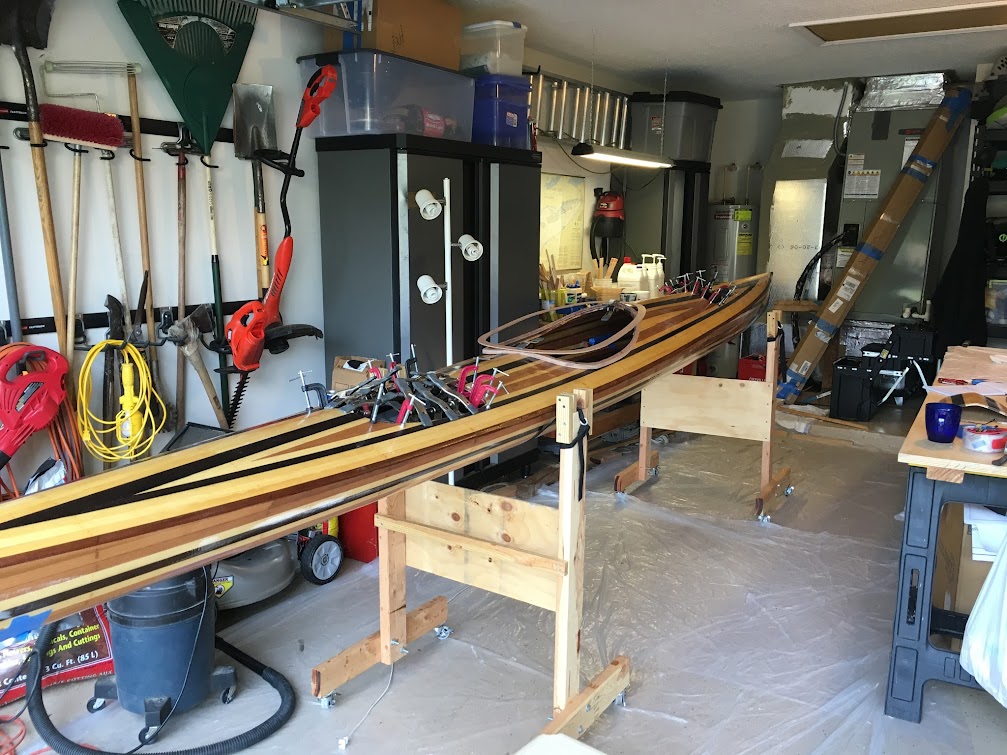
oceanluvr, As soon as you cut fiberglass cloth, the edge starts fraying. If you try to precut the cloth, by the time you get it coated with epoxy it will be a mess. Mask the edges where you are going to glass, then cut the cloth so that it overhangs the masking tape by at least several inches. When you coat with epoxy, coat over the masking tape a bit. Wait a couple of hours until the FG partially cured (green), then cut the edge along the masking tape with a sharp razor. It is much easier than you would thing. FG is nothing to fear, If you have not already, watch some of the CLC videos regarding FG. Here are some picts from my last strip build. The third pict is after cutting the cloth with the razor and before any sanding.
I start my NE Dory as soon as I am done with a strip kayak for my wife. Probably July.
Quick question for fellow builders, at what point do I epoxy coat the interior of the hull? I'm doing the spacered inwales and assuming I need to coat the hull before installing the inwales, or else it'll be nearly impossible to coat between the blocks!
You can go ahead and epoxy the interior of the boat, as epoxy will stick to epoxy. With my way of installing the inwales, I also epoxied the ends of the blocks after installing them, and epoxied the inner (glue surface) of the inwale before putting it in place. You want a thin coat here so you get a nice joint between the block and the inwale.
In answer to your previous questions -- I am an amateur furniture maker. I've made a set of dining room chairs (arts and crafts), a desk for my wife, and some other things, but nothing for profit, other than my mental health. Building the boat, and especially sailing the boat, will serve the same purpose!
One for Flactem aka Dave M; love your series of picture for how you did your spacered inwale so some of the techniques I'm keen to try on mine. A couple of questions if I may? 1. On a lug rig I have to incorporate the mast partner as well as the rowing blocks into the spacing calculations and choice of sizing. How big are your spaces and the inwale blocks; 2. Where and how are you going to place the rowing blocks for your oarlocks? That'll do for now, there will undoubtably be more to follow. Very useful and very generous effort to share on your 'method' . Thanks. Gerry
2. I found out long after I'd made my outwales from QSWO for my EP that allegedly, oak works poorly with epoxy. I had only one little hiccup, which was at the bow where it makes the largest bend, so I didn't blame the oak.
Flactem, I'm in the same boat as Gerry! What were your spacing calculations for the inwales? John's write up is for the Skerry and I don't have the excess materials to try out all different spacings.
Very cool work CaptainSkully, I especially dig that bathroom vanity.
What I did is put together some spacing blocks so that I could find the right alignment on the boat itself. (This was after I spent some time with a calculator trying to calculate the spacing. Frustration ensued.) I wanted blocks above the bulkheads, and blocks below each end of the oar lock risers. After playing around for a while I finally decided that I could use different size spaces and it would not be noticible. My blocks are all 2" long, but the spaces between them are either 2, 2 1/8, 2 1/4, or 2 3/8 inches long. You can also cheat where the oarlock risers will be. I was right -- unless you really study the inwales, you can't tell that the spacing between them varies. (Adjacent spaces only vary by 1/8 inch.)
Accomodating the lug mast thwart will be interesting since the inwales are at an angle. (I'm looking at the figure on page 155 in the construction manual.) You might need to angle the bottom of the thwart on each side to accomodate the inwale angle -- or get creative with the inwales themselves. I'll have to think about that one.
Captain -- nice looking furniture! I don't have a web album yet for my furniture -- but I'll post a link when I put one together. I also read about the epoxy/oak problem, but had no difficulties with my white oak.
The knees for the mast thwart (in my kit) have come with an angled champher which accords with the diagram on p.155, to give the thwart an horizontal surface to secure too. I'm therefore thinking that the only option might be to split the inwale into two ; fwd and aft of the partner thwart knee. John C did warn there might need to be a bit of head scratching for the NED Lug! Giggin, looks like we might need the calculator when we start this bit. I've had to ask my kit supplier about quarter knees for the inwale of the NED, because if they are needed to finish the inwale aft at the transom then he needs to supply them. (Unless Dave M made his own!) So here is the thought: Inwale needs to be made in 4 sections, 2 fwd. of partner; 2 aft. of partner. If you fashion an extention for each side of the partner knee that gives a distance from the partner knee aft and fwd that is equal divisible by say 2" (ie 2" equal space and block) then all we have to do is calculate and manufacture 4 little ole extentions to the partner knee. Could'nt be that hard with a table saw and bevel guage!!!! Now I have an excuse to get that table saw, else this boat is going to turn into a right cluster..! Gerry51 on a roll!
Yes -- I did use my own wood for the inwales, quarter knees, and breasthook. (All in white oak.) Going for that contrast. And here's a riser block, out of curly maple with the brass fittings and vanish. It's coming along!
Hey everyone, how many coats of epoxy will be put on the hull interior? I'm finishing the interior epoxy coatings & installing the seats prior to starting the gunwales
Hopefully not too many! A better part of the last 3 hours was spent encapsulating! I found it a bit tough getting epoxy into the end grain where the laps are. Mostly because I was using a foam brush for that, and the foam brushes just want to collapse when moving around the thick epoxy. I tried out using a chip brush, it's much more efficient, however it leaves bristles around everywhere! Any tips for the future? Besides corners and crevices, epoxy was rolled with a 4" roller and tipped with a 3" foam brush. The hull looks very pretty
With yoru chip brush you can start by vacumming the end to get rid of all the loose bristles. Then where the bristle meets the metal just above the wooden handle run a bead of a CA glue on both side to bond the bristles into the handle. This technique does a good job of eliminating the majority of loose bristles finding their way on to your work. After you've bonded the bristles, cut them short- maybe an inch or so long - this makes the brush stiffer and works good on edges.
Oceanluvr, thanks for the tip! I was planning on sanding AND epoxying today after work, but the sanding took about two hours (5:30-7:30) and 8 sanding discs, so it was a little too late to start rolling epoxy on, as it took my around three hours yesterday. Tomorrow!