on the keel. my sense that this may be acting more as a sacrificial rub strip than a keel in the traditional sense (actually required to allow the canoe to track straight.) i would glass the hull first then add the keel strip, if you want, later.
one thing to keep in mind is that the glass wet out properly over any sharp crease (inside or outside of a crease). you need, typically at least a 1/4 inch round to get glass to stay on. if you glass the hull and use the keep as a rub-strip this is not a problem. if you want to glass it, you may need a fillet between the hull and the keel in order to be able to get glass to attach.
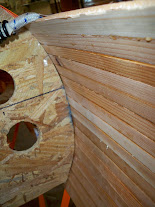
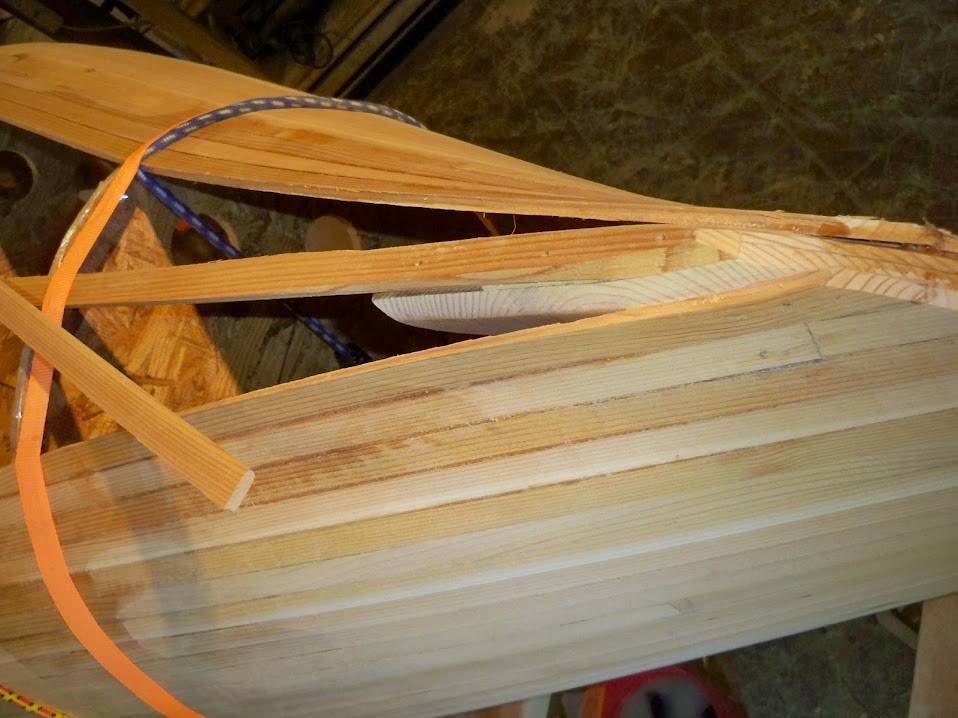
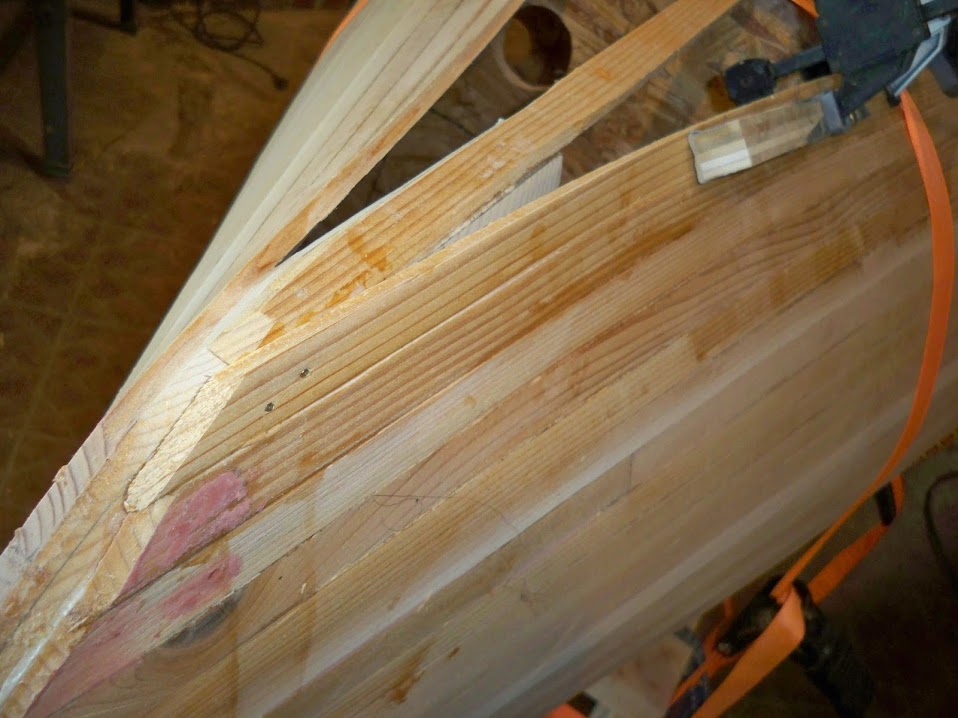
on the stem....in a lot of construction there is an internal stem and an external stem. so everything you are describing sounds standard. the internal stem is typically single piece of wood beveled to a sharp edge to accept the strips in the bow and stern and provides a surface to glue the strips as opposed to the strips from the right and left glueing to their opposing strip. after the initial stripping is done with the internal stem, a plane is taken to the bow and stern and a flat area (3/4 inch wide) is created and a 'decorative' stem is then attached to the outside which is often made of strips that can now be bent onto this flattened area and feathered back into the hull.
my only other comment is i would consider swapping out the unidirectional for weave. with weave, a lot of risk of how this will wet out will be taken off the table. most of your work in going to be in the wood. but once that glass goes on, things get difficult to reverse. i realize you have some money in the uni-glass.....but it may be relatively low cost to swap it now and ensure you have an approach that works.
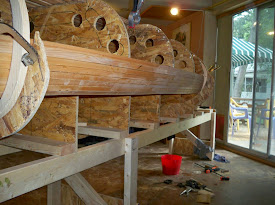
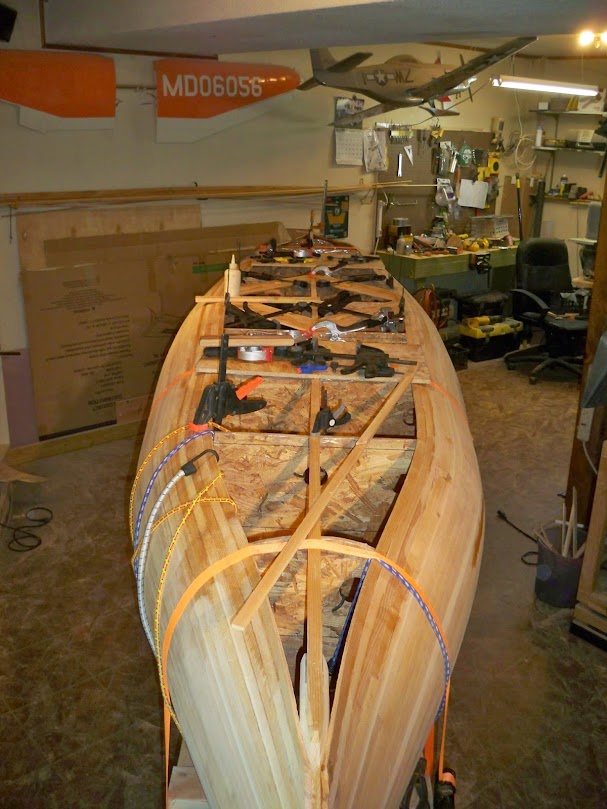
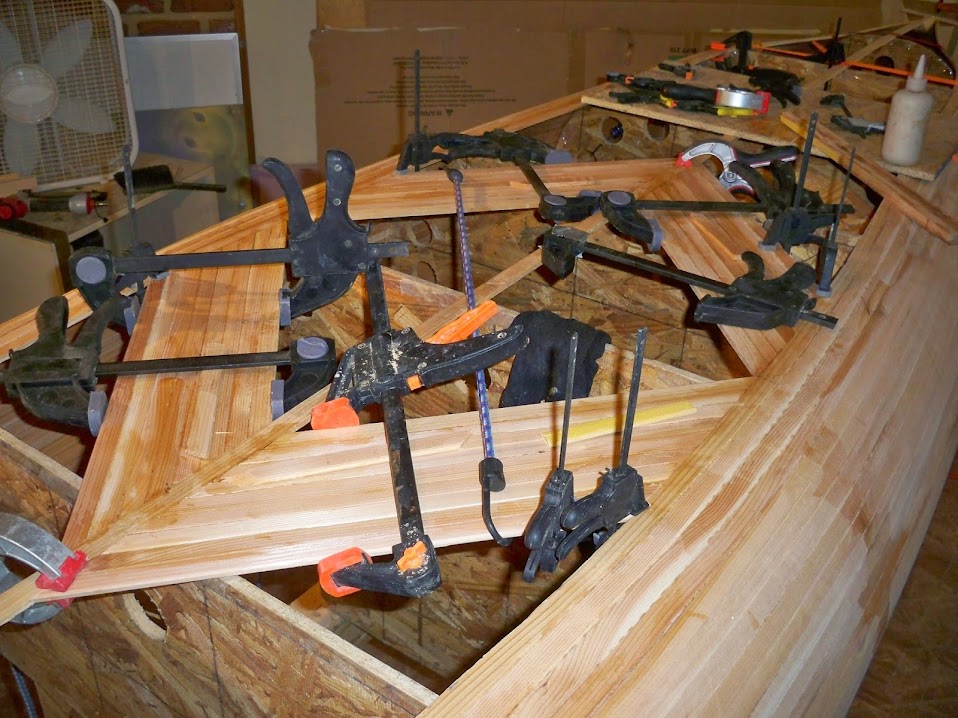
Okay I'm on a roll now; I drilled holes in the forms w/ a hole saw and my bungies and clamps now have some place to anchor to.
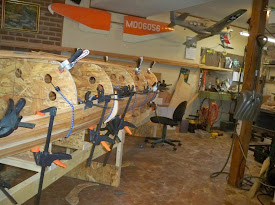
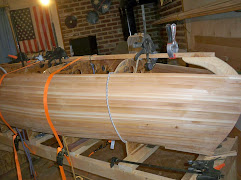
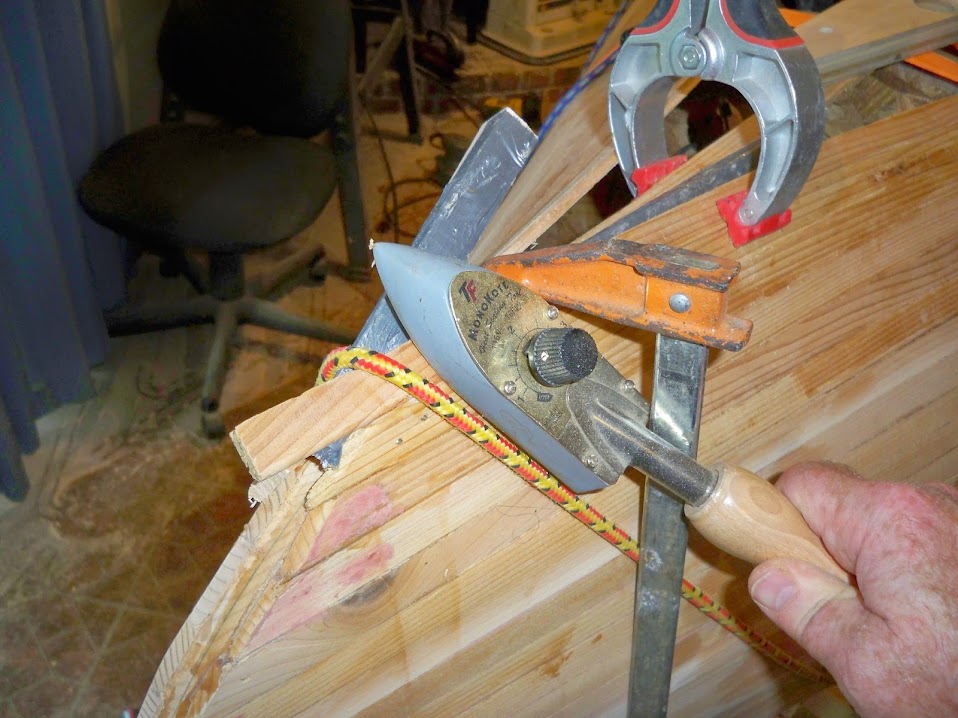
But I'm taking my time to seat each strip in the U grove ALL the way down the full 16' and cleaning off all excess glue; this will pay off on the next stage filling and sanding.
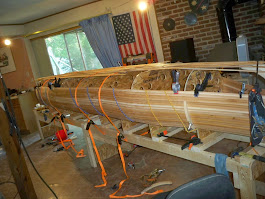
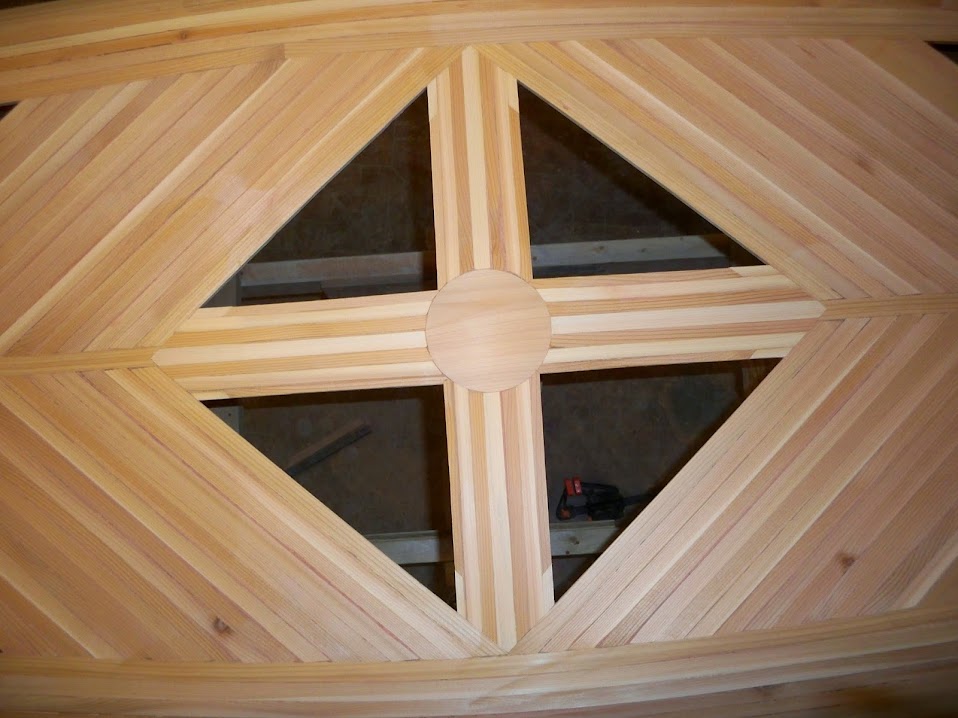
Okay I got a bit more done today, I have run a white stripe down the center of the canoe; but I relise I have to use all the strips I have so there's going to be random coloring through out the whole build.
Not a big deal to me it will still look very nice; so far I'm happy w/ how it's coming out.
I just got a new disc sander from Dewalt and this iss going to be a big time saver; very powerful, I recomend it for any wood project, it has veriable speed; Iran a shor test to see what I was up against.
I'm thinking about getting a straight line sander as well, this will be great for the resin and varnish, giving an automotive finish.
both of these have high UV protection and work nicely with properly prepped epoxy. my personal experience is that they last quite a long time, are easy to apply and work with.
i have also done both a plain finish with these varnishes as well as rubbed finish -- where you polish them down....(so you get the high UV protection....but a furniture like finish that really only comes from polishing).
looks like your project is coming along very well....thanks for all the pictures.
no difference that i can determine. i have had no problem starting a varnish job with remains of one can and a new can of the other brand.
clc offers much better price than west unless on big sale in my experience. i typically club stuff in an order to CLC to reduce the shipping cost per order and have it sent. may be also worth looking a jamestown distributors as well.
on these two, becuase of similarity, i buy which one i can get on sale.
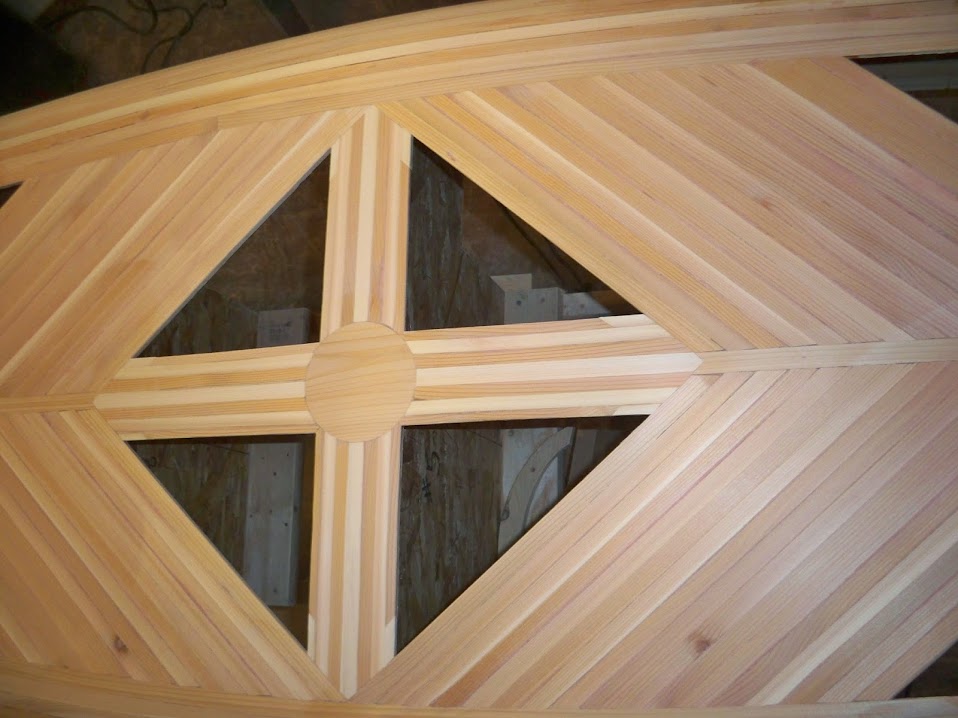
ALL OF THE CENTER FIELD HAS BEEN LAID AND I'M MOVING ON W/ THE HERRING BONE OUT TOWARD THE ENDS; BUT IT WILL STOP ABOUT WHERE EACH SEAT IS, THEN THE REST OF THE STRIPS.
Your woodwork is looking great, but I'm worried about the lumpy/ unfair appearance of the hull shape. Did you test your frames/build jig with some long battens before building, and to lay out the plank runs? Parallel sided planks can look wonky as you get further from the sheer, so maybe that's what's showing up in the pics...
that build is looking terrific, and I really like the pattern you put on the bottom. Make sure you don't get so distracted in admiring it when you first take the canoe out that you run into a rock...
Thank you guys very much....nemochad...This is my first boat build ever; I hand drew the templates from the internet using a1 1/2" grid pattern. SO
I'm sure there some discrepencies I had to make alterations on two of the forms as it is it won't be perfect but should serve it's purpose for me and my honey to paddle around a lake or SLOW river.
I'm learning a lot and having fun thinking about bending those outer stems now; I'll make a steamer and form to bend those then glue them on.