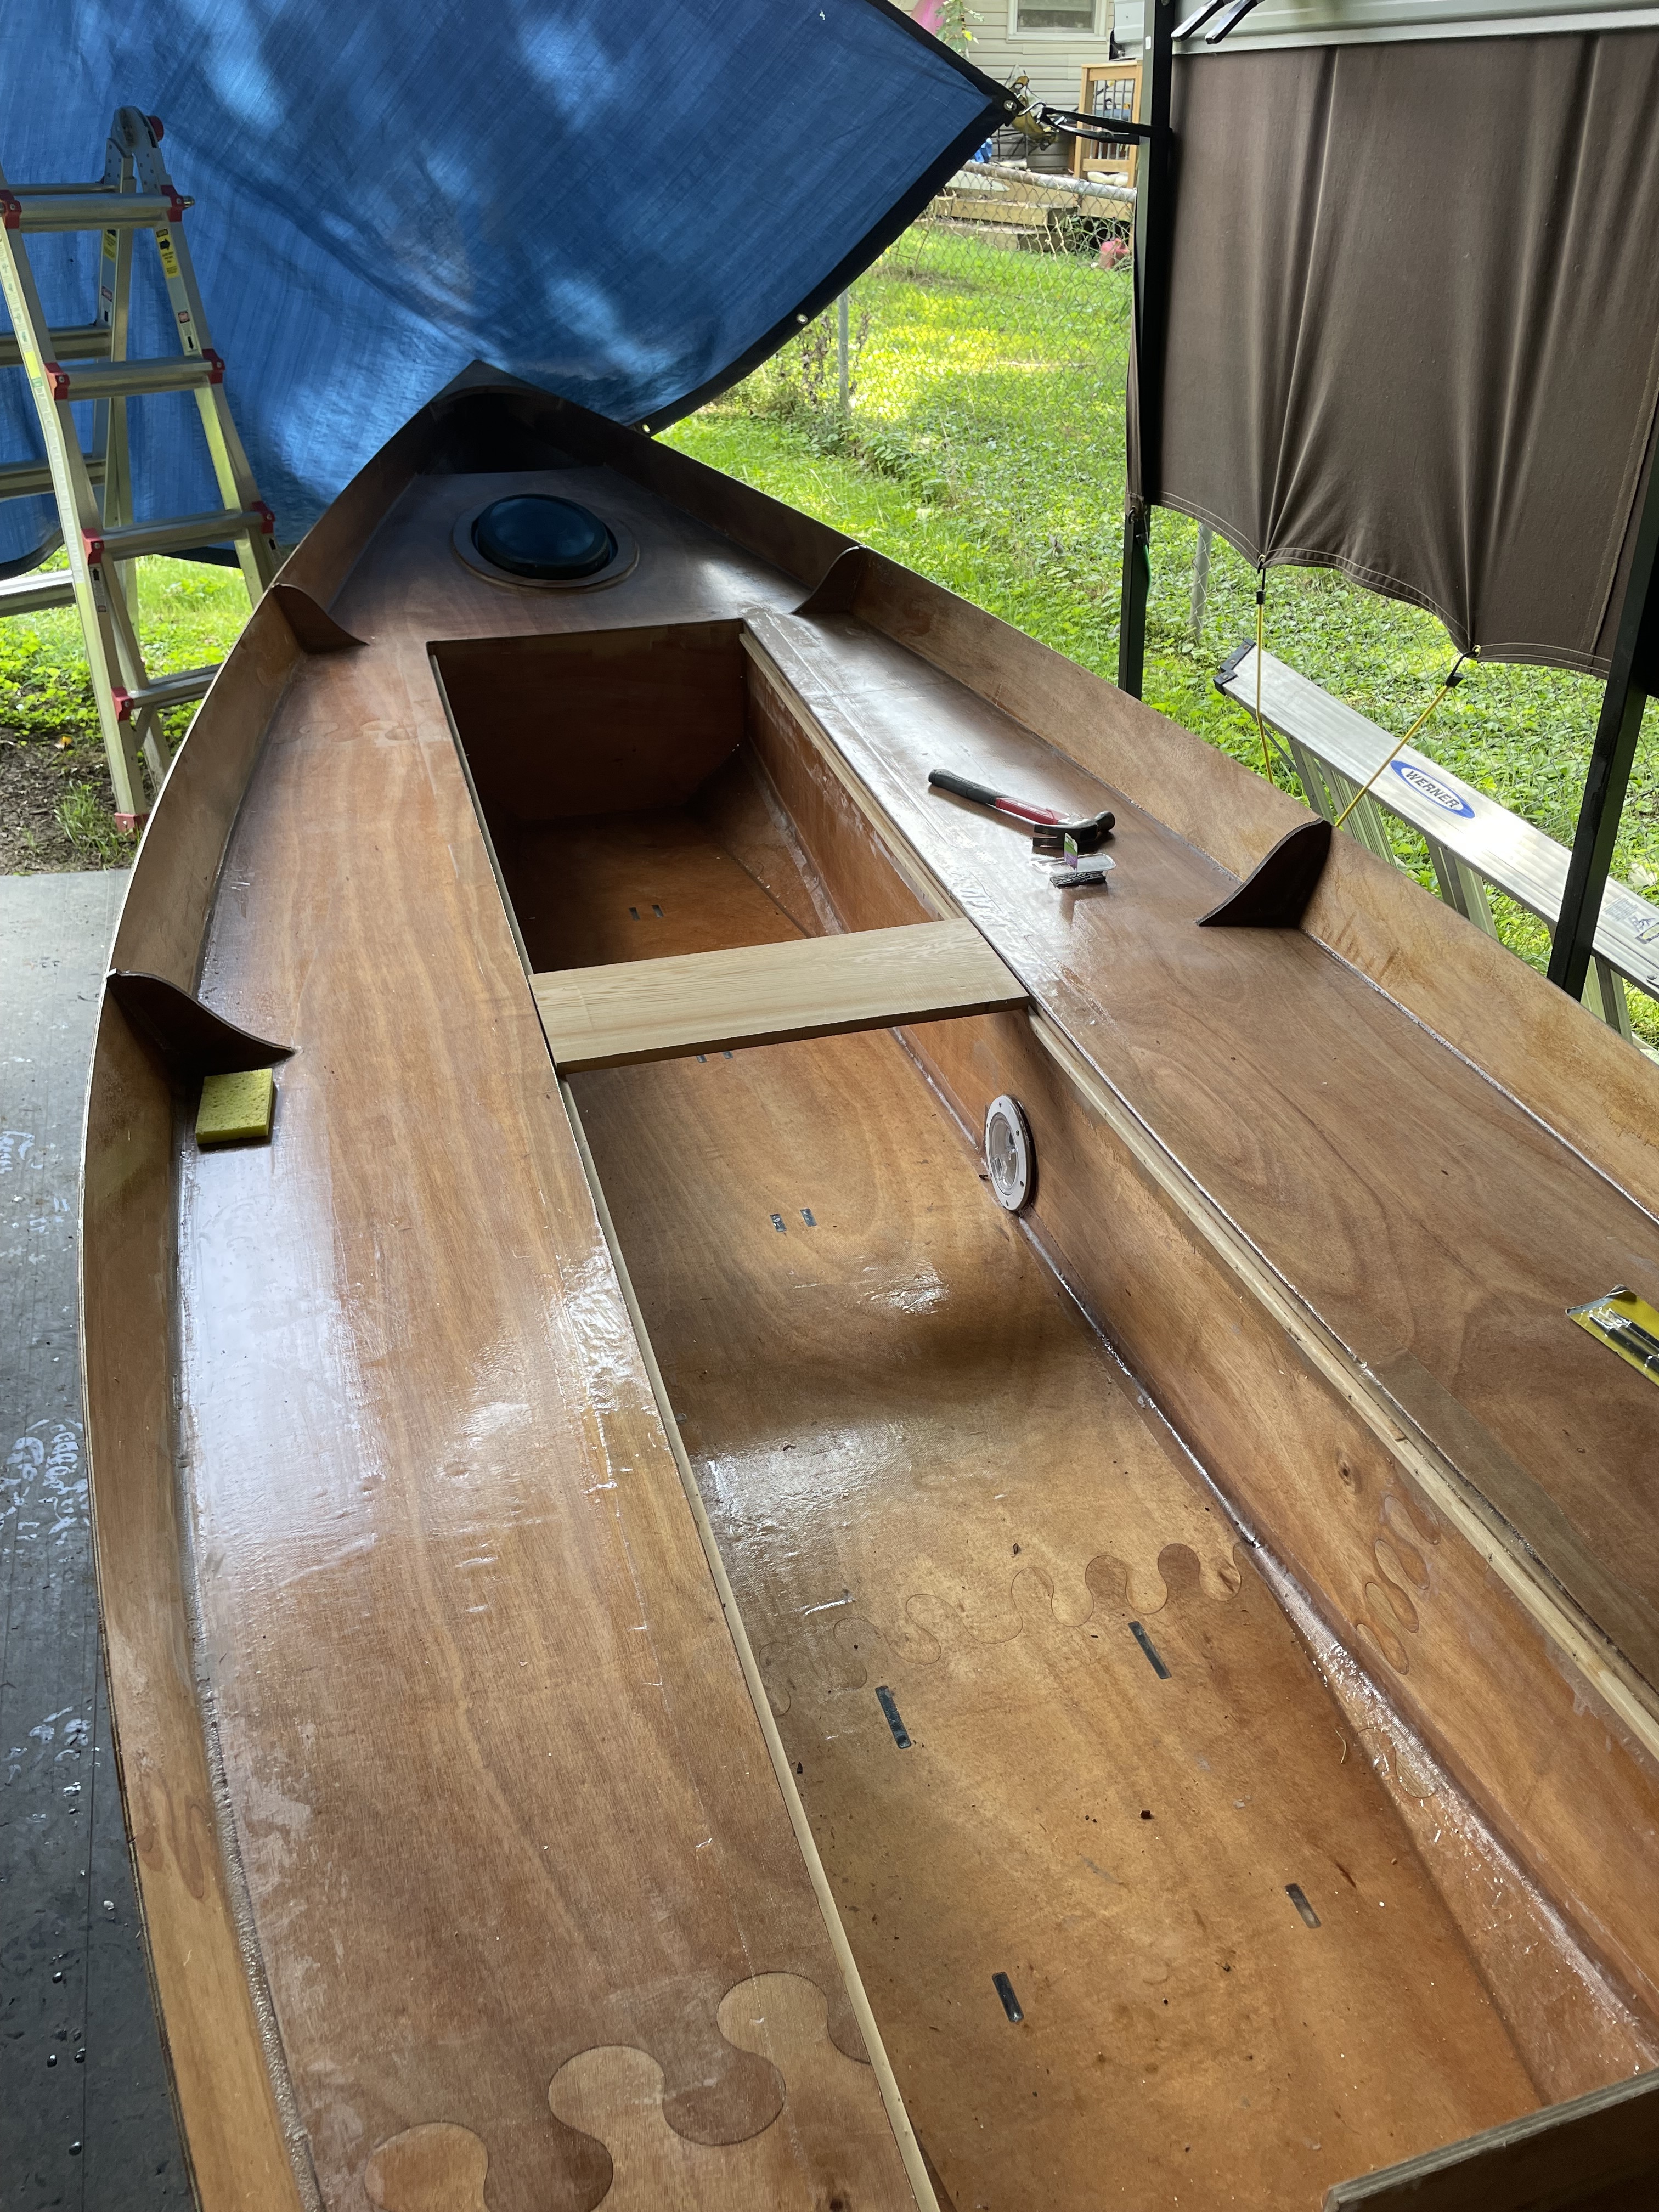
The aft hatch doubler is encapsulated and filleted. Flange and deck mating surfaces were scuffed with sandpaper. The Oval hatch flange is bedded in G-Flex thickened with cell O Fill and I used graphite to make it black so it matches the flange. It’s my first time using G-flex, we will see. Portside seat to footwell reinforcement has three coats of unthickened epoxy on top and starboard side has two. Top strake encapsulation continues.


Forward hatch doubler echoes the process aft. After a stressful work day it feels surprisingly good to build a boat. The aft hatch is in and I’m very happy with it. The flange is ridiculously strong, you can lift the stern of the boat by it. That G-Flex is pretty good stuff.


Forward hatch complete. Putting clear drop cloths in the lockers was wisdom. Looks like rain found some epoxy on the footwell/deck reinforcement. I’ll have to sand that off.


Sorry it’s been a few days since an update. A member of my family suffered a health crisis. I think we have it under control now. I should be making progress again soon.
1 Like
Today I made the jigs needed to hold the foot well trim at the correct height for the thwart and bed boards. These are fabricated from plywood hatch material that I ended up not using.


1 Like
1/2” footwell trim run across the table router to just ease the corners. Cleaned gently with a rasp. Holes drilled every 4” and centered. Slathered the backside of the trim in thickened epoxy and clamped the trim to my jigs. Tiny 1” stainless steel brad head nails were sunk just below the surface with a nailset.


Starboard side went on much the same as the port side. The thwart sits there well enough. I won’t be needing these jigs again for the foreseeable future. If anyone out there is planning to build a Southwester Dory I’d be happy to ship these jigs to you. Topside is fully encapsulated.


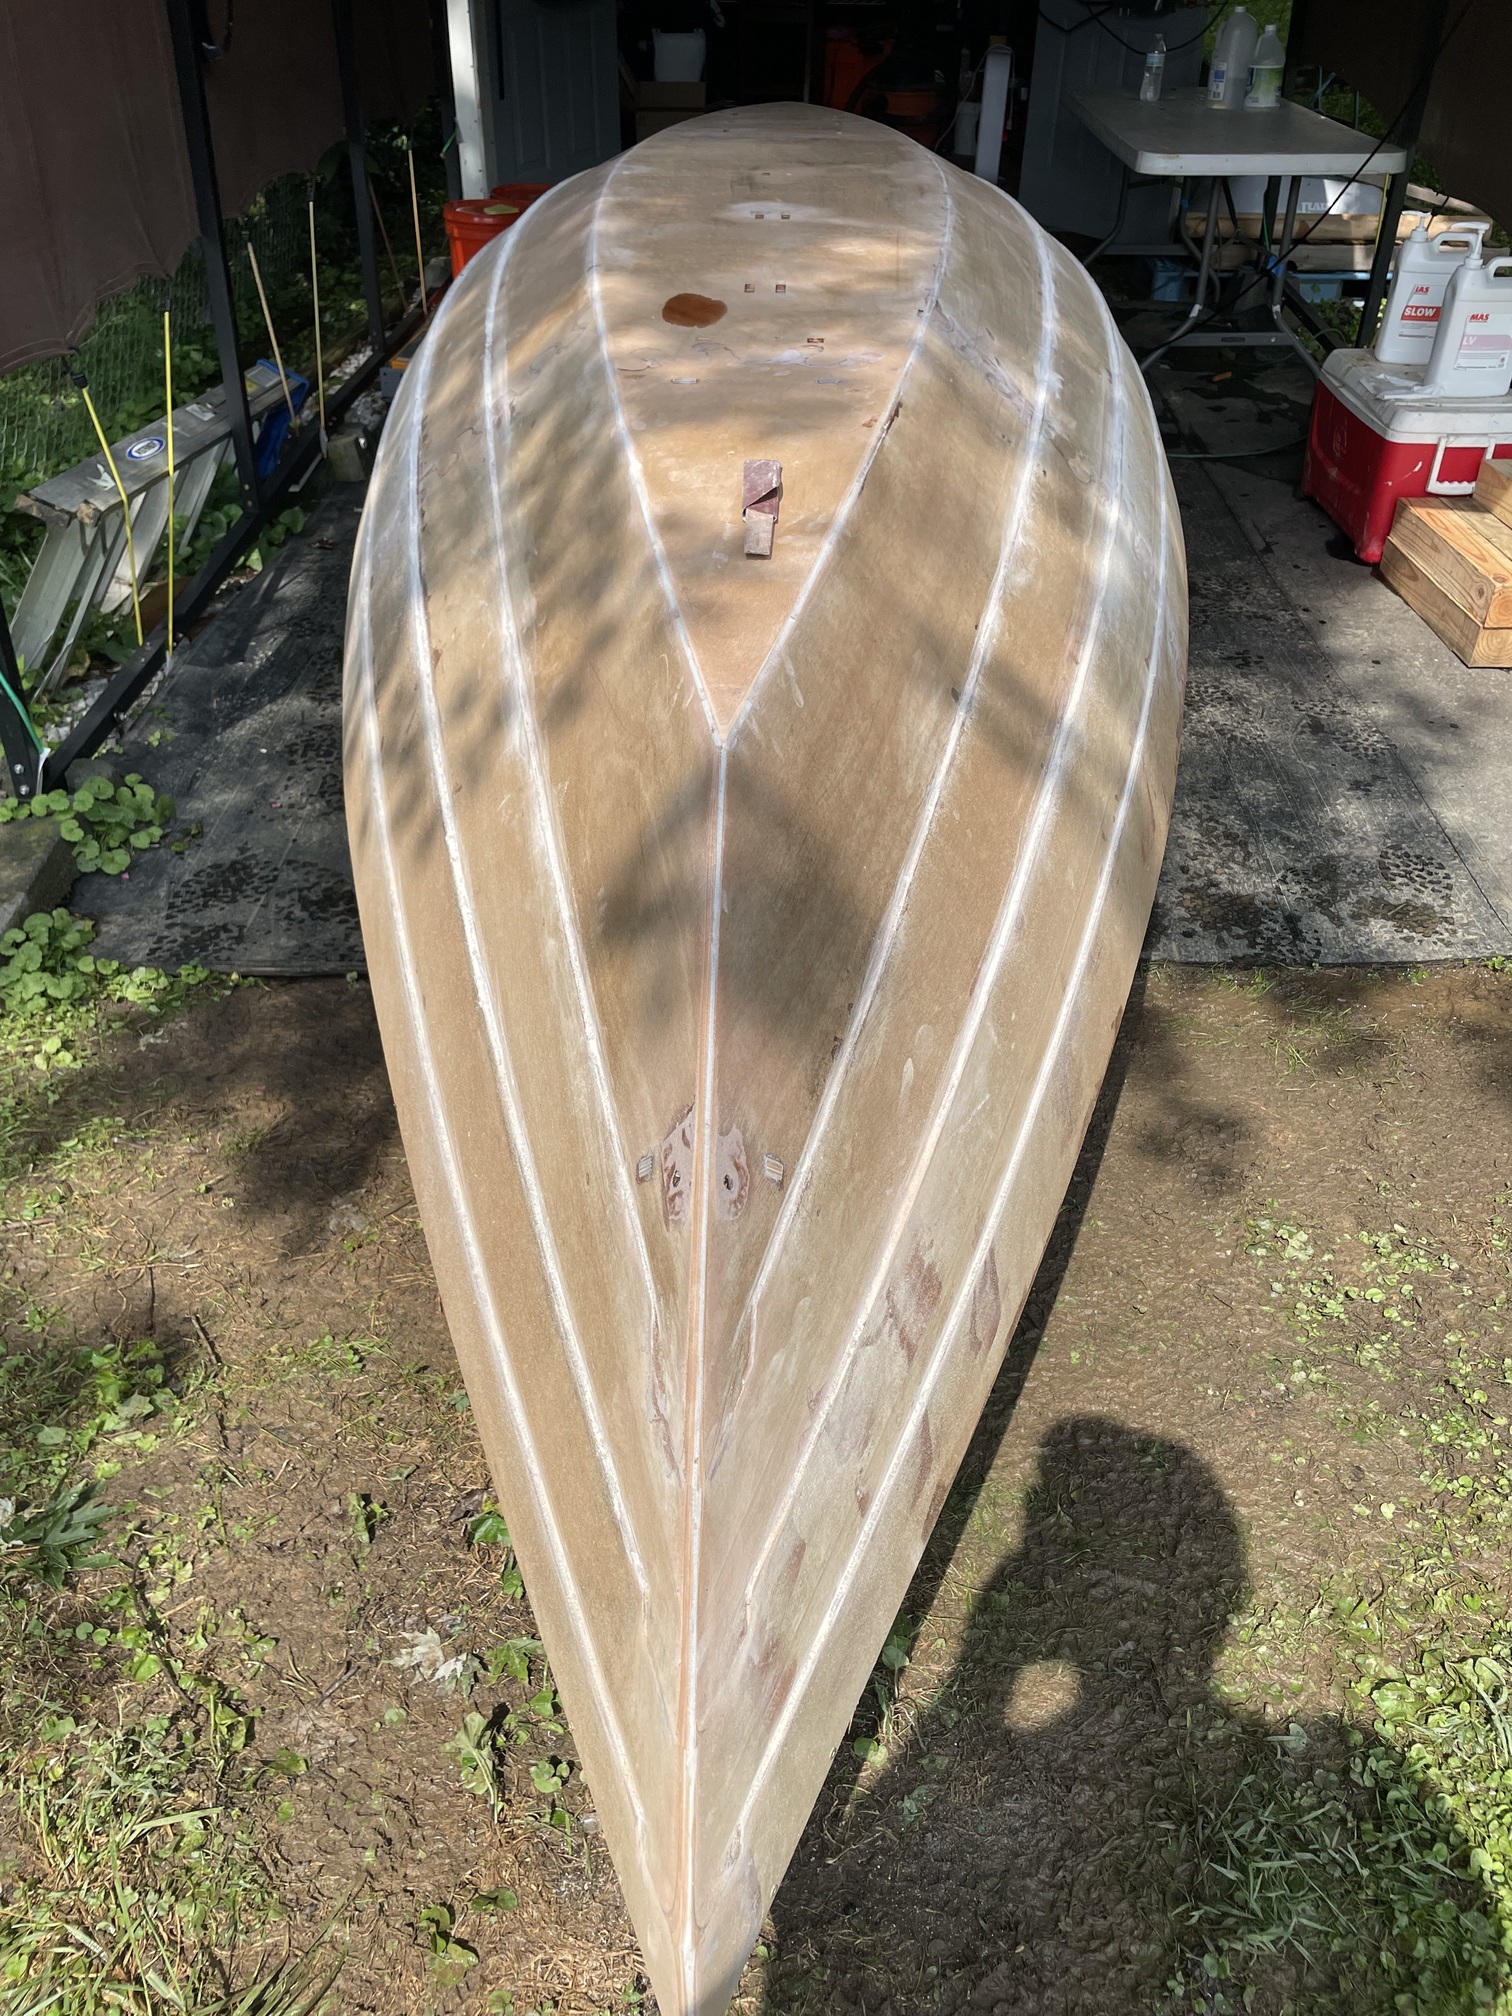
The neighbor helped me flip the boat this morning. Started removing excess plank material at the transom and just sanding months of grime off the hull. Some of you may remember I haven’t done these plank fillets yet, all we have here are tack welds. I’ll fill these small gaps at the transom too.

Plank fillets are done and mortises are also filled with the exception of the motor well, centerboard, and mast step. This took a lot more time and epoxy than I expected.




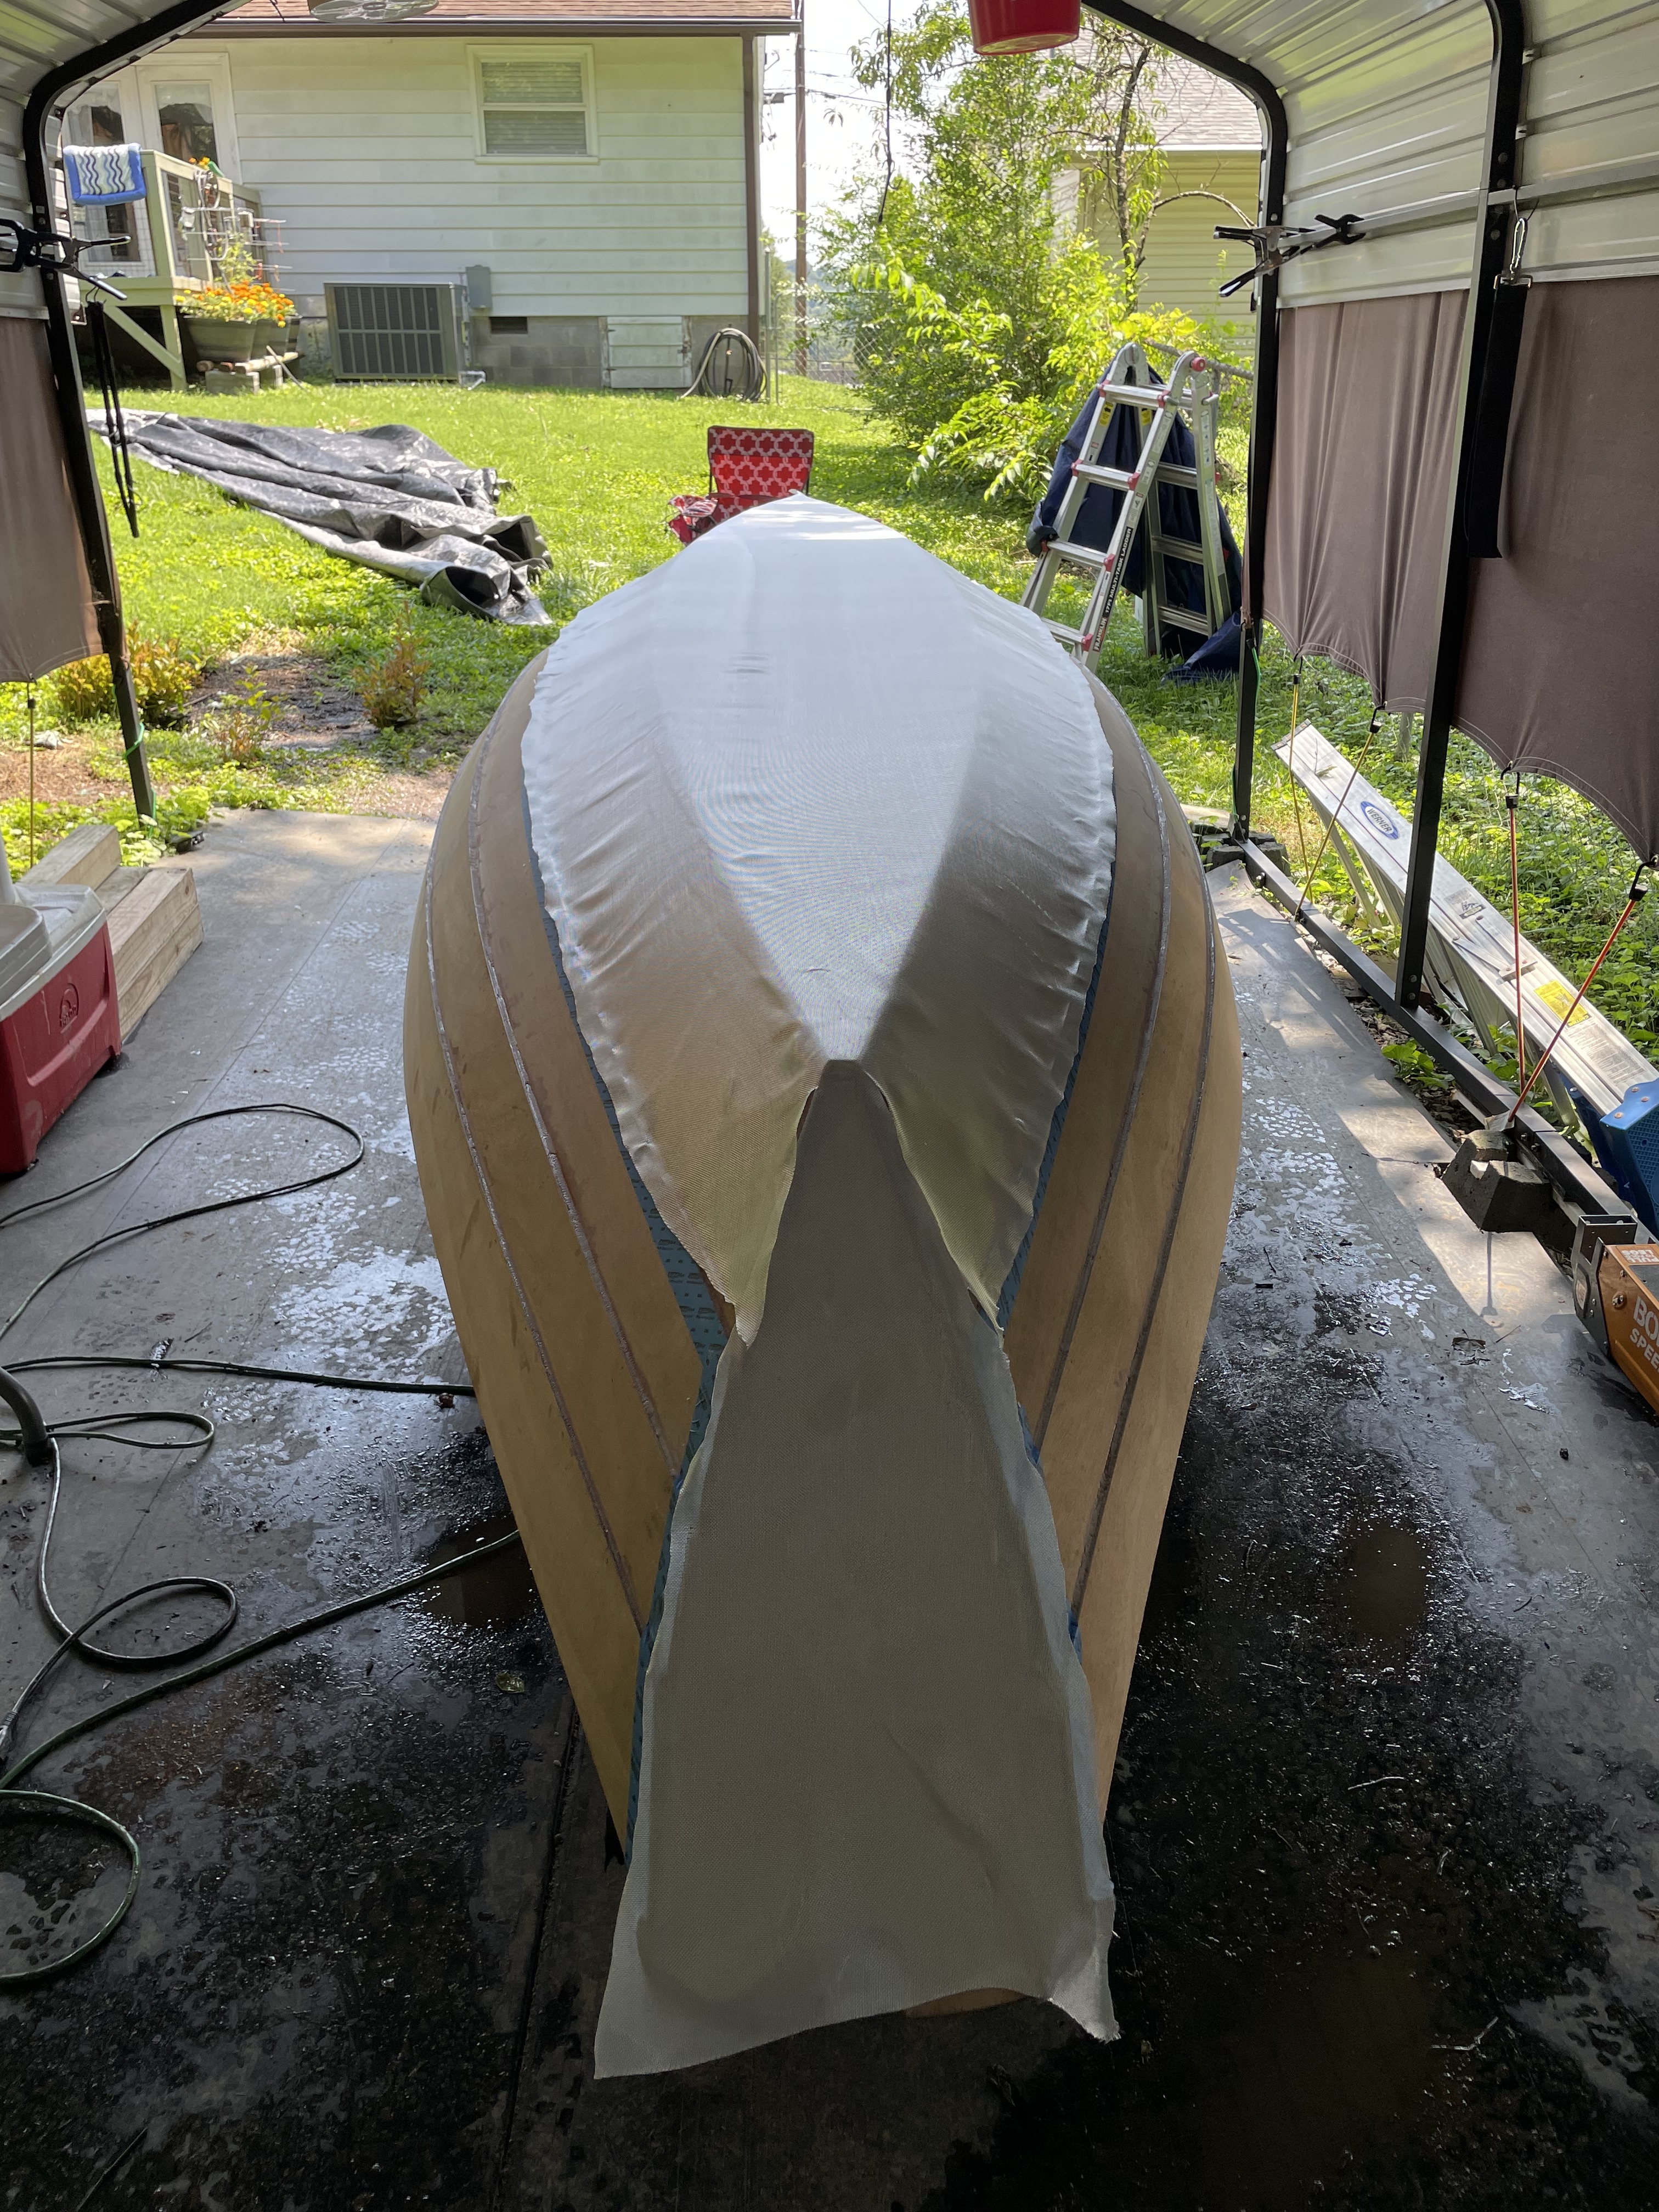
For the bow I decided to use a lesson Laszlo taught me. I cut several strips of glass at 45 degrees to the bias and they are overlapping by several inches. This area should be quite strong!
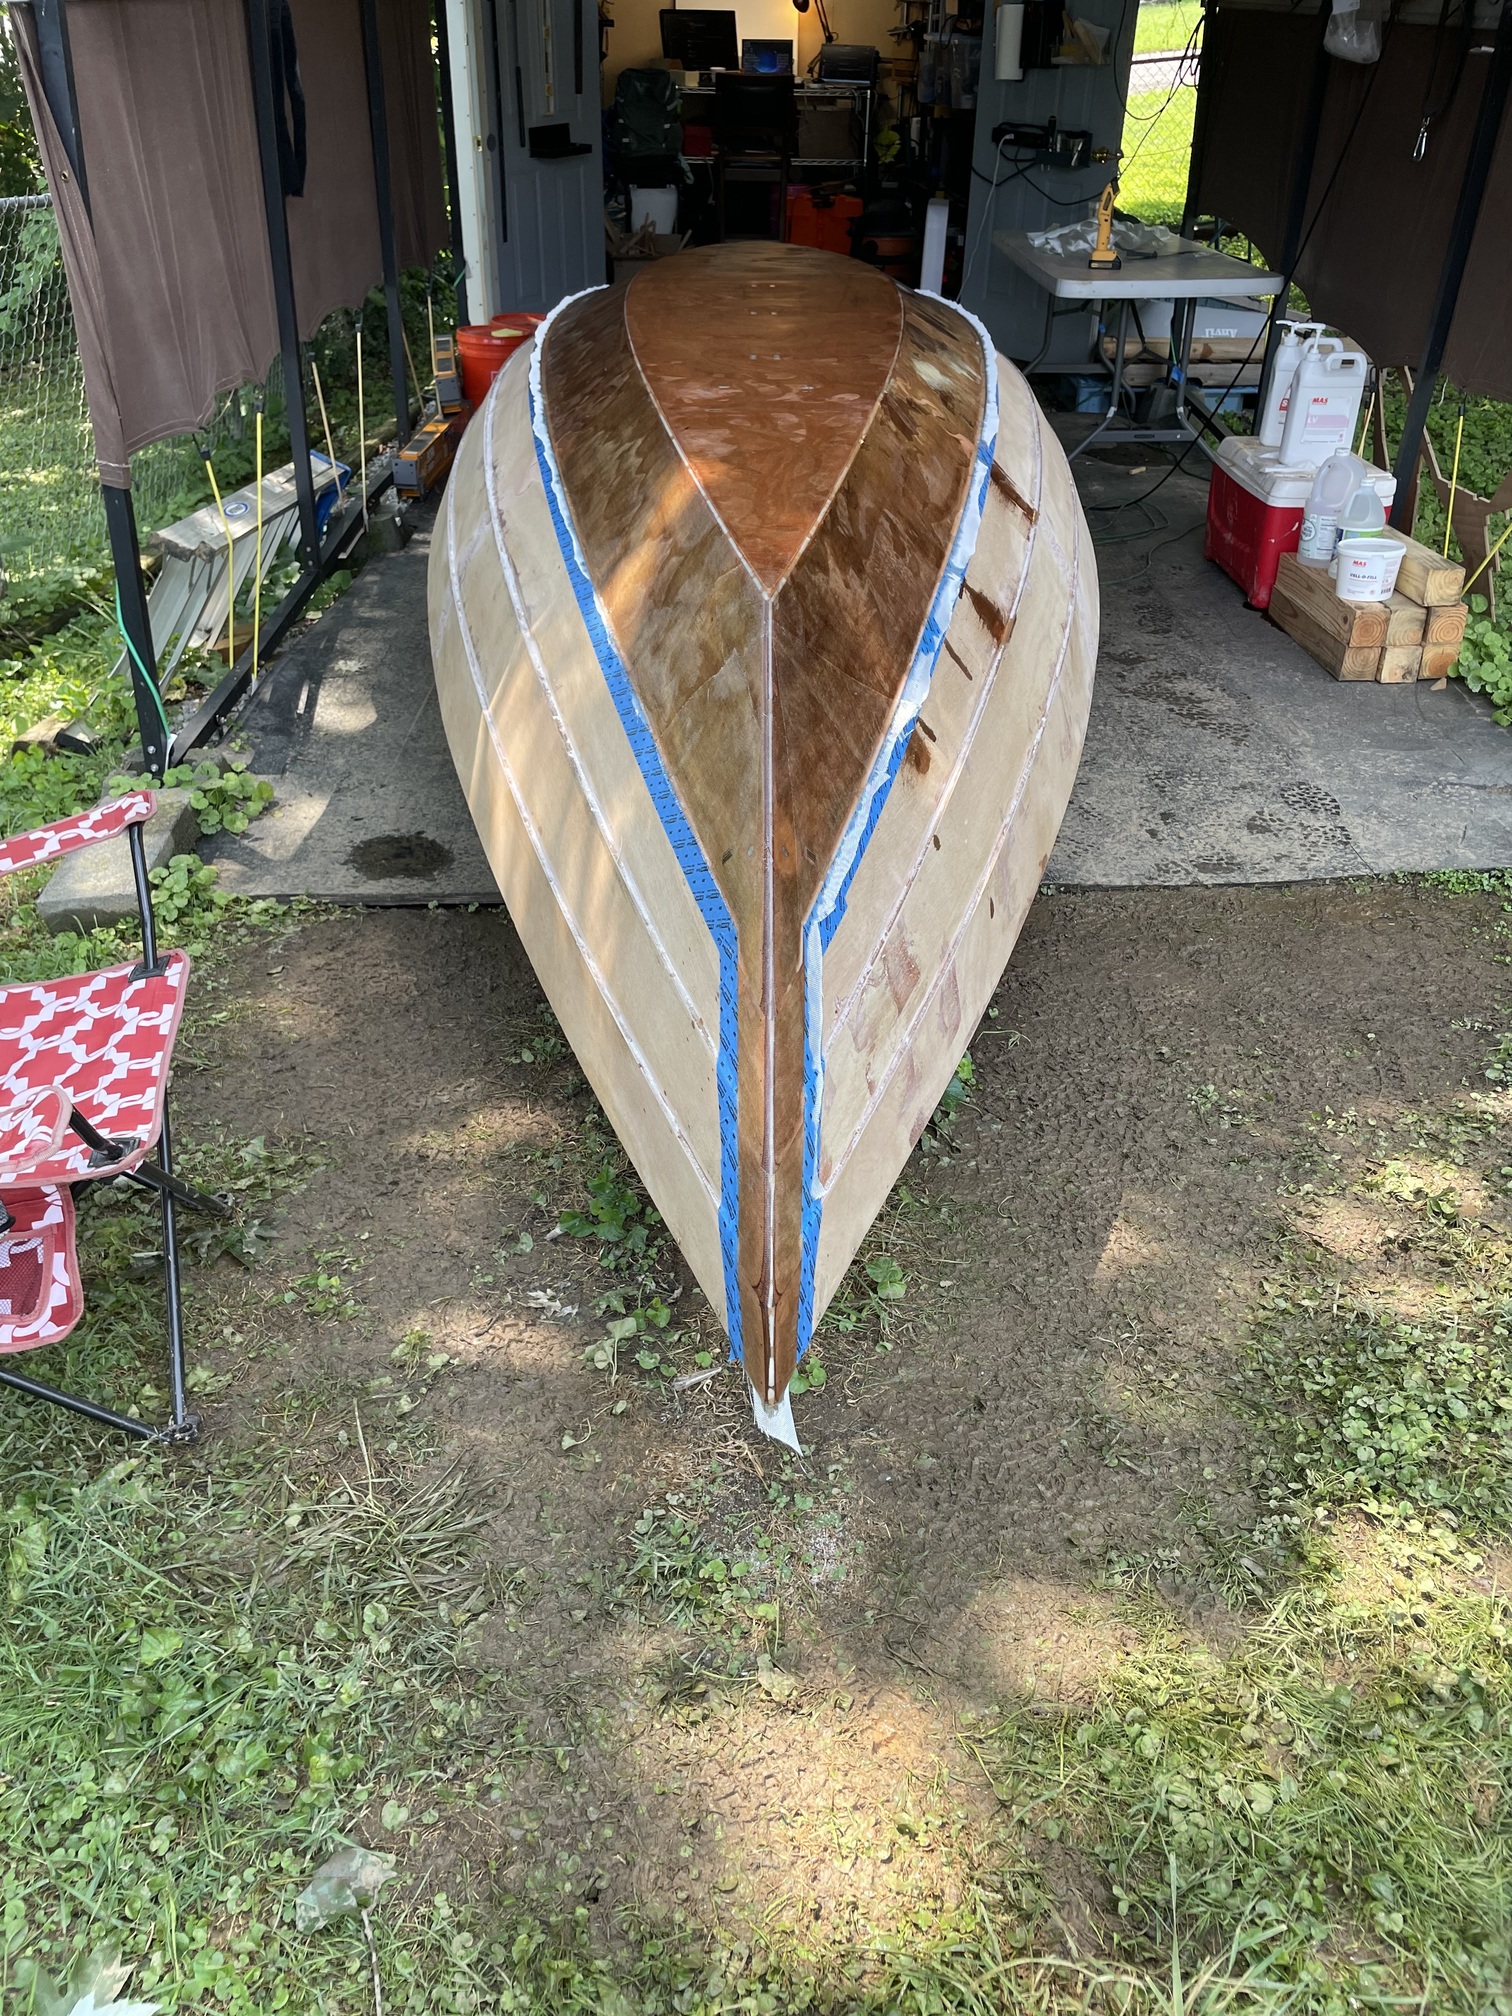


I used a laser level on a tripod to find the centerline for the skeg. The bottom epoxy is still a little green so hopefully I can get a chemical bond. Both mating surfaces coated in thickened epoxy and it’s also filleted. I’ll remove the deck screws once the epoxy cures.


Screws removed. The skeg is extremely strong. I filled each screw hole with unthickened epoxy mainly just by dribbling it in then using a little cable tie to work it all the to the bottom and push air out. This took several passes for each hole, presumably the plywood was absorbing the epoxy. I soaked a 3/8“ poly rope in unthickened epoxy and then tacked it gently to edge of the skeg. My reasoning is this will become sacrificial rope armor to be replaced when damaged. The entire end grain of the skeg was saturated in unthickened epoxy. Right over top the rope. Once it green cures I’ll pull the tacks and add small fillets to the rope armor for strength and streamlining. That pale stuff on the hull is microballoons gone wrong. The epoxy under them went off quicker than expected and amine blush stopped the whole operation. Once the skeg is fully finished I’ll wash the entire hull in warm water, soap and scrub with a scotchbrite pad. Then resume body fairing and sanding.


You know rinsing epoxy dust between sanding with the garden hose is a lot slower than vacuuming because you have to wait for the hull to dry. But in this heat I think I prefer it. When I use the RO I use the vacuum attachment but no way I’m using a power sander and shop vac at dawn or in the middle of the night. I like my neighbors too much for that. So I’ve just been sanding with a humble wood block and hosing it off, go in and wait for it dry.
I struck the waterline on the port side with the laser level this morning. I had to use a bottle jack to get the boat level to the laser but it worked a treat. I was able to lift the canvas sides on my boatyard to shoot the laser from further away. The starboard side has a close property line. I can either bug my neighbor or I may just find the midway point of the waterline using a tape measure then shoot it from each quarter with the laser level and connect the dots.
If you don’t mind smelling like a distillery (and the increased cost) you can rinse with denatured alcohol which dries within a couple of minutes. Or, you can rinse with water, wipe with a microfiber towel and then do an alcohol rinse to get rid of the water. That works almost as well and uses less alcohol.
Laszlo
1 Like